
Ohayou!
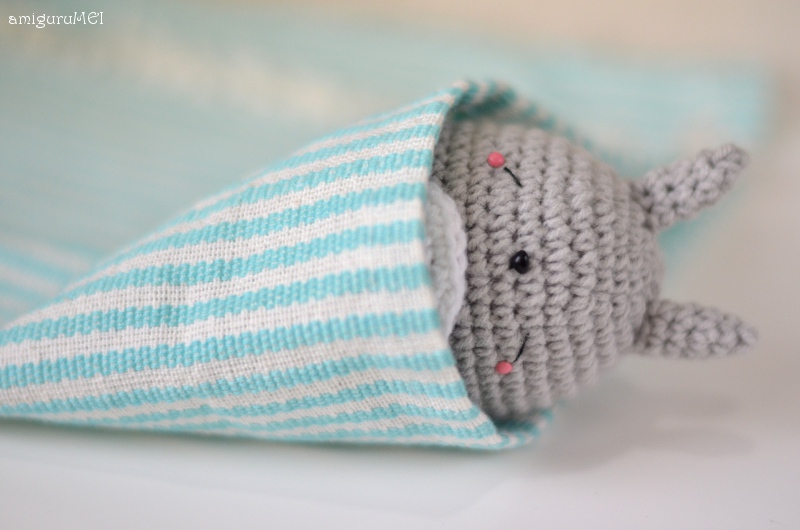
Awhile ago, we organised our very first Sleeping Totoro amiguruMEI giveaway.
Due to the numerous requests from amigurumi and Studio Ghibli lovers around the world, we’d like to share this original pattern with you, so you too can make your own kawaii Sleeping Totoro!
The pattern is easy enough for beginners, and the end result would make any anime fan a happy camper!
Enjoy!
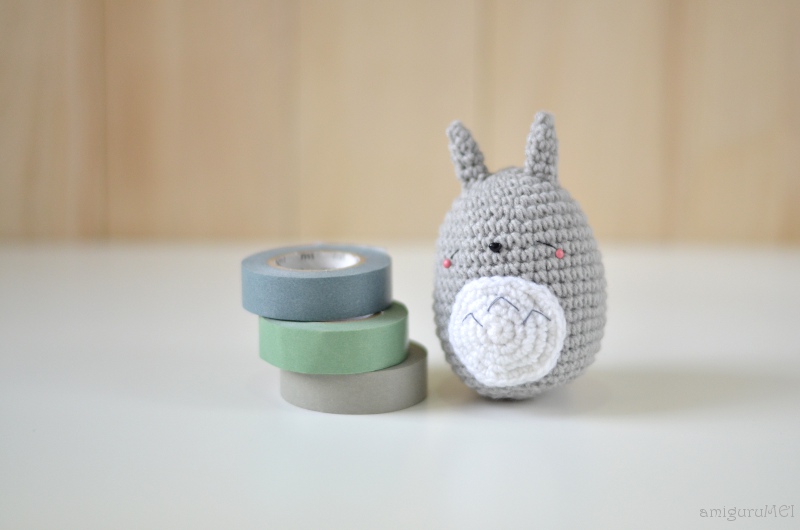
Make your own Sleeping Totoro!
Abbreviations
- Ch: chain
- Sc: single crochet
- Dc: double crochet
- Inv dec: invisible decrease
Materials
- 2.00 mm hook
- Similar sized yarn in white and grey
- Sewing thread in black and dark grey
- 4mm triangle plastic nose
- Pink brads
- Sewing needle
- Darning needle
- Polyester fiberfill

Body
With grey yarn:
Round 1: Sc 6 in magic ring {6}.
Round 2: [Inc] around {12}.
Round 3: [Inc, sc 1] around {18}.
Round 4: [Inc, sc 2] around {24}.
Round 5: [Inc, sc 3] around {30}.
Round 6: [Inc, sc 4] around {36}.
Round 7-18: Sc around {36}.
Round 19: [Inv dec, sc 4] around {30}.
Round 20: [Inv dec, sc 3] around {24}.
Round 21: [Inv dec, sc 2] around {18}.
Stuff head.
Round 22: [Inv dec, sc 1] around {12}.
Round 23: [Inv dec] around {6}.
Fasten off and weave in ends.
Tummy
With white yarn:
Round 1: Sc 6 in magic ring {6}.
Round 2: [Inc] around {12}.
Round 3: [Inc, sc 1] around {18}.
Round 4: [Inc, sc 2] around {24}.
Round 5: [Inc, sc 3] around {30}.
Fasten off by making slip stitches in the next 3 sts. Leave a long tail for sewing.
Ears (make 2)
With grey yarn:
Round 1: Sc 3 in magic ring {3}.
Round 2: [Inc] around {6}.
Round 3-5: Sc around {6}.
Fasten off and leave a long tail for sewing.
Tail
With grey yarn:
Round 1: Sc 6 in magic ring {6}.
Round 2: [Inc] around {12}.
Round 3: Sc around {12}.
Round 4: [Inv dec] around {6}.
Fasten off and leave a long tail for sewing.
Assembly
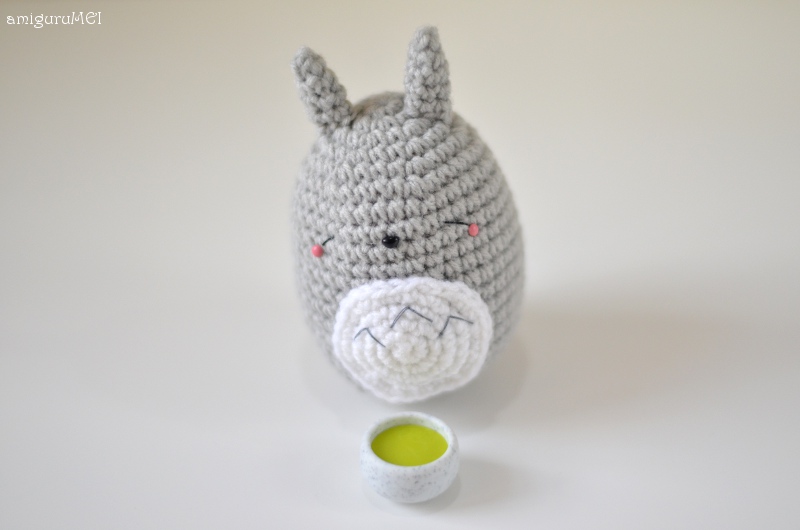
- Glue on the triangle nose below Round 8.
- For the eyes, count 3 stitches from the nose. Then make one simple diagonal backstitch (with black sewing thread) from the middle of Round 8 to the middle of Round 9. Repeat on the other side.
- Glue pink brads onto the cheeks.
- Sew 3 arrow tops (with dark grey sewing thread) onto the white tummy.
- Sew the white tummy onto the body using a backstitch (this will give a neater effect as compared to the whipstitch method).
- Sew on the ears. They should fall below Round 2 of the body, about one-thumb apart.
- Sew on the tail at the back of the body. Tada!
As this is an original amiguruMEI pattern, kindly do not claim it as your own. You may place a link to this pattern from your site, but please do not repost it onto your page. Remember to share a picture of your own kawaii Sleeping Totoro with us!

YAY! I’m going to start mine tonight with a nice hot cup of tea! Thank you so much. Your patterns are the best!
Thanks for sharing the pattern!….Your creations are amazing and i cant wait to start making this totoro
Excellent!
Aww he’s incredibly cute 😀
Thanks for this cute Totoro pattern !
I love all your works ^-^ I followed you on Flickr, I didn’t know you have a blog !
So cute ^^
Thanks for sharing it with us!! I’m starting right now.
I LOVE IT!!
Thank you so much for this adorable pattern. Wish mine came out as kawaii as yours, but I think more are on the verge.
Here’s a link to the pic: [http://www.flickr.com/photos/binksandtobes/9501011228/]
How are your creations so amazingly cute?!
Thanks for sharing!
Thank you! I am so glad 🙂
This is very interesting, You’re a very skilled blogger.
I have joined your feed and look forward to seeking more of your magnificent post.
Also, I’ve shared your website in my social networks!
I truly appreciate this post. I have been looking all over for this! Thank goodness I found it on Bing. You’ve made my day! Thanks again! bdebgbbgkekf
I think this is among the most significant info for me. And i am glad reading your article.
But wanna remark on some general things, The web site style is perfect,
the articles is really nice : D. Good job, cheers
Thanks for the adorable pattern<3. I have made one and make the credit in my post also in https://petitechi.squarespace.com/blog/2014/6/2/chibi-totoro
Ah I so want to make this. I am having trouble following patterns and videos though :s
Thanks for the simple pattern
Thanks for the sharing the pattern *0*…
Meet my lil fatty totoro…
http://instagram.com/yelhsay
Thank you so much for this adorable pattern! I made one for my client at my shop on Etsy (called DerpKitten) https://m.ak.fbcdn.net/photos-h.ak/hphotos-ak-xpa1/t1.0-0/994103_10202361009362353_7627898481993480310_n.jpg
My client picked this pattern and I did not claim this as my own.
It’s a pity you don’t have a donate button!
I’d without a doubt donate to this excellent blog! I guess for now i’ll settle for
book-marking and adding your RSS feed to my Google account.
I look forward to fresh updates and will share this blog with
my Facebook group. Talk soon!
Where did you find the plastic eyes, nose, and brad?
I purchased the plastic nose from Etsy, and the rest from a craft store. But I suppose you can find everything from Etsy? Hope that helps!
hi Amigurumei!! thank you so much for sharing your patterns, I’m a big fan of your work! I have a doubt, the start of every round is with a chain 1?
Hi Margui!
Thank you so much! I’m so glad 🙂 I actually don’t start each round with a chain 1. I just continue with the rounds according to the stitches. Hope this helps!
Mei
thank you so much Amigurumei!!
ありがとうございます!
What yarn weight do you use for your patterns? I noticed you didnt specify
Thank you! This is the simplest Toroto pattern I have found. Its so cute!