Hello my dear friends!
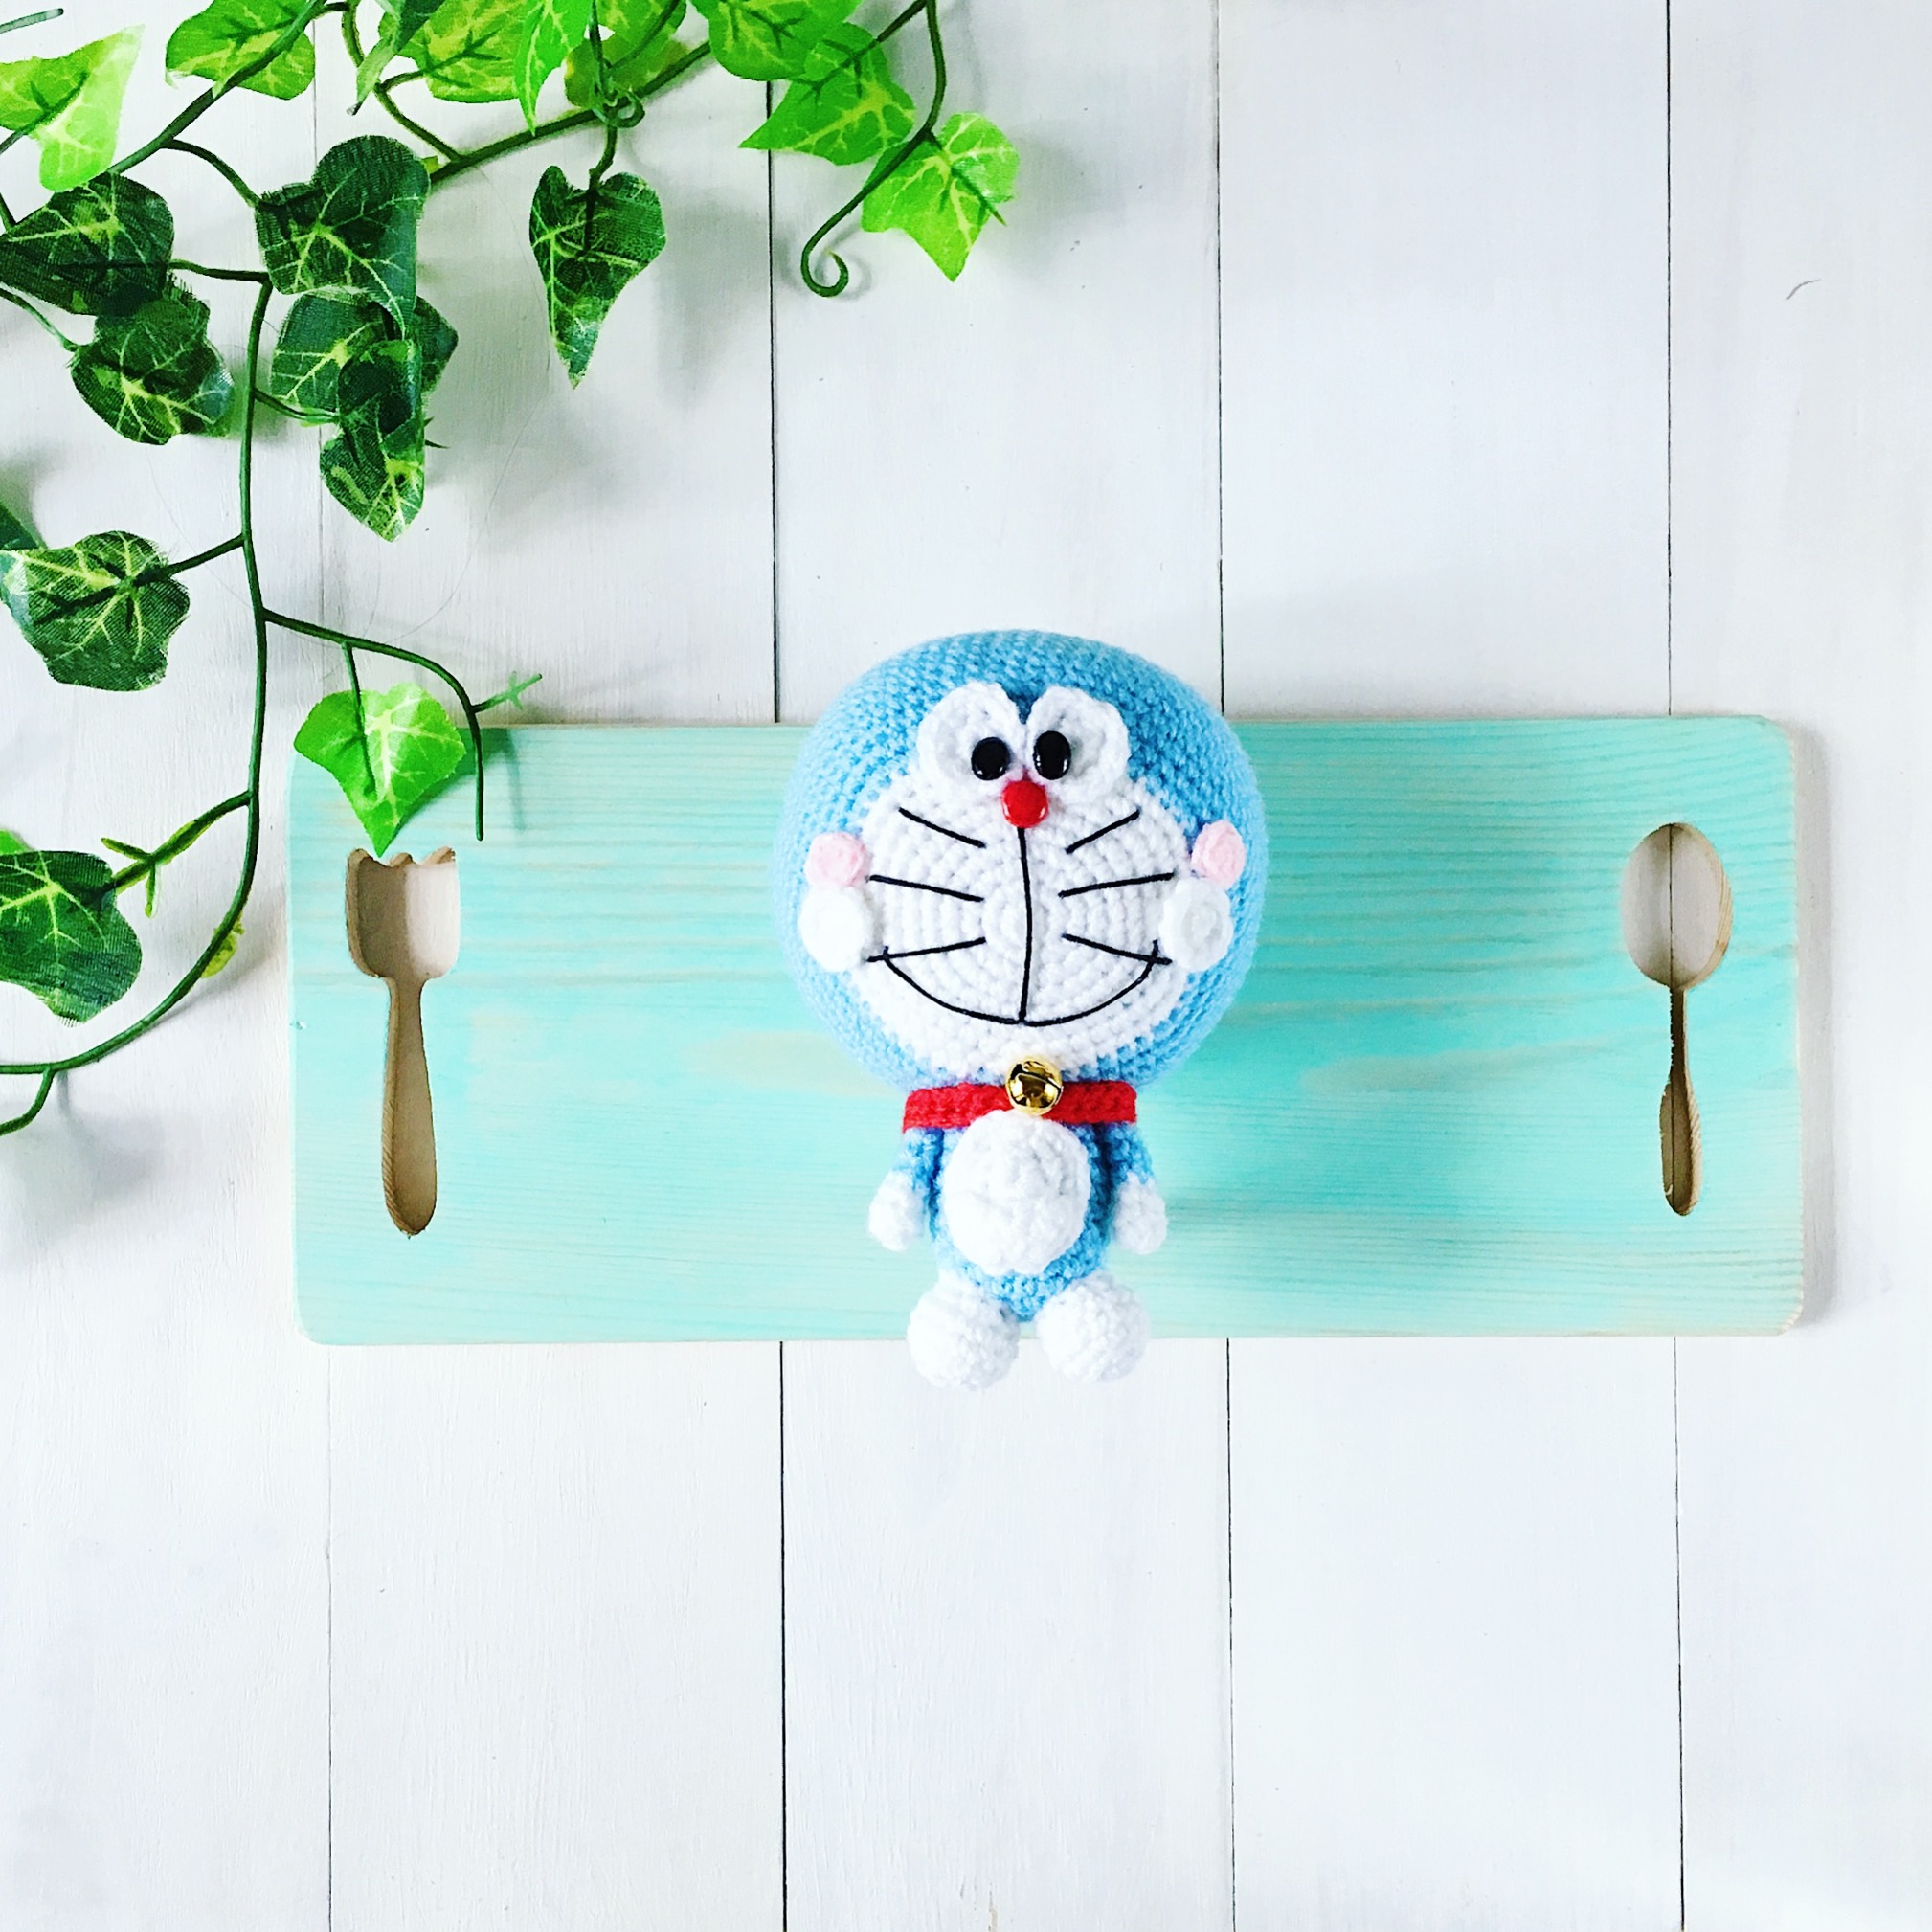
I’m back again with another brand new amigurumi pattern. Behold, the mystical blue cat with an infinity pocket: Doraemon!
I had to re-do the head a few times as I was using a darker blue earlier but ran out of yarn before I could finish! And I thought I had it covered 😉
I never thought that I would make Doraemon so soon (it has always been in my to-do list!) but a family member hinted at wanting one and I just couldn’t resist!
I must be honest: I don’t own anything Doraemon so this doll is really the only thing I have and eeps! I’ll have to give it away soon! I grew up watching bits and pieces of the show — never really a full episode I think! Making this doll has really made me wonder why I never did! (Catch-up time now!)
I really hope you’ll enjoy this pattern!
Let’s get started, shall we?

Doraemon amigurumi pattern
by amiguruMEI
Skill level: Easy
Duration: About 6 hours
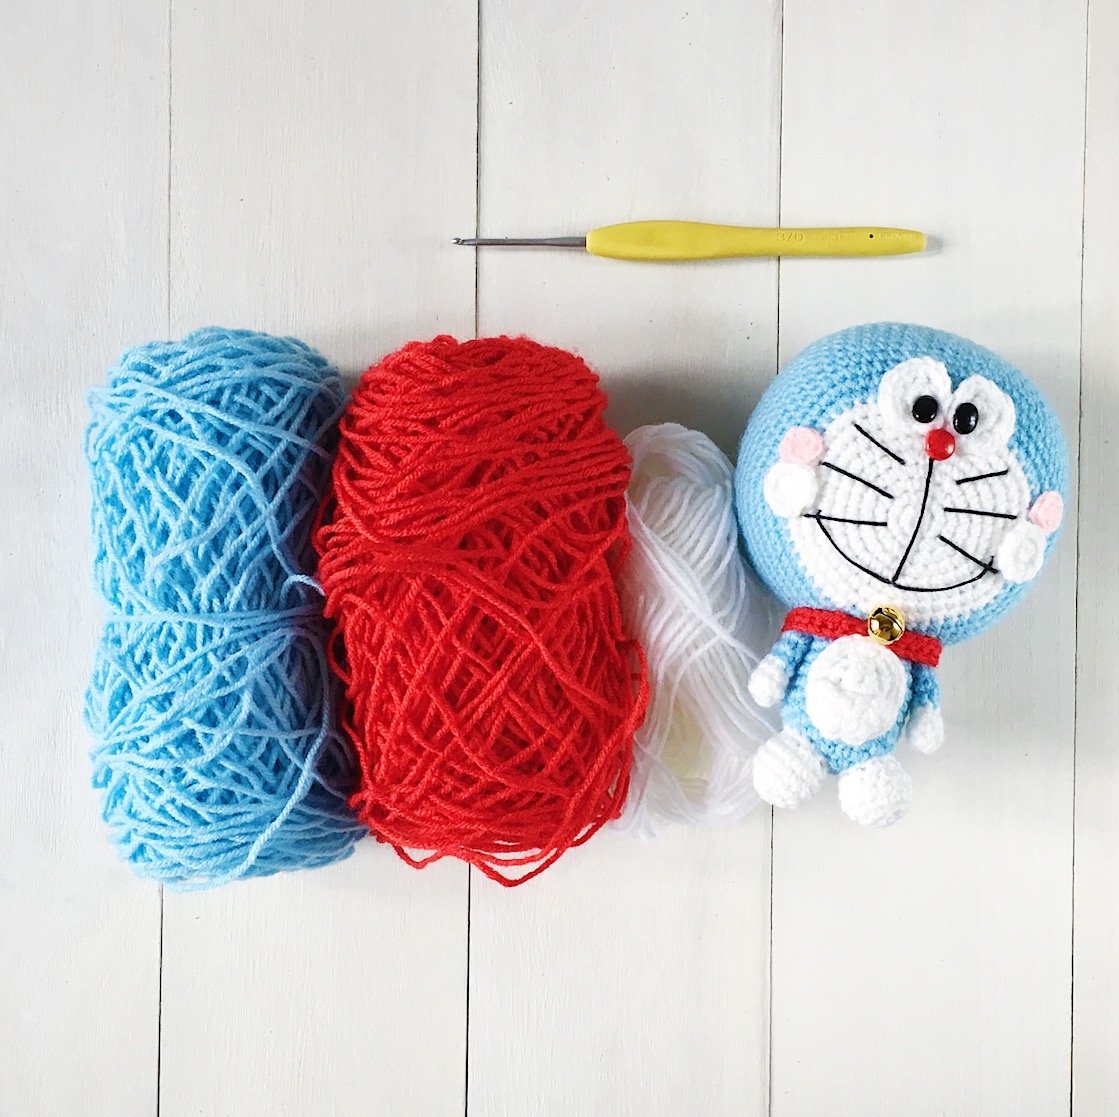
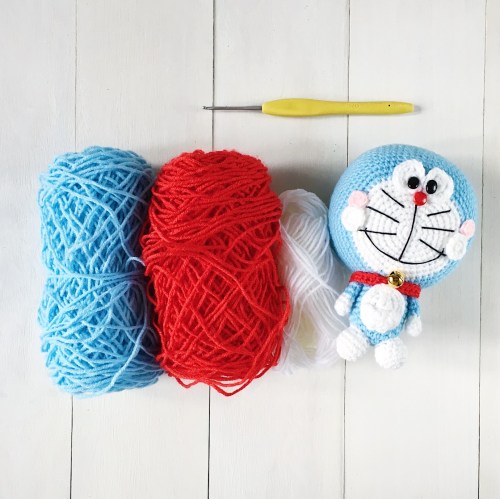
Materials & Tools
2.3mm hook
Acrylic yarn in white, light blue, red and pink
Black crochet thread/embroidery floss
8mm oval doll’s eyes x 2
7mm red brad x 1
Small gold bell
Darning needle
Polyester fiberfill
Craft glue
Head
With white yarn:
Round 1: Sc 6 in magic ring {6}.
Round 2: [Inc] around {12}.
Round 3: [Inc, sc 1] around {18}.
Round 4: [Inc, sc 2] around {24}.
Round 5: [Inc, sc 3] around {30}.
Round 6: [Inc, sc 4] around {36}.
Round 7: [Inc, sc 5] around {42}.
Round 8: [Inc, sc 6] around {48}.
Round 9: [Inc, sc 7] around {54}.
Change to light blue yarn.
Round 10: [Inc, sc 8] around {60}.
Round 11: [Inc, sc 9] around {66}.
Round 12: [Inc, sc 10] around {72}.
Rounds 12-23 (12 rounds altogether): Sc around {72}.
Round 24: [Inv dec, sc 10] around {66}.
Round 25: [Inv dec, sc 9] around {60}.
Round 26: [Inv dec, sc 8] around {54}.
Round 27: [Inv dec, sc 7] around {48}.
Round 28: [Inv dec, sc 6] around {42}.
Round 29: [Inv dec, sc 5] around {36}.
Round 30: [Inv dec, sc 4] around {30}.
Round 31: [Inv dec, sc 3] around {24}.
Round 32: [Inv dec, sc 2] around {18}.
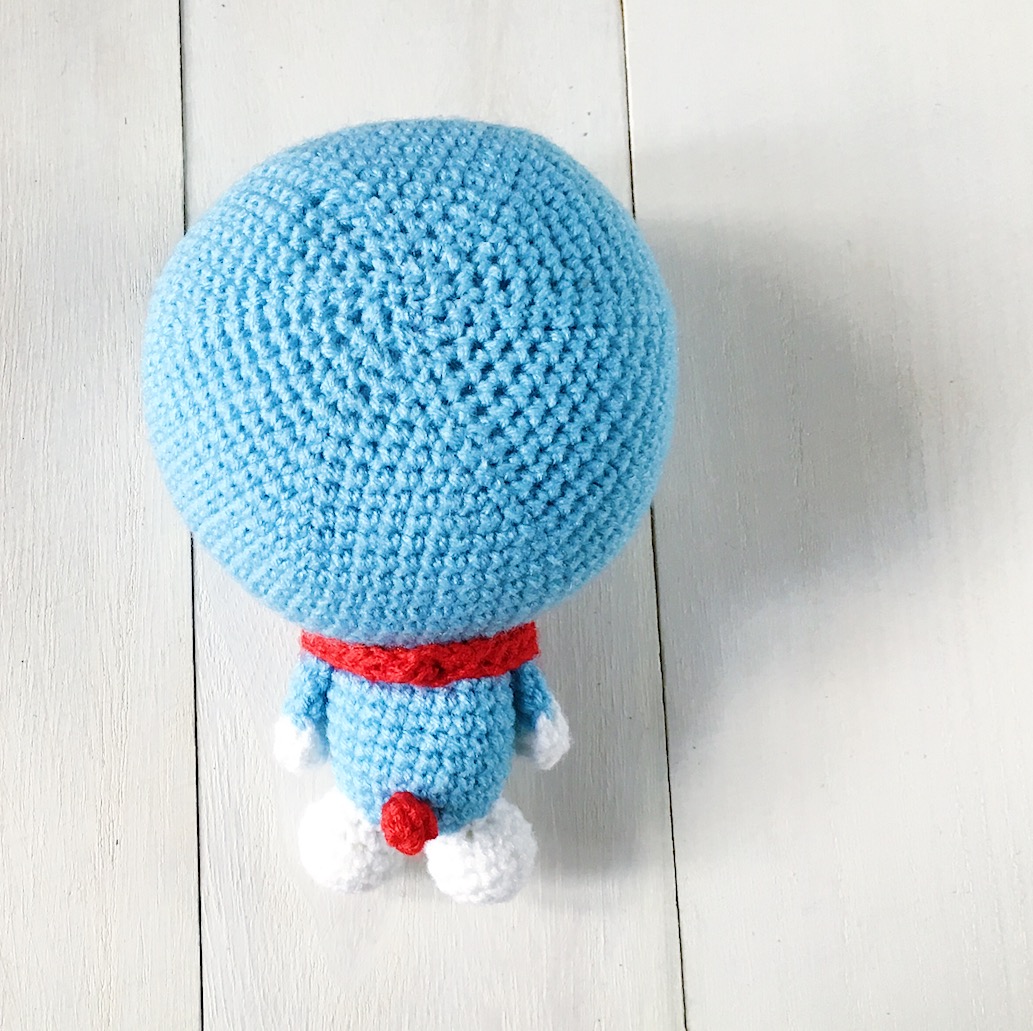
Stuff head. Mould and shape the piece to ensure that the front of the head (the white part) is flat.
Round 33: [Inv dec, sc 1] around {12}.
Round 34: [Inv dec] around {6}.
Fasten off and weave in ends.
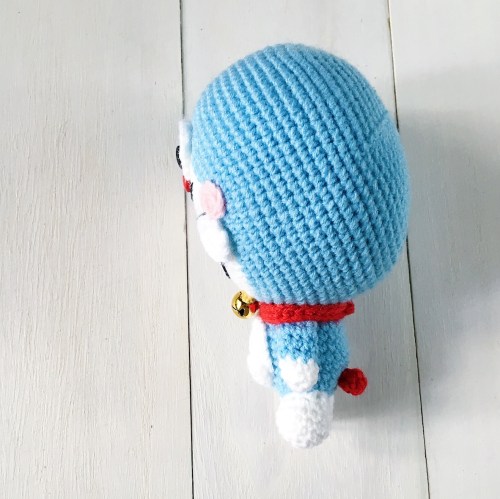
(The side view of the head turned out a little flatter than I would’ve liked. If you want a rounder version, you can definitely add a few more rounds after Round 23).
Body
With light blue yarn:
Round 1: Sc 6 in magic ring {6}.
Round 2: [Inc] around {12}.
Round 3: [Inc, sc 1] around {18}.
Round 4: [Inc, sc 2] around {24}.
Rounds 5-12 (8 rounds altogether): Sc around {24}.
Fasten off and leave a long end for sewing.
Stuff body.
Eyes (Make 2)
With white yarn:
Round 1: Sc 8 in magic ring {8}.
Round 2: [Inc] around {16}.
Fasten off and leave a long end for sewing. Pull on the piece to stretch it into an oval shape.
Arms (Make 2)
With white yarn:
Round 1: Sc 7 in magic ring {7}.
Rounds 2-3: Sc around {7}.
Change to light blue yarn.
Rounds 4-7: Sc around {7}.
Fasten off and leave a long end for sewing. You can shape the white end by pressing on it to give it a balled-up look.
Feet (Make 2)
With white yarn:
Round 1: Sc 5 in magic ring {5}.
Round 2: [Inc] around {10}.
Round 3: [Inc, sc 1] around {15}.
Rounds 4-5: Sc around {15}.
Round 6: [Inv dec, sc 1] around {10}.
Fasten off and leave a long end for sewing. Stuff feet.
Tummy
With white yarn:
Round 1: Sc 8 in magic ring {8}.
Round 2: [Inc] around {16}.
Round 3: [Inc, sc 1] around {24}.
Fasten off and leave a long end for sewing. Pull on the piece to stretch it into an oval shape.
Pocket
With white yarn:
Row 1: Sc 4 in magic ring {4}. Ch 1, turn work.
Row 2: [Inc] around {8}. Ch 1, turn work.
Row 3: [Inc, sc 1] around {12}.
Fasten off and leave a long end for sewing.

Tail
With red yarn:
Round 1: Sc 5 in magic ring {5}.
Round 2: Sc around {5}.
Fasten off, weave in ends and leave a long end for sewing.
Collar
With red yarn:
Row 1: Ch 30, turn work.
Row 2: Sc in each st across. {29}.
Fasten off and leave a long end for sewing. (You can add or reduce stitches; just check to see if the collar fits all the way around Doraemon’s body + arms).
Cheeks (White, make 2)
With white yarn:
Round 1: Sc 5 in magic ring {5}.
Round 2: [Inc] around {10}.
Fasten off and leave a long end for sewing.
Cheeks (Pink, make 2)
With white yarn:
Round 1: Sc 5 in magic ring {5}.
Fasten off and leave a long end for sewing.
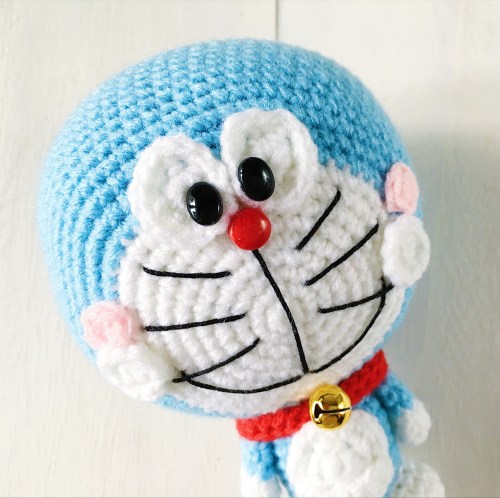
Designing the face
1. Pop the oval doll’s eyes into the white crochet eye pieces.
2. Deciding where Doraemon’s face is: The white part of the head should be facing towards you. Make sure the colour jog that happened during the colour switch is positioned at the bottom of the head. Stitch the eyes in the centre, approximately onto Round 7 to 11 of the head.
3. Pop in the red brad for the nose (mine falls on Round 6).
4. I used black crochet thread to sew on the whiskers and lips: the nose line should extend from Round 6 (at the bottom of the nose) vertically all the way to Round 5 at the bottom. I used a little craft glue to hold the lips in shape.
5. Sew on the white and pink cheeks.
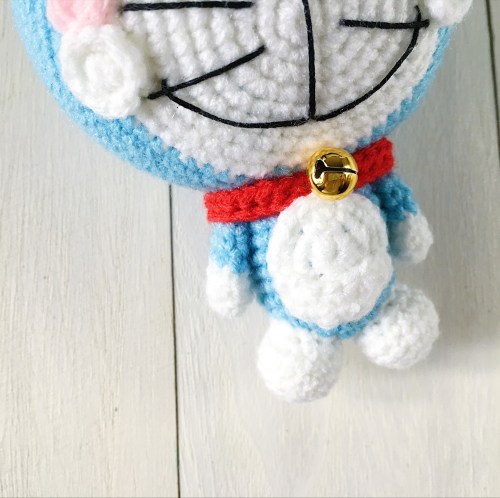
Assembly
1. Stitch head and body together.
2. Stitch tummy onto the body.
3. Stitch pocket onto the tummy.
4. Stitch arms onto the sides of the body.
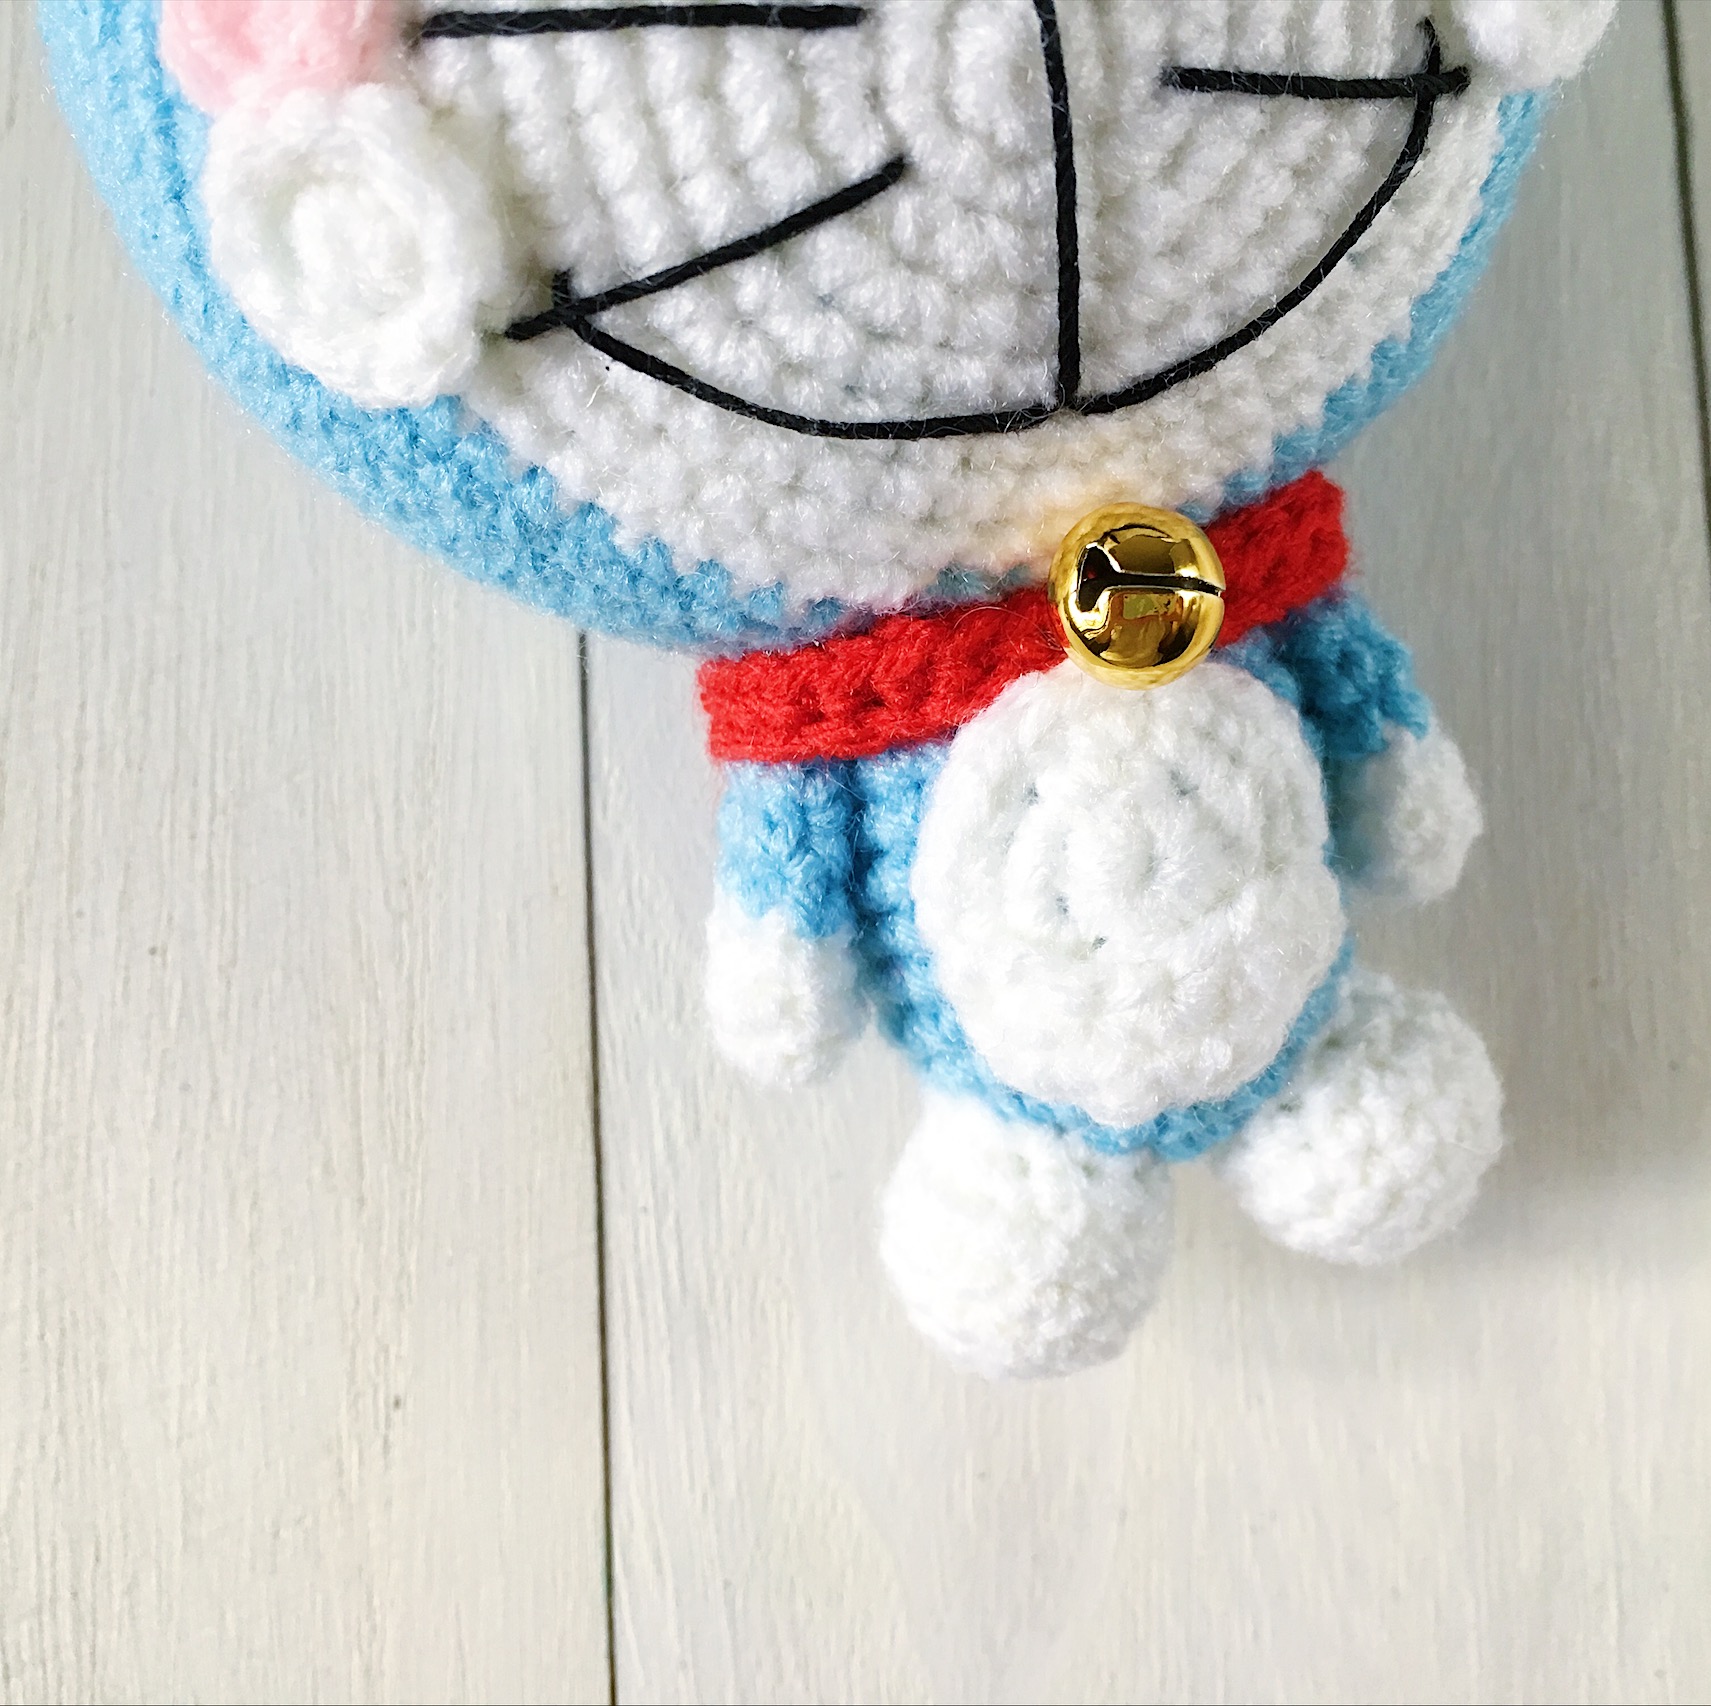
5. Stitch on the collar.
6. Attach the bell.
7. Stitch on the feet.
8. End with the tail at the back.

As this is an original amiguruMEI pattern, kindly do not claim it as your own. You may place a link to this pattern from your site, but please do not repost it onto your page. Send me a picture or tag me on Instagram @amigurumei when you’ve made your own Doraemon and I’ll share it here! 🙂