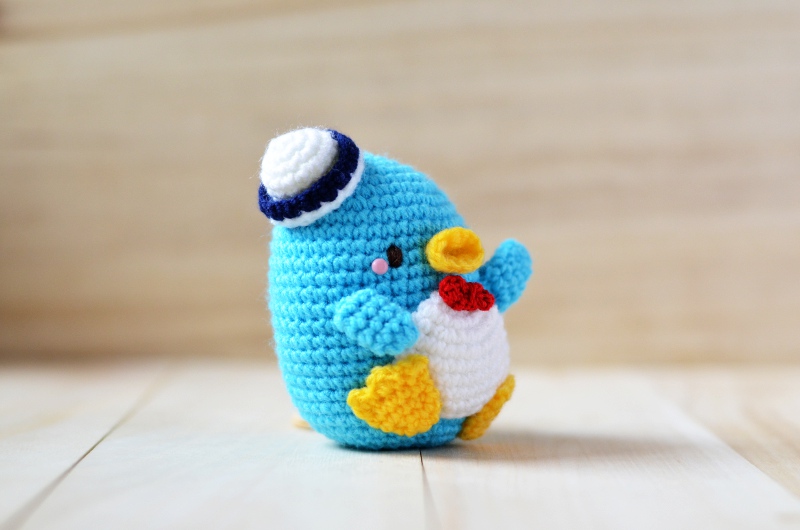
Hello again!
I hope you found the last post, where we talked about the unique Sanrio head-molding exercise, helpful!
Today, we’ll be bringing out the sewing kit, for we will be learning how to sew, or much rather, embroider on the face of sweet Miss Kitty White!
You will find that this technique is used for some other Sanrio characters as well, like the Little Twin Stars, Tuxedosam, The Sugarbunnies and of course My Melody and her goth but cherry-loving rival, Kuromi.
Let’s get started!
Exclusive Hello Kitty Crochet Tip#2: It’s in the eyes, nose and whiskers

As mentioned in “Basic Body Parts” (pg 93), you simply have to sew on the facial details using embroidery floss and a series of vertical or horizontal backstitches. Some of the patterns include specific instructions on where to sew the nose/eyes, and also how many stitches are needed.
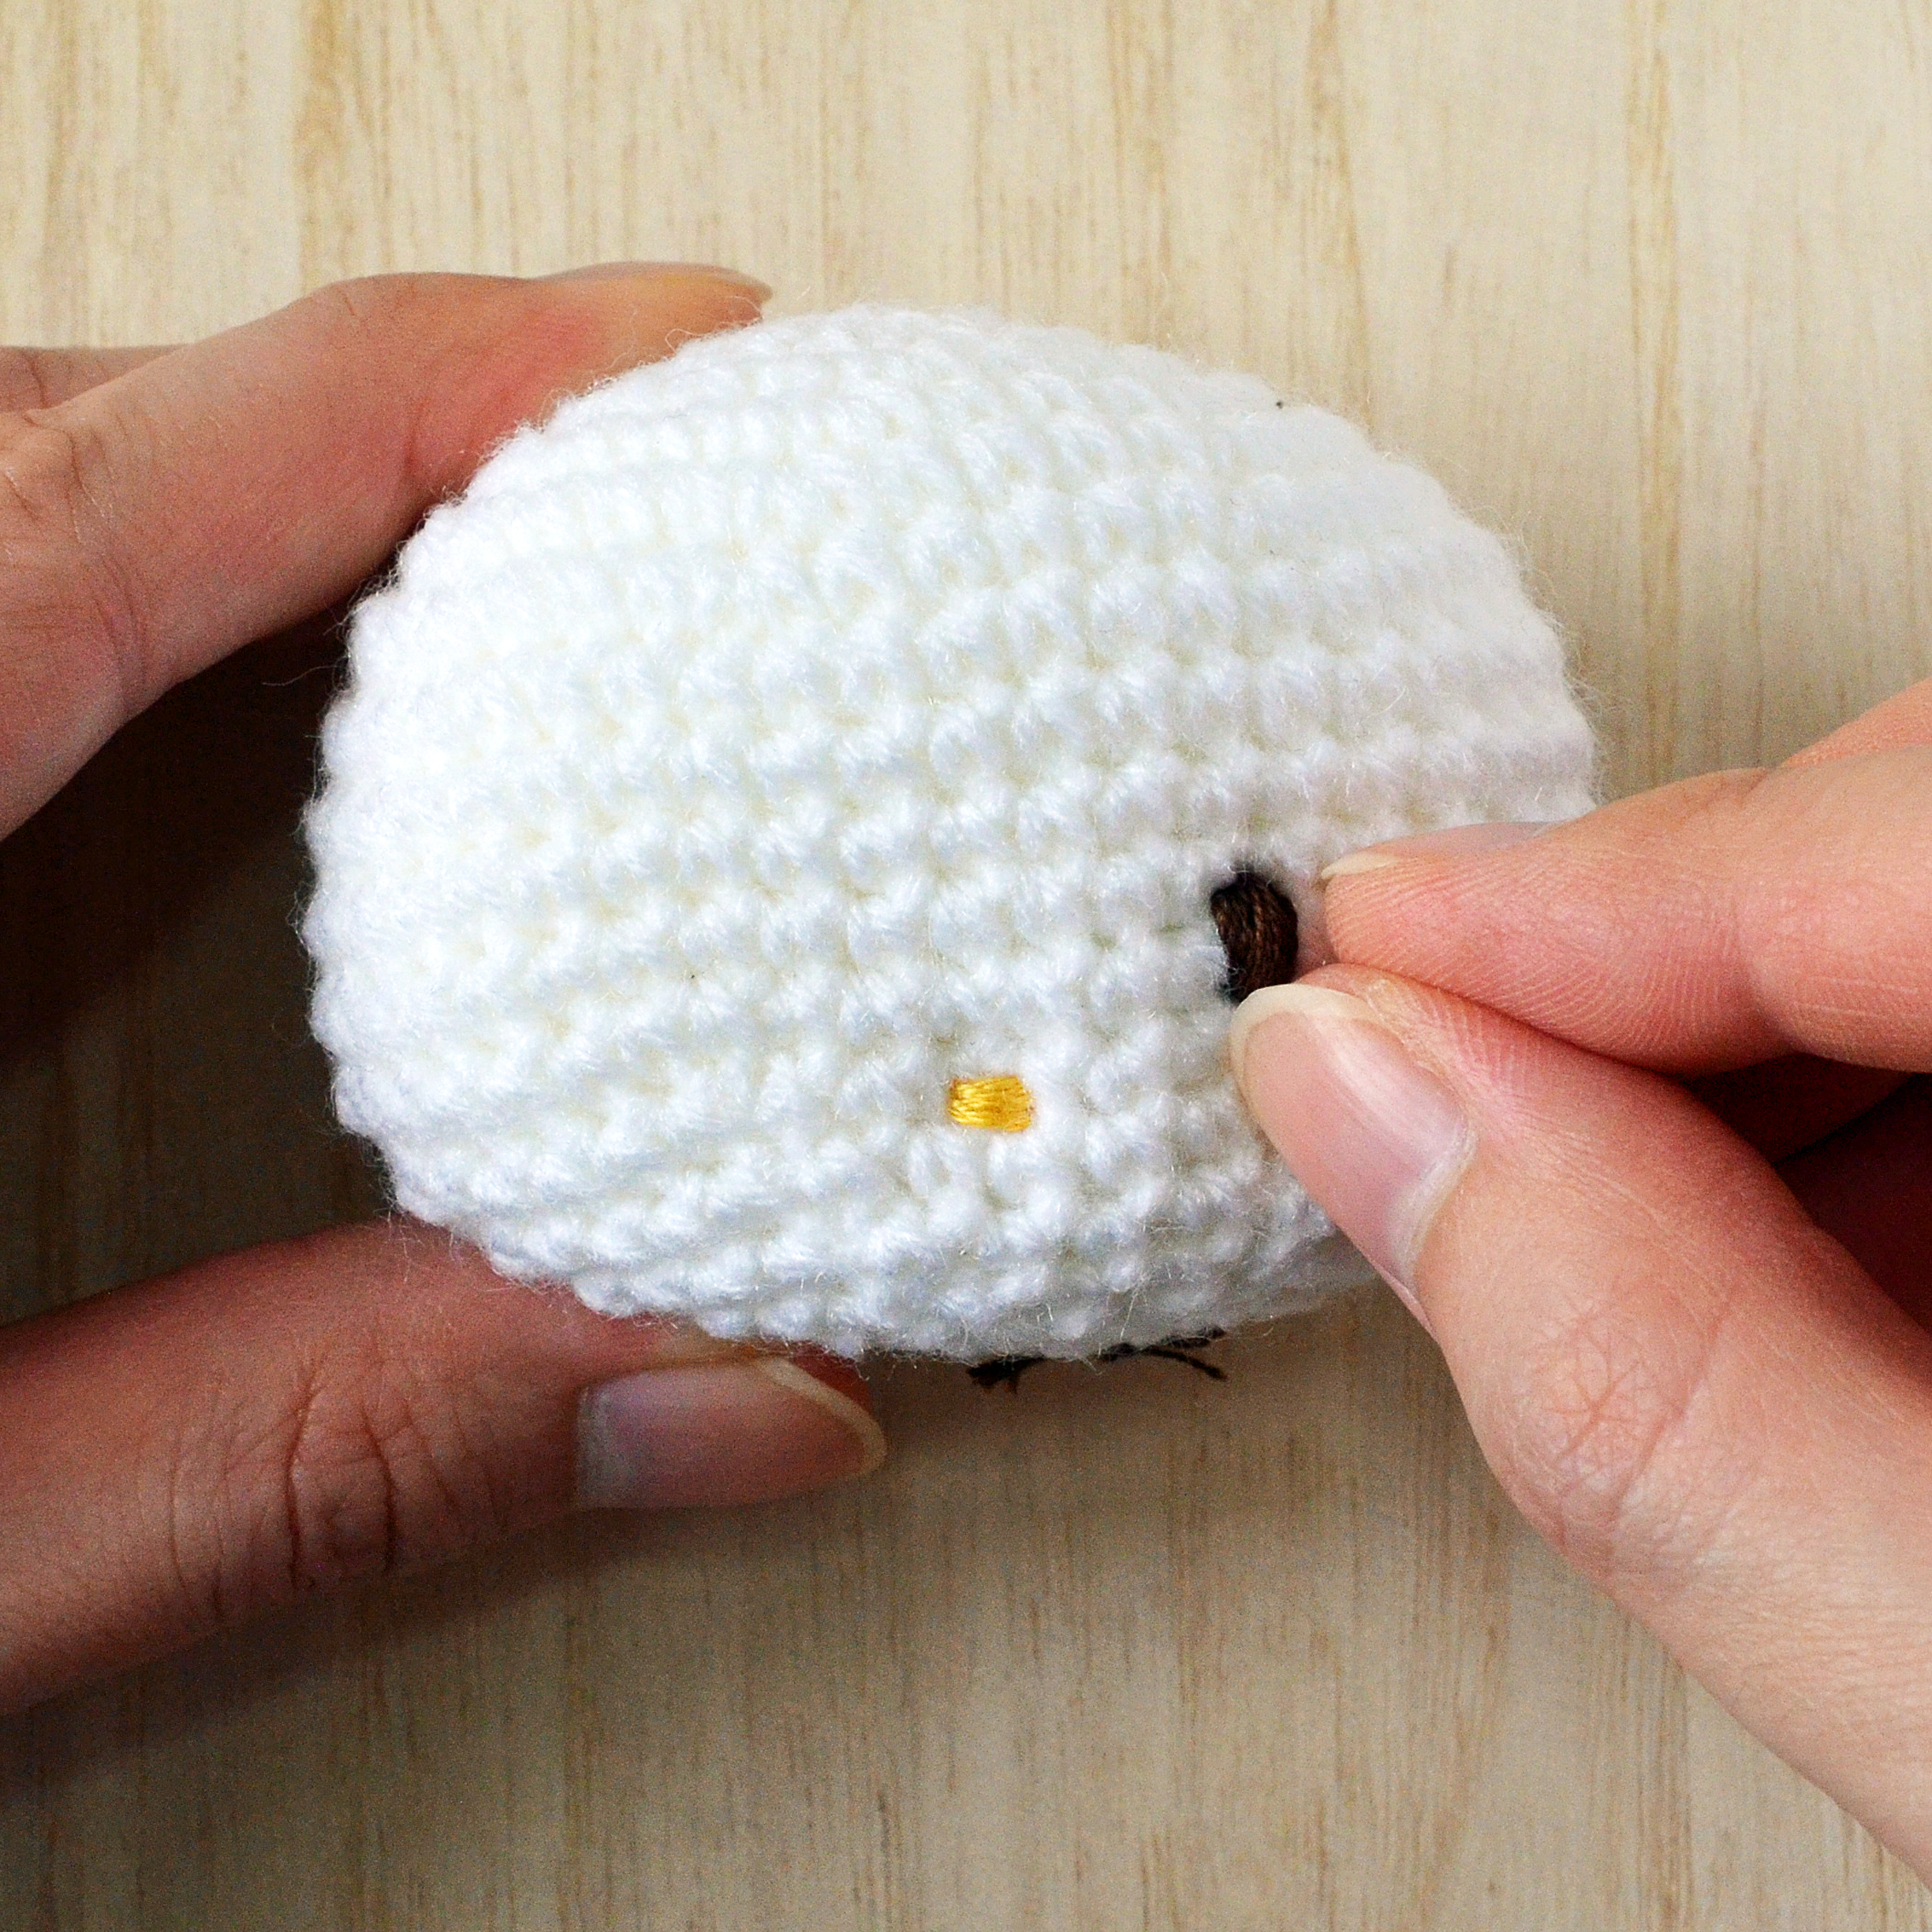
Hello Kitty and her daffodil-coloured nose:
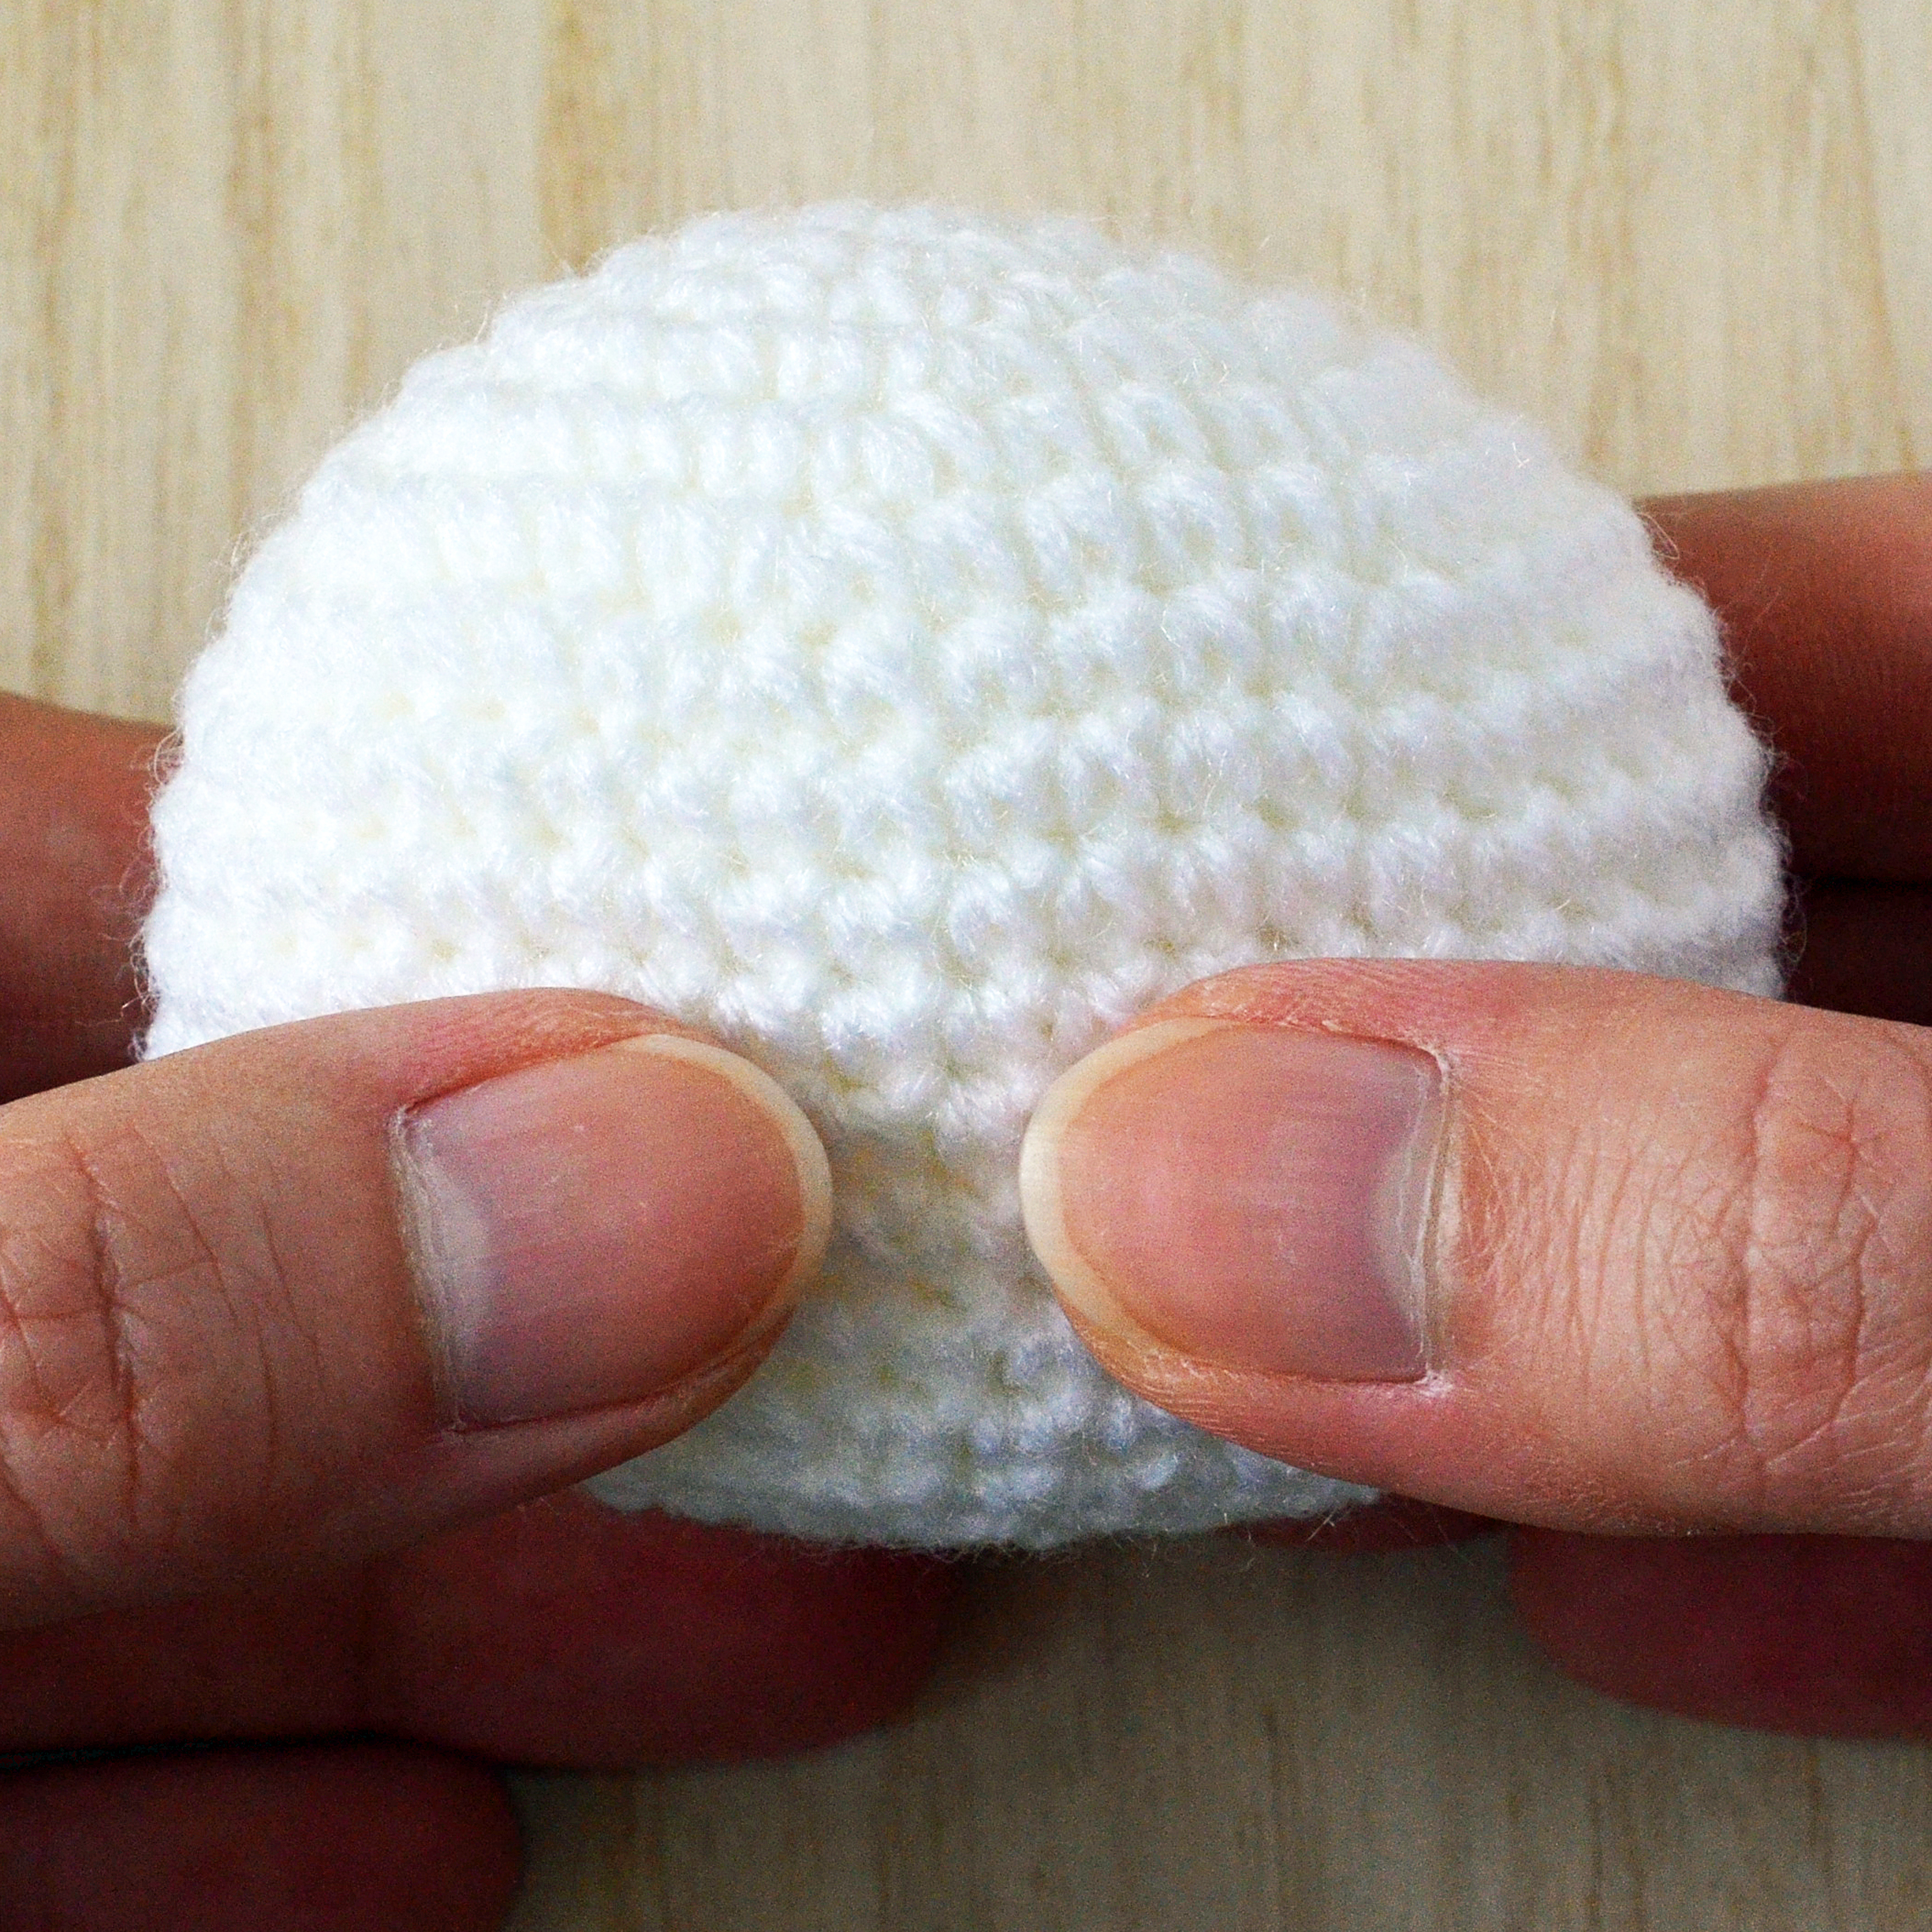
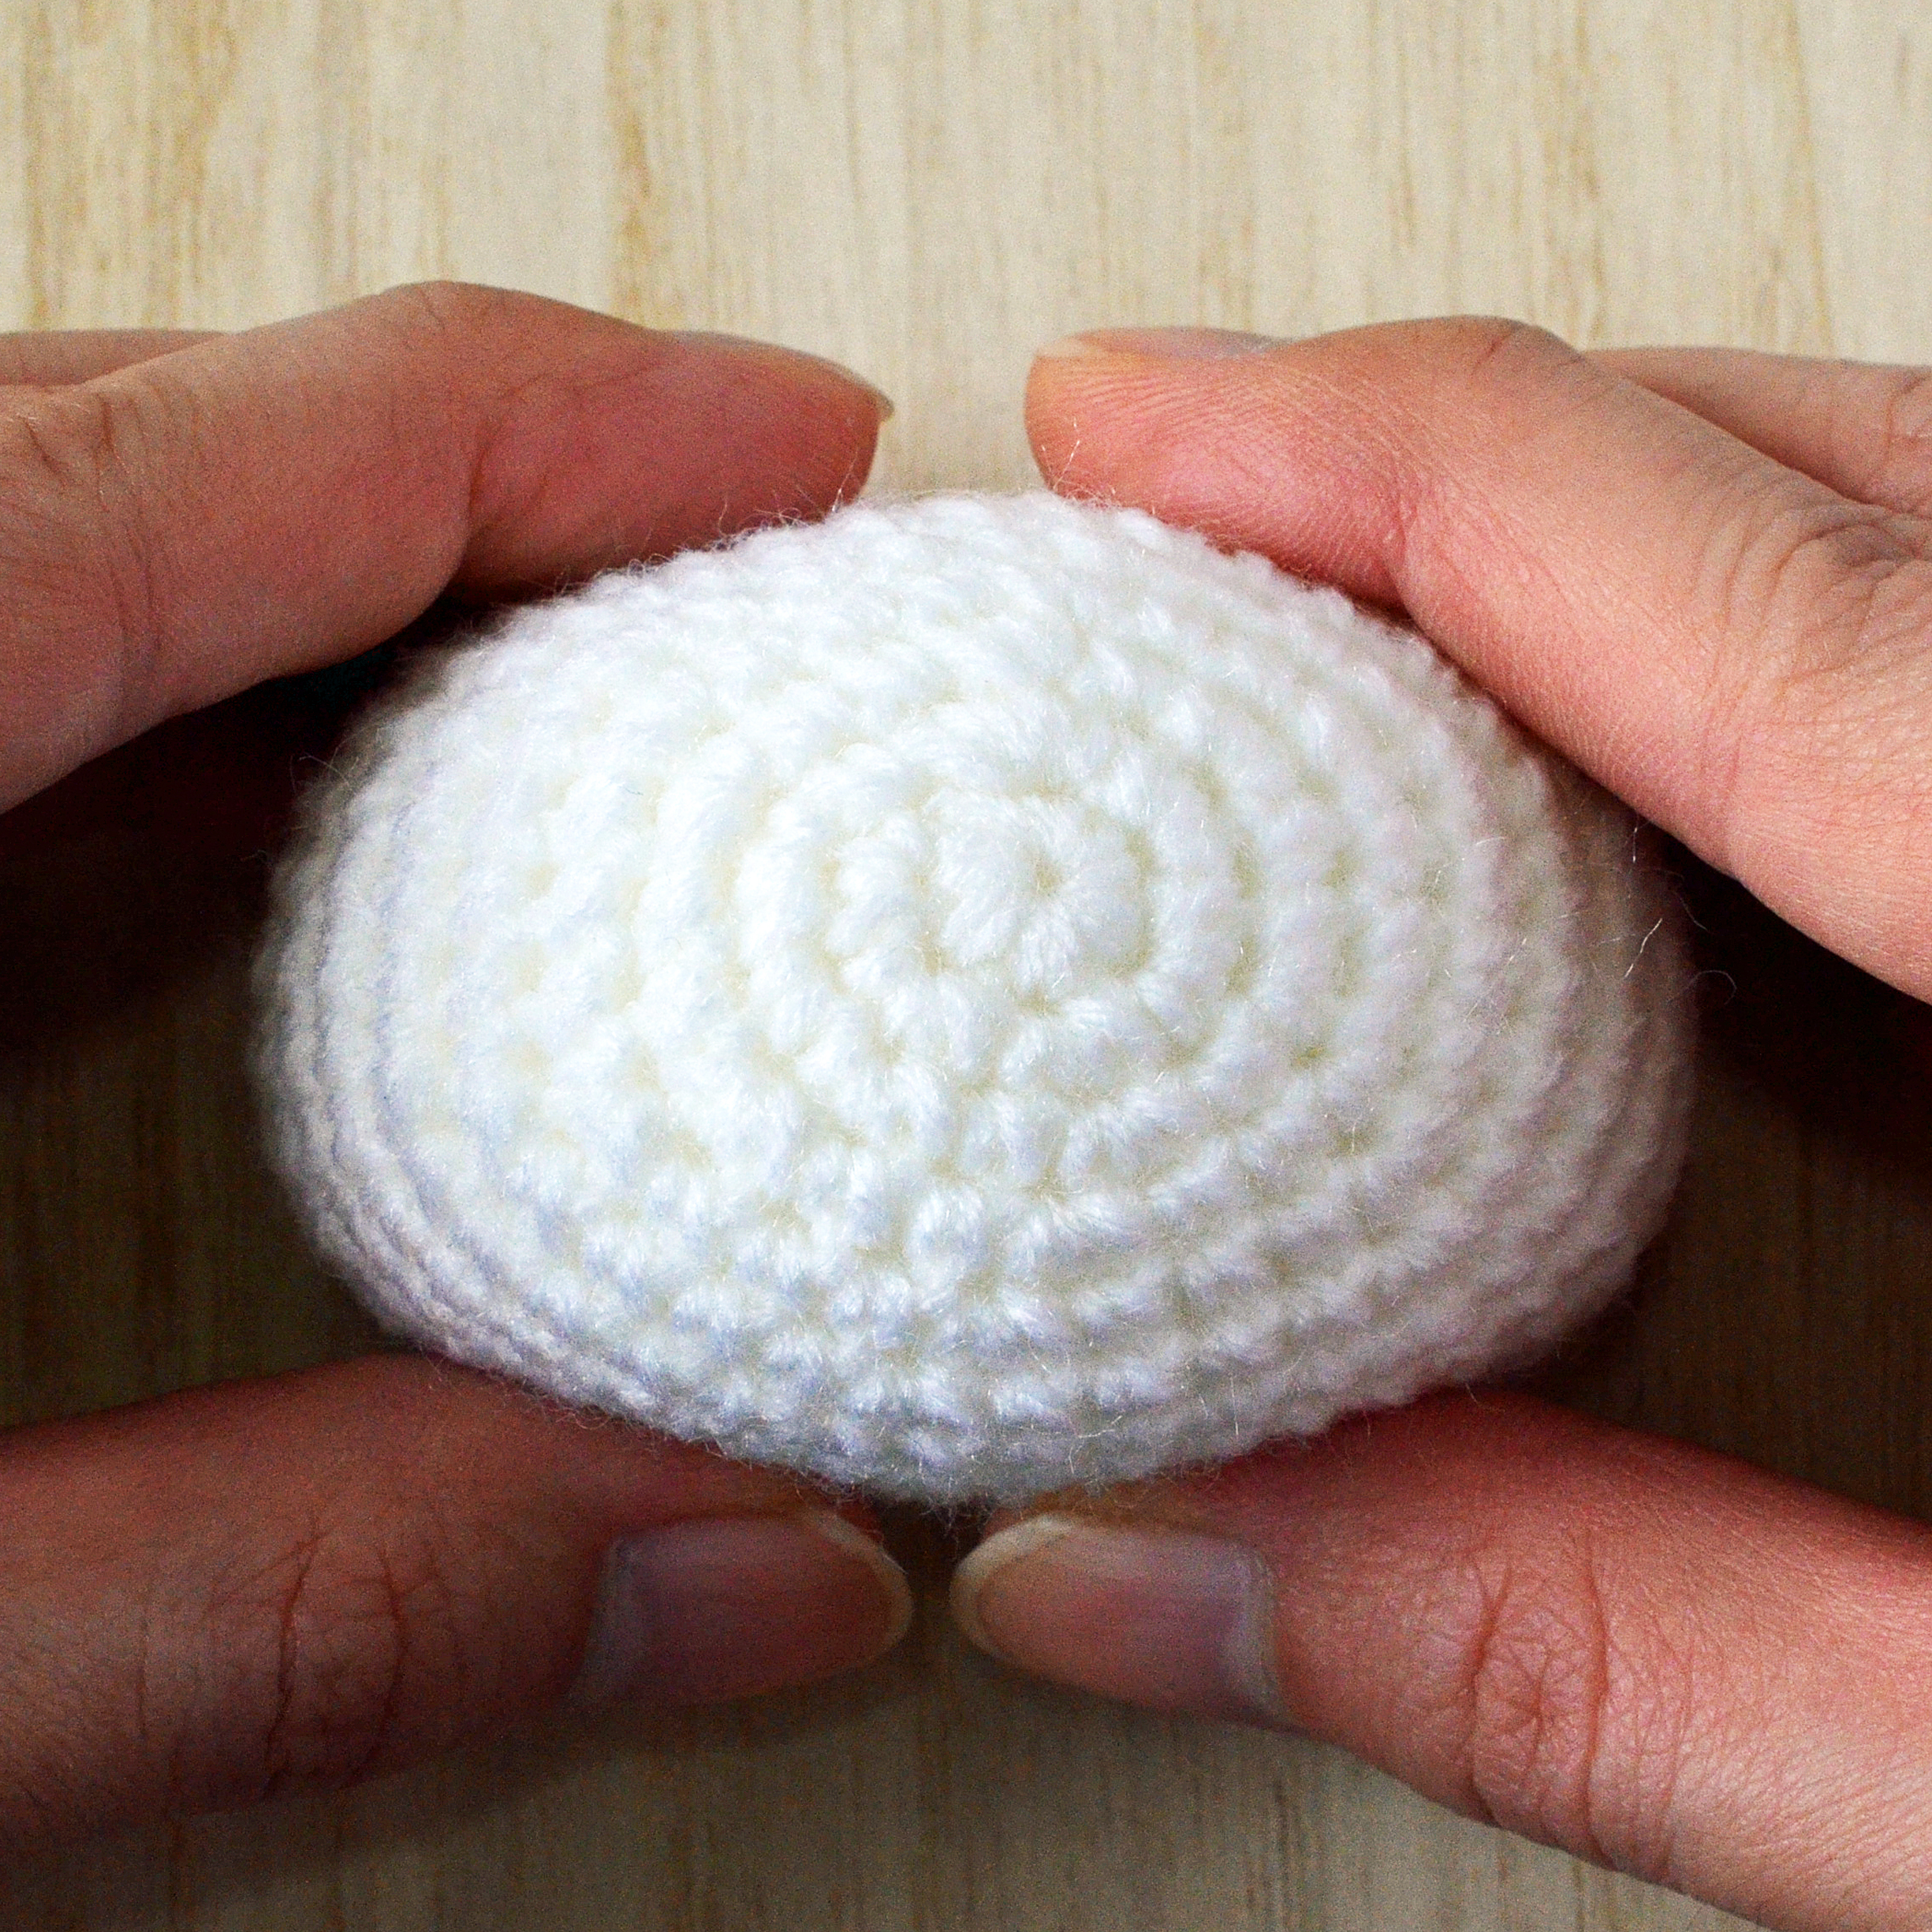
Step 1: Hold the head piece so that the flattened part of the face faces you.
Step 2: Count to Round 12.
Step 3: Start sewing directly below this round. The idea is for the nose to run from the start of Round 13. You can add on more or less stitches — mine usually consists of about six to eight horizontal backstitches.
Psst: You will find that the positioning of the nose/eyes can drastically change the look of your Hello Kitty. The best way to go about it is to ensure that the line of the nose falls directly below the eyes 🙂

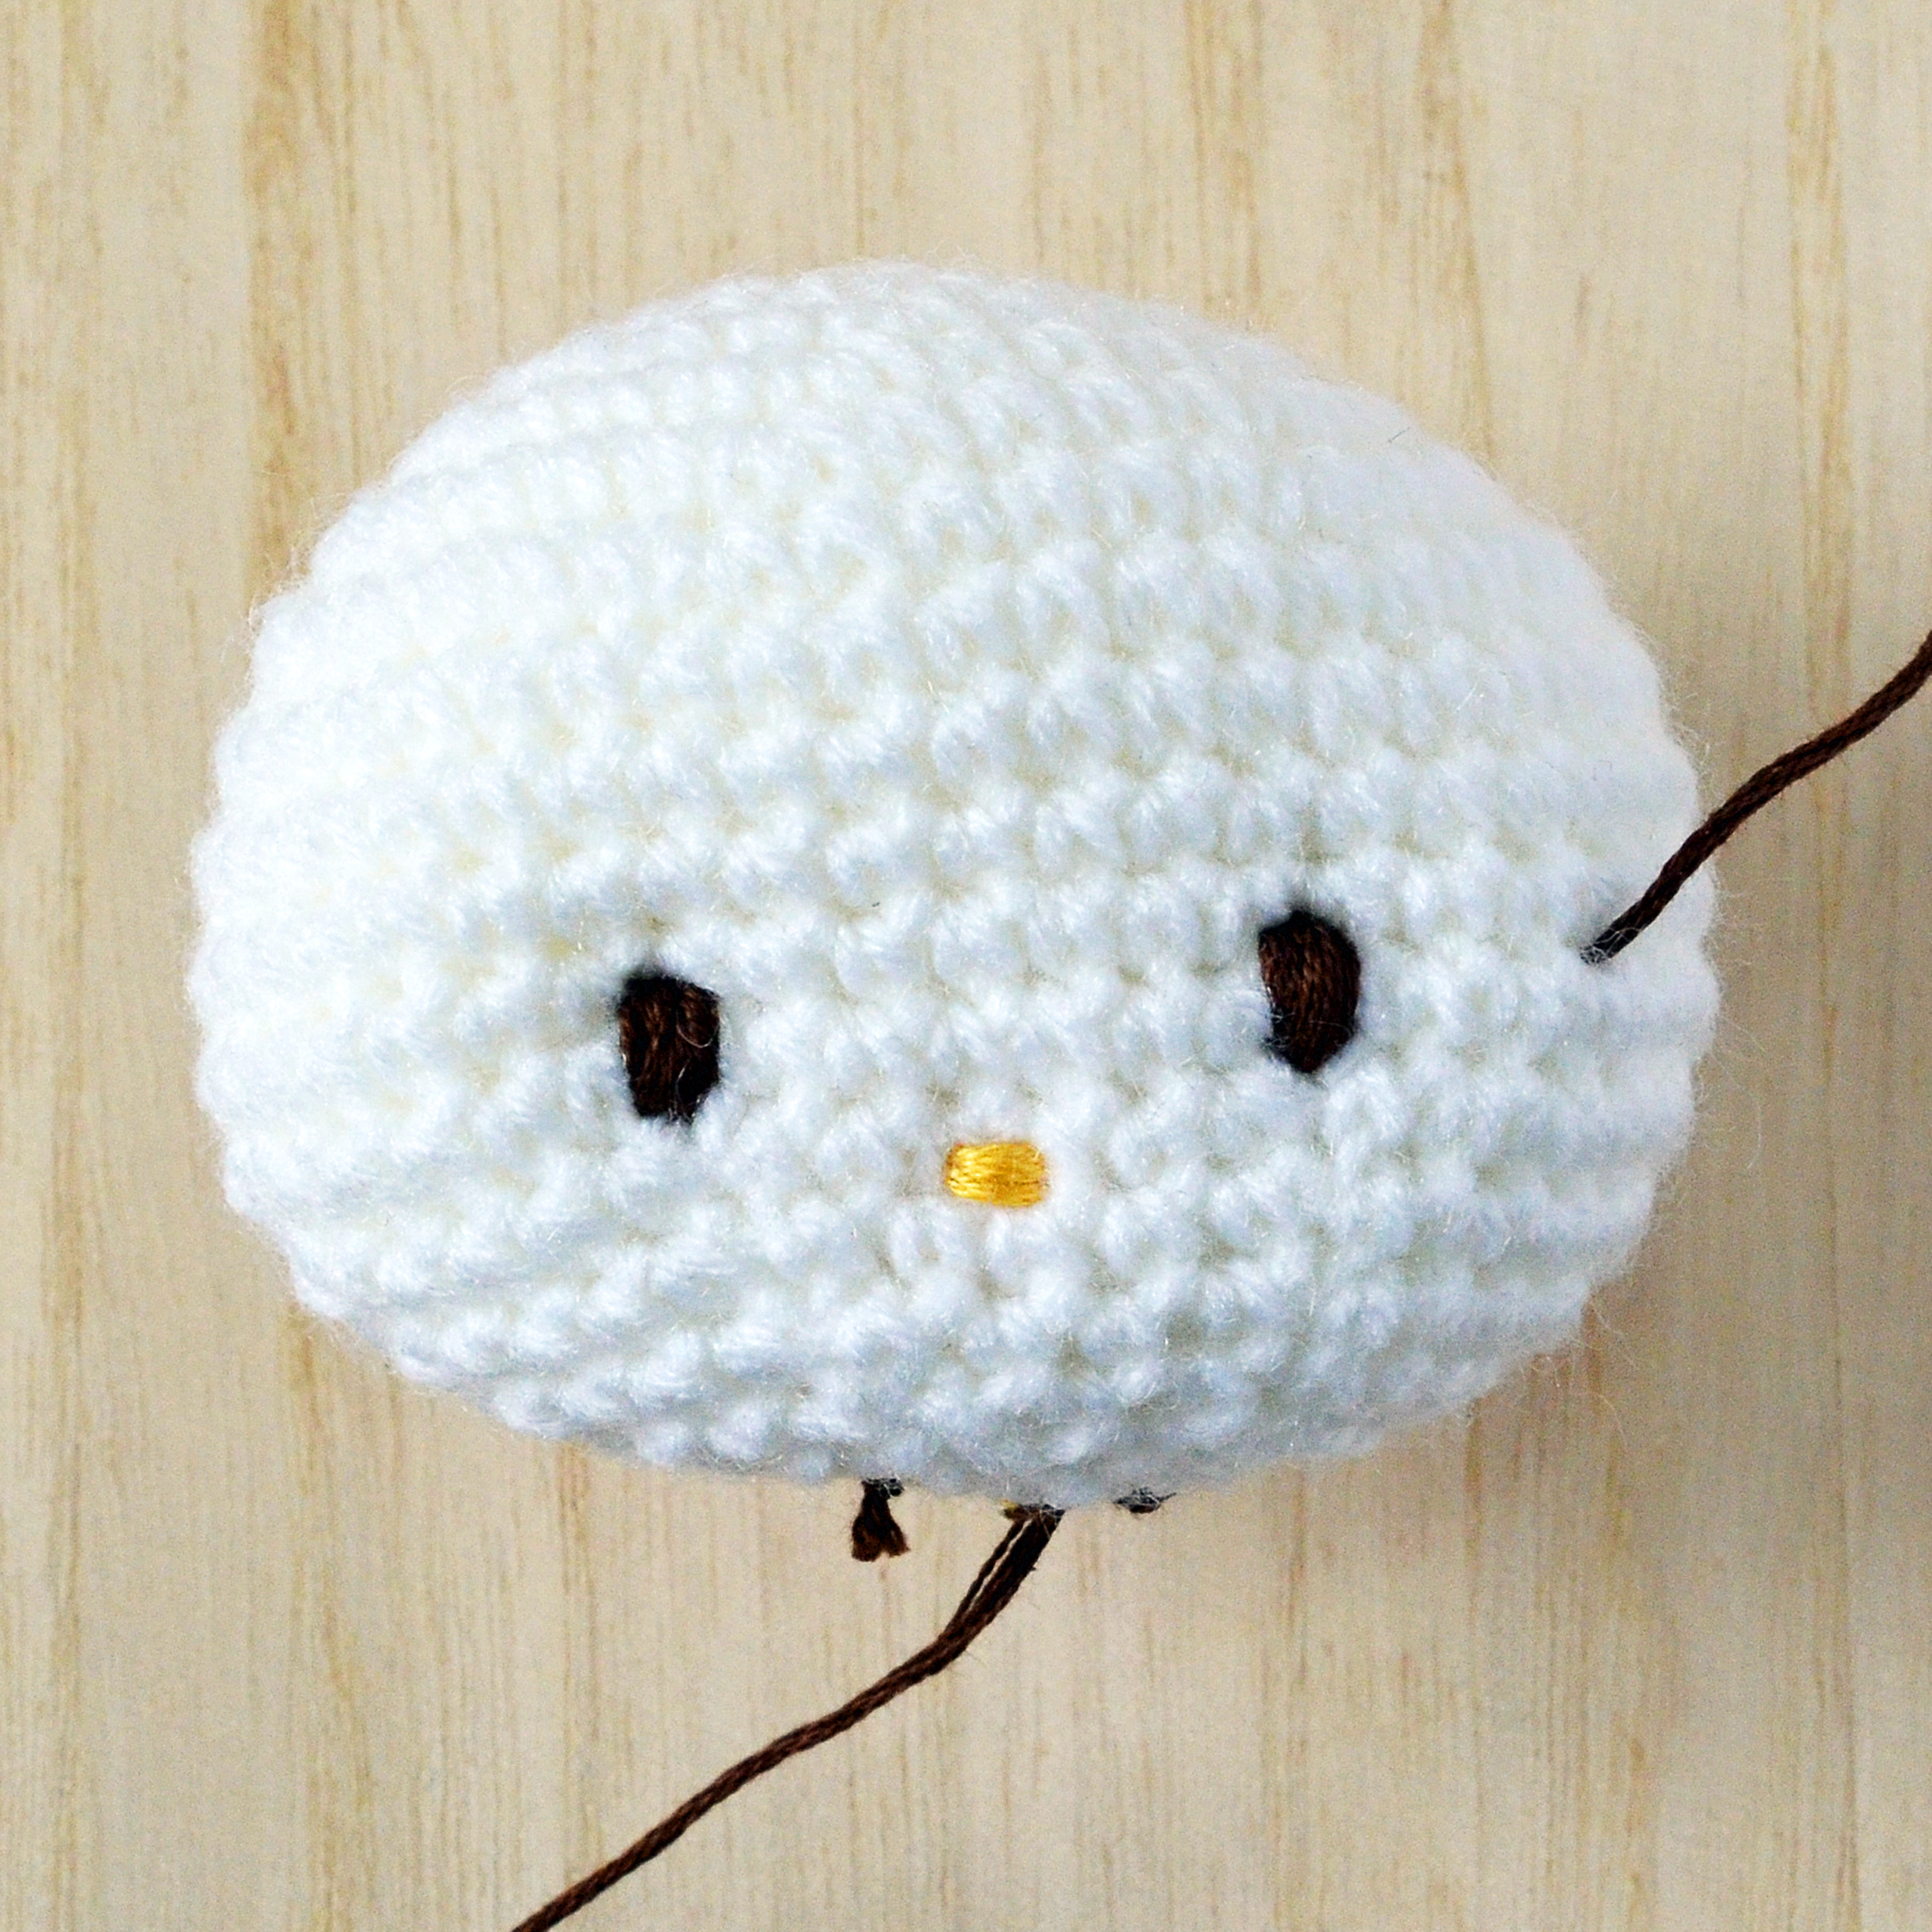
Hello Kitty and her brownie fudge eyes:
Step 1: Visually zone in on the third stitch away from the left/right hand side of the nose.
Step 2: Move this point two rows above to Round 11. This is where you should start sewing on the eyes.
Step 3: Simply embroider from Round 11 to Round 12 using vertical backstitches. I used 12 backstitches for each eye.
Step 4. After knotting off the ends at the bottom of the head, give the embroidered eyes a light pinch to make them slimmer and more oval-shaped.
Step 5: You can also gently press the eyes in to create a 3-dimensional kawaii look.


Do note that My Melody, and also Kuromi, have bigger winks than the rest of the gang 🙂

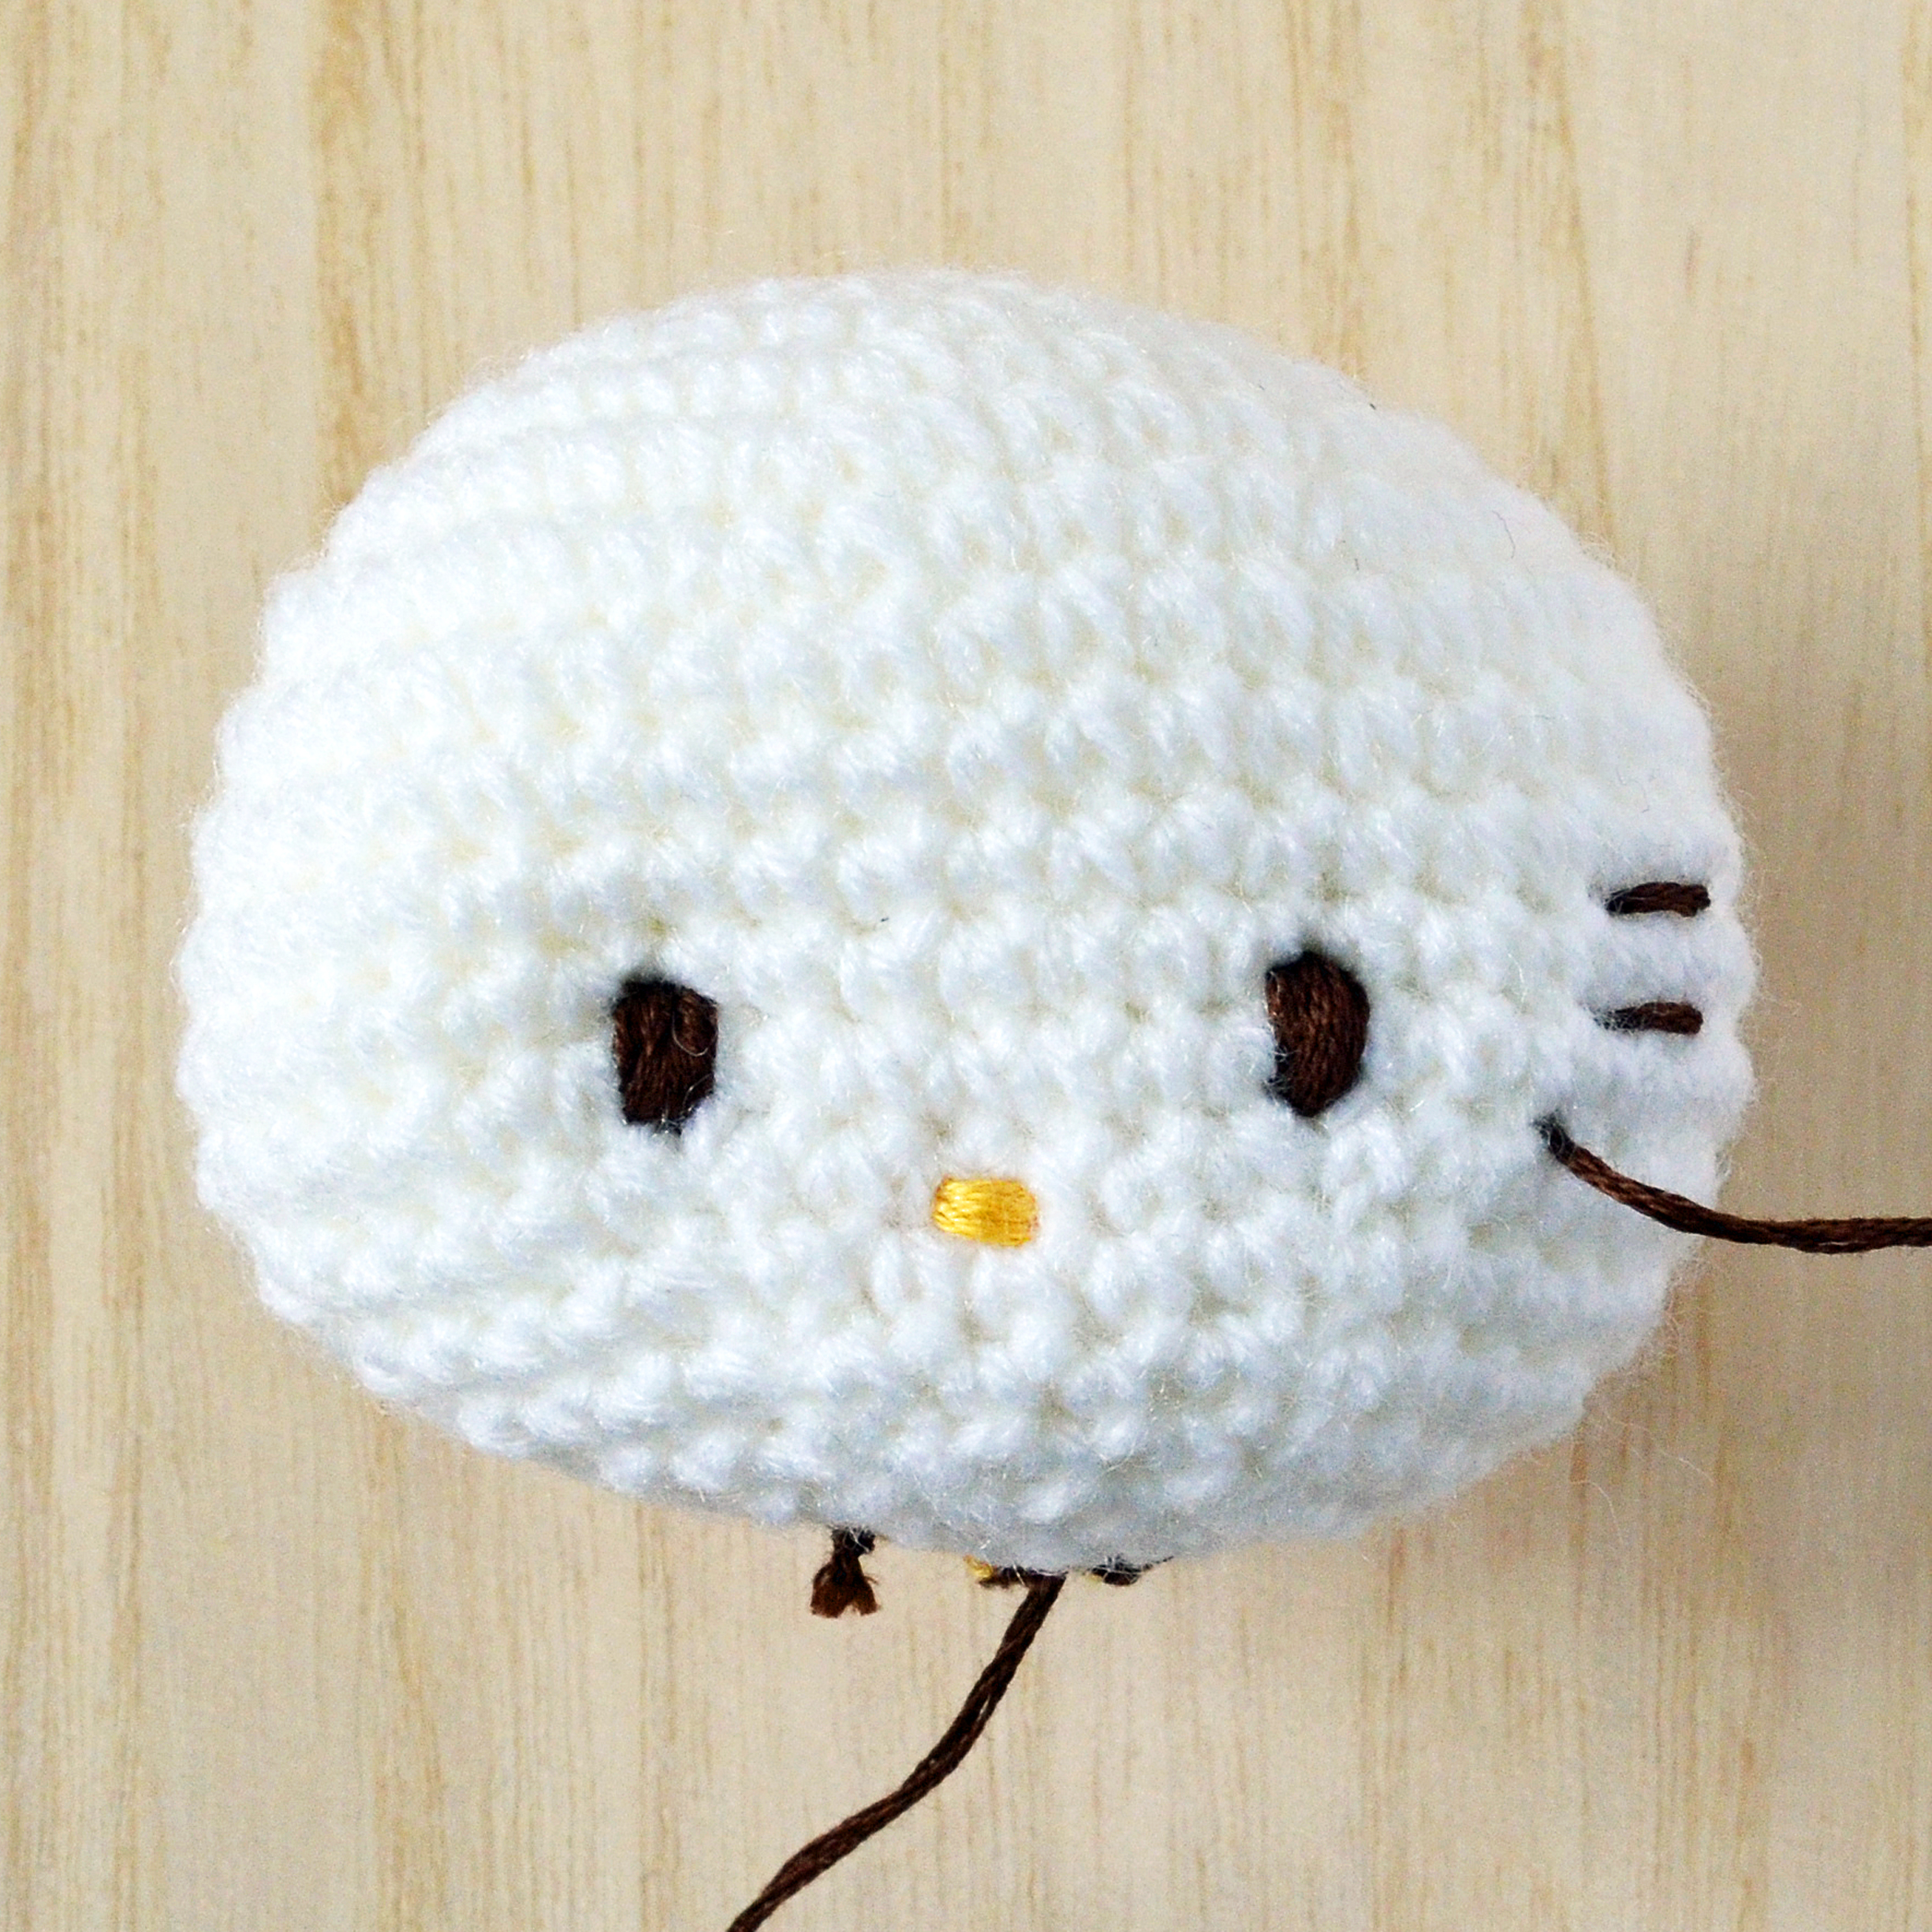
Hello Kitty and her chocolate-straw whiskers:
Step 1: Zone in on Round 11, on the third stitch away from each eye.
Step 2: Make a horizontal backstitch, which is two-stitches long.
Step 3: Repeat process to make the top and bottom whiskers, which should fall below Round 10 and Round 12.
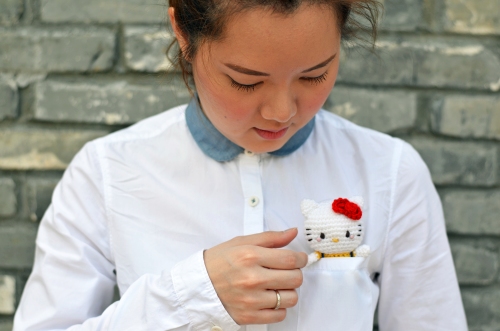
And there you have it. Enjoy!
P/S Up next, we’ll talk about jazzing up the basic hood 🙂