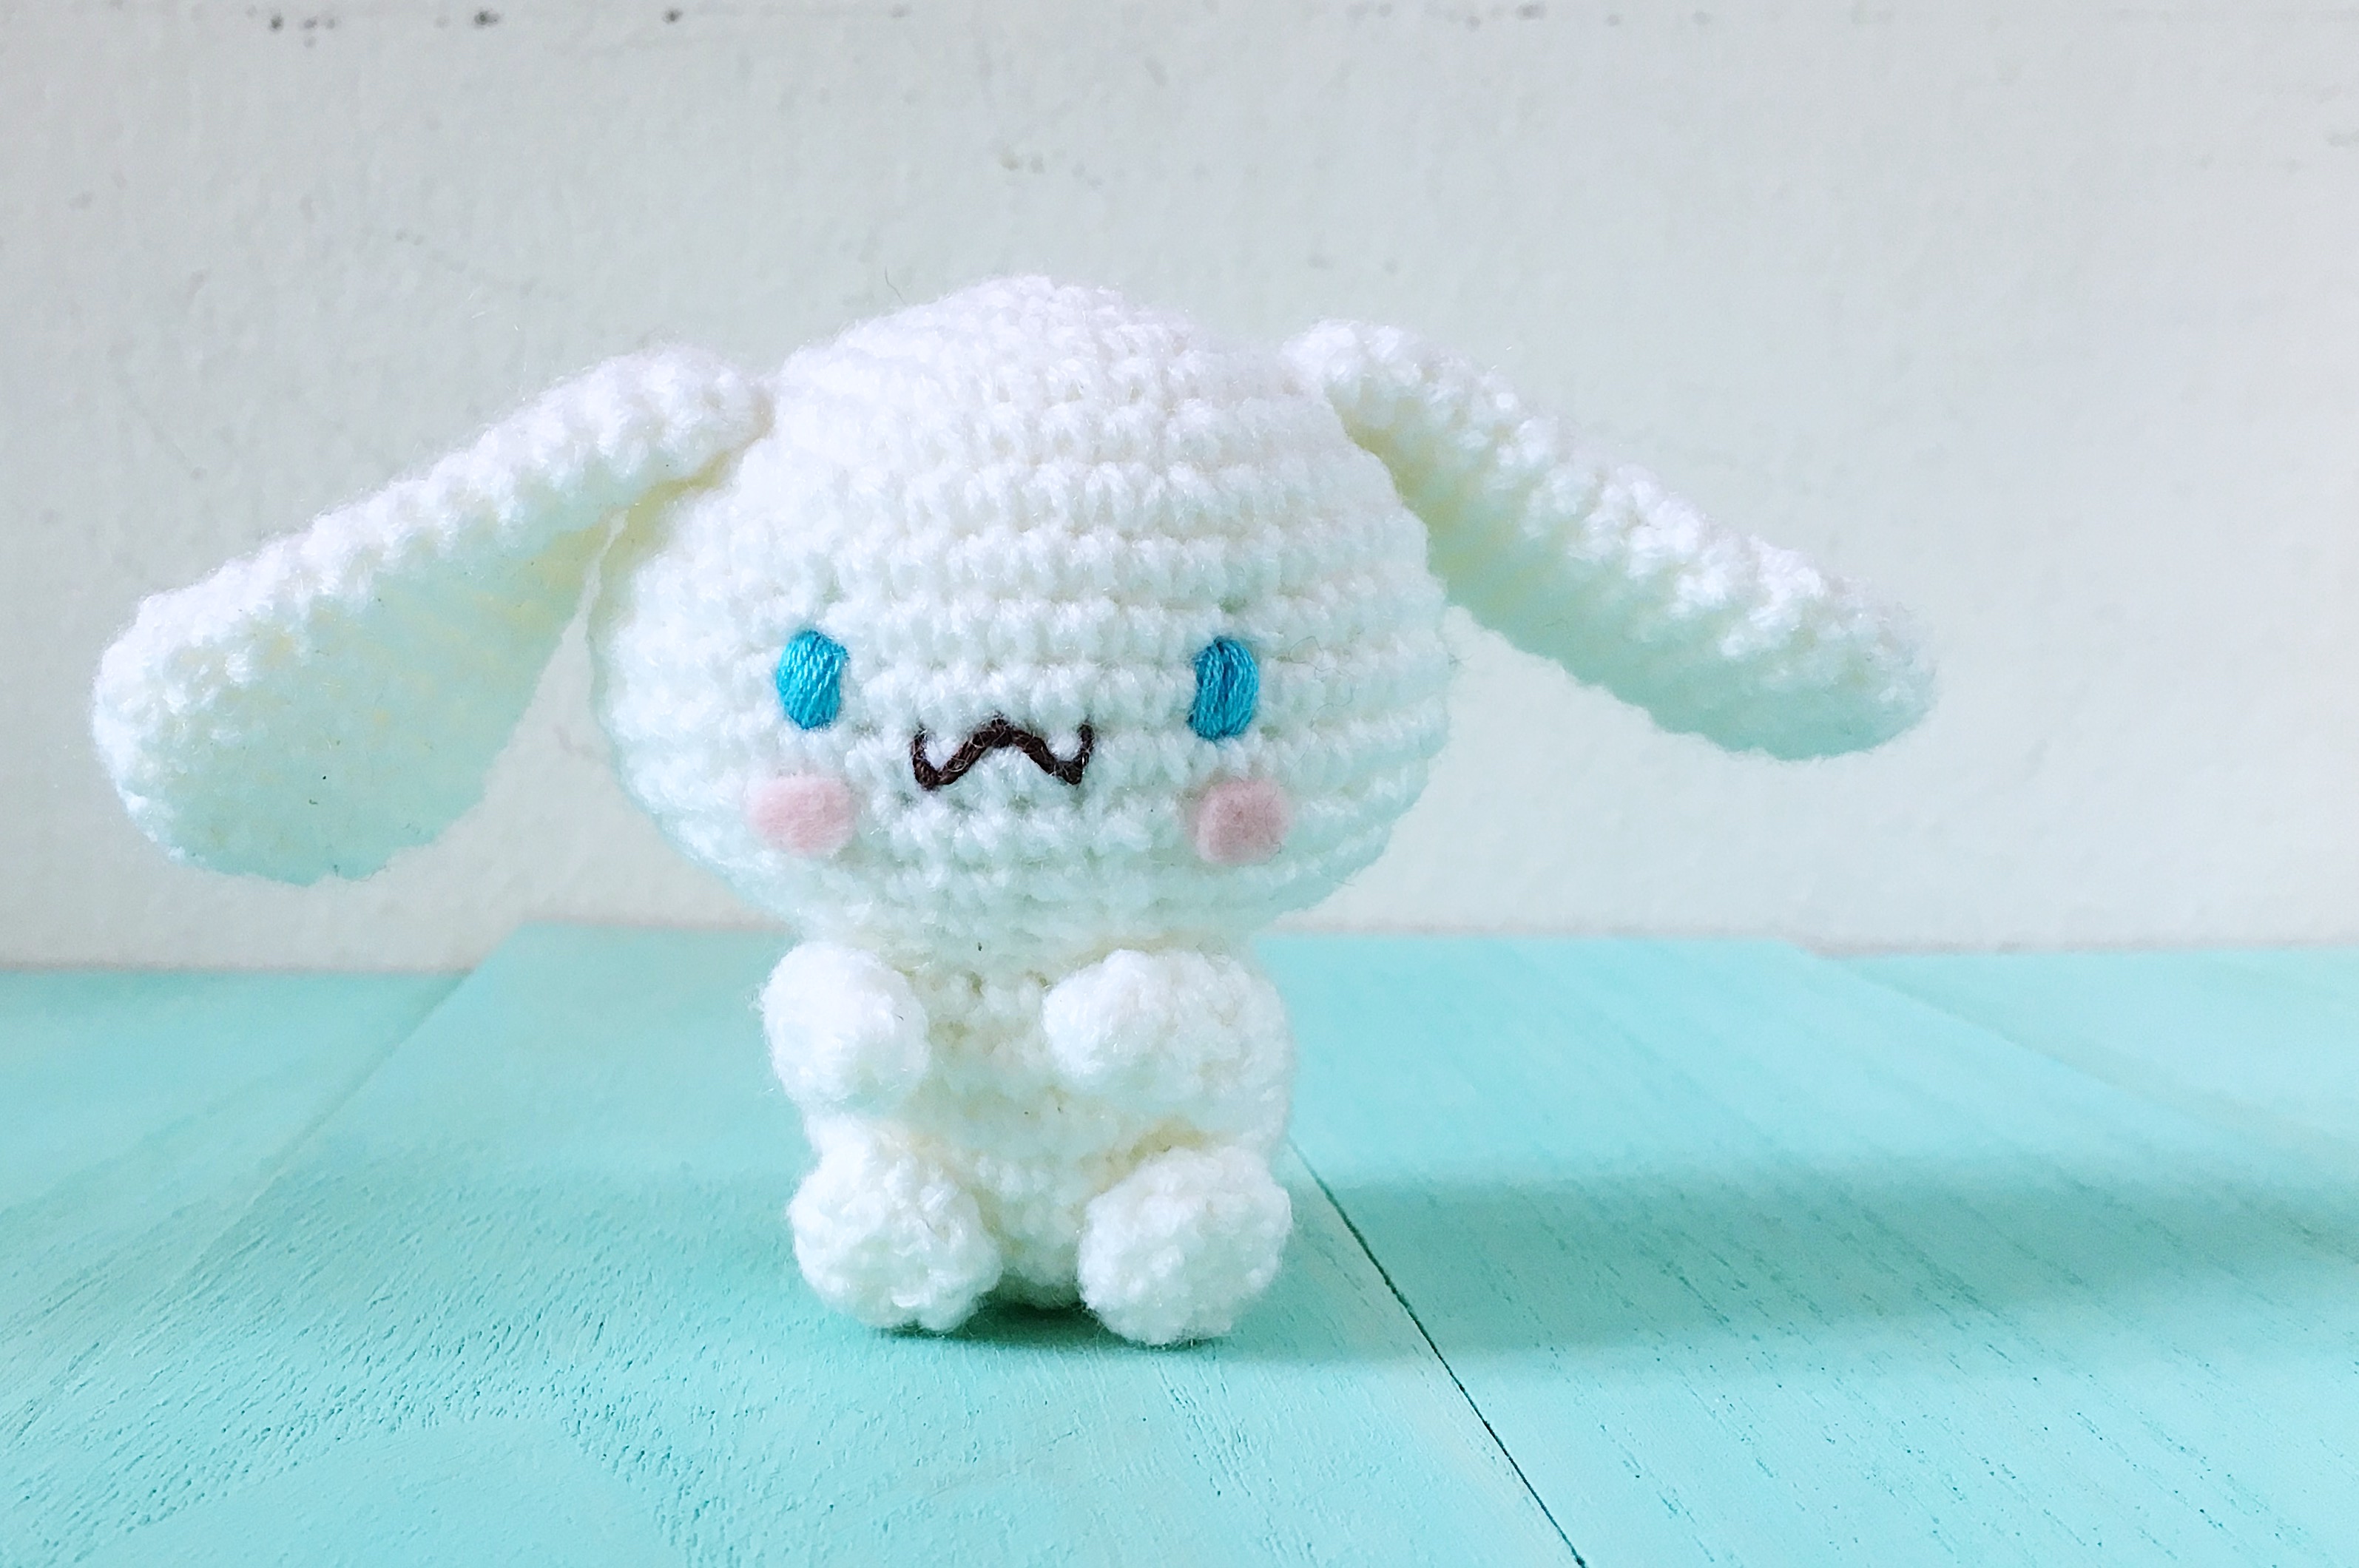
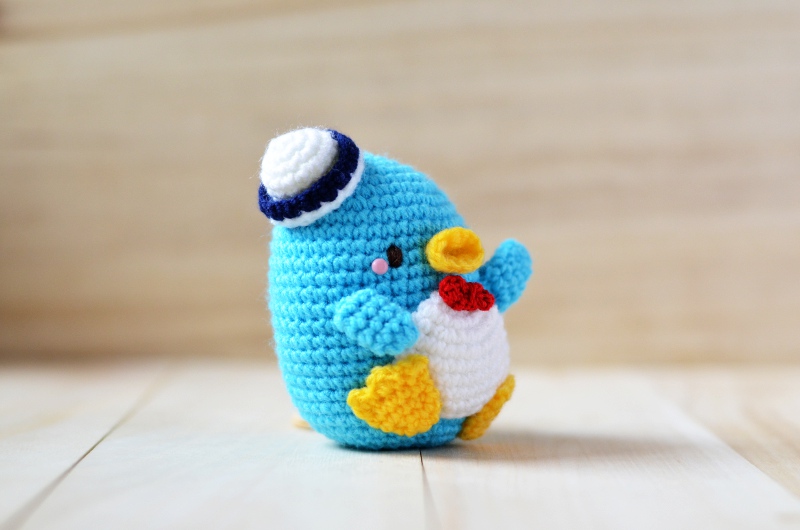
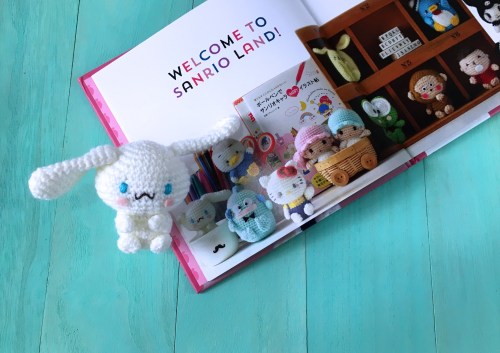
The long-awaited Cinnamoroll pattern is here!
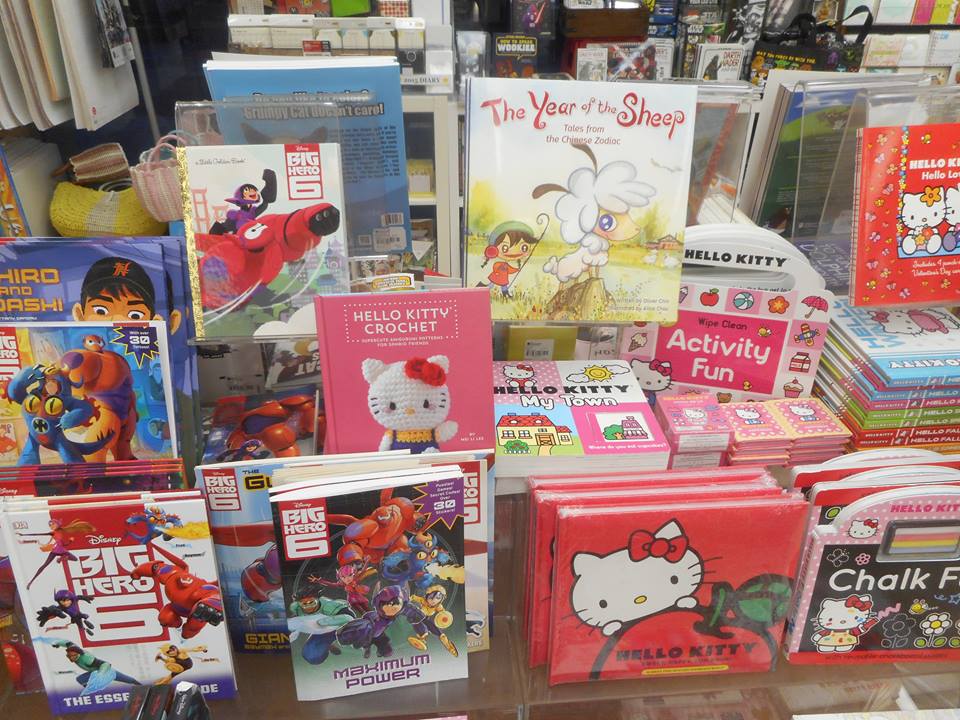
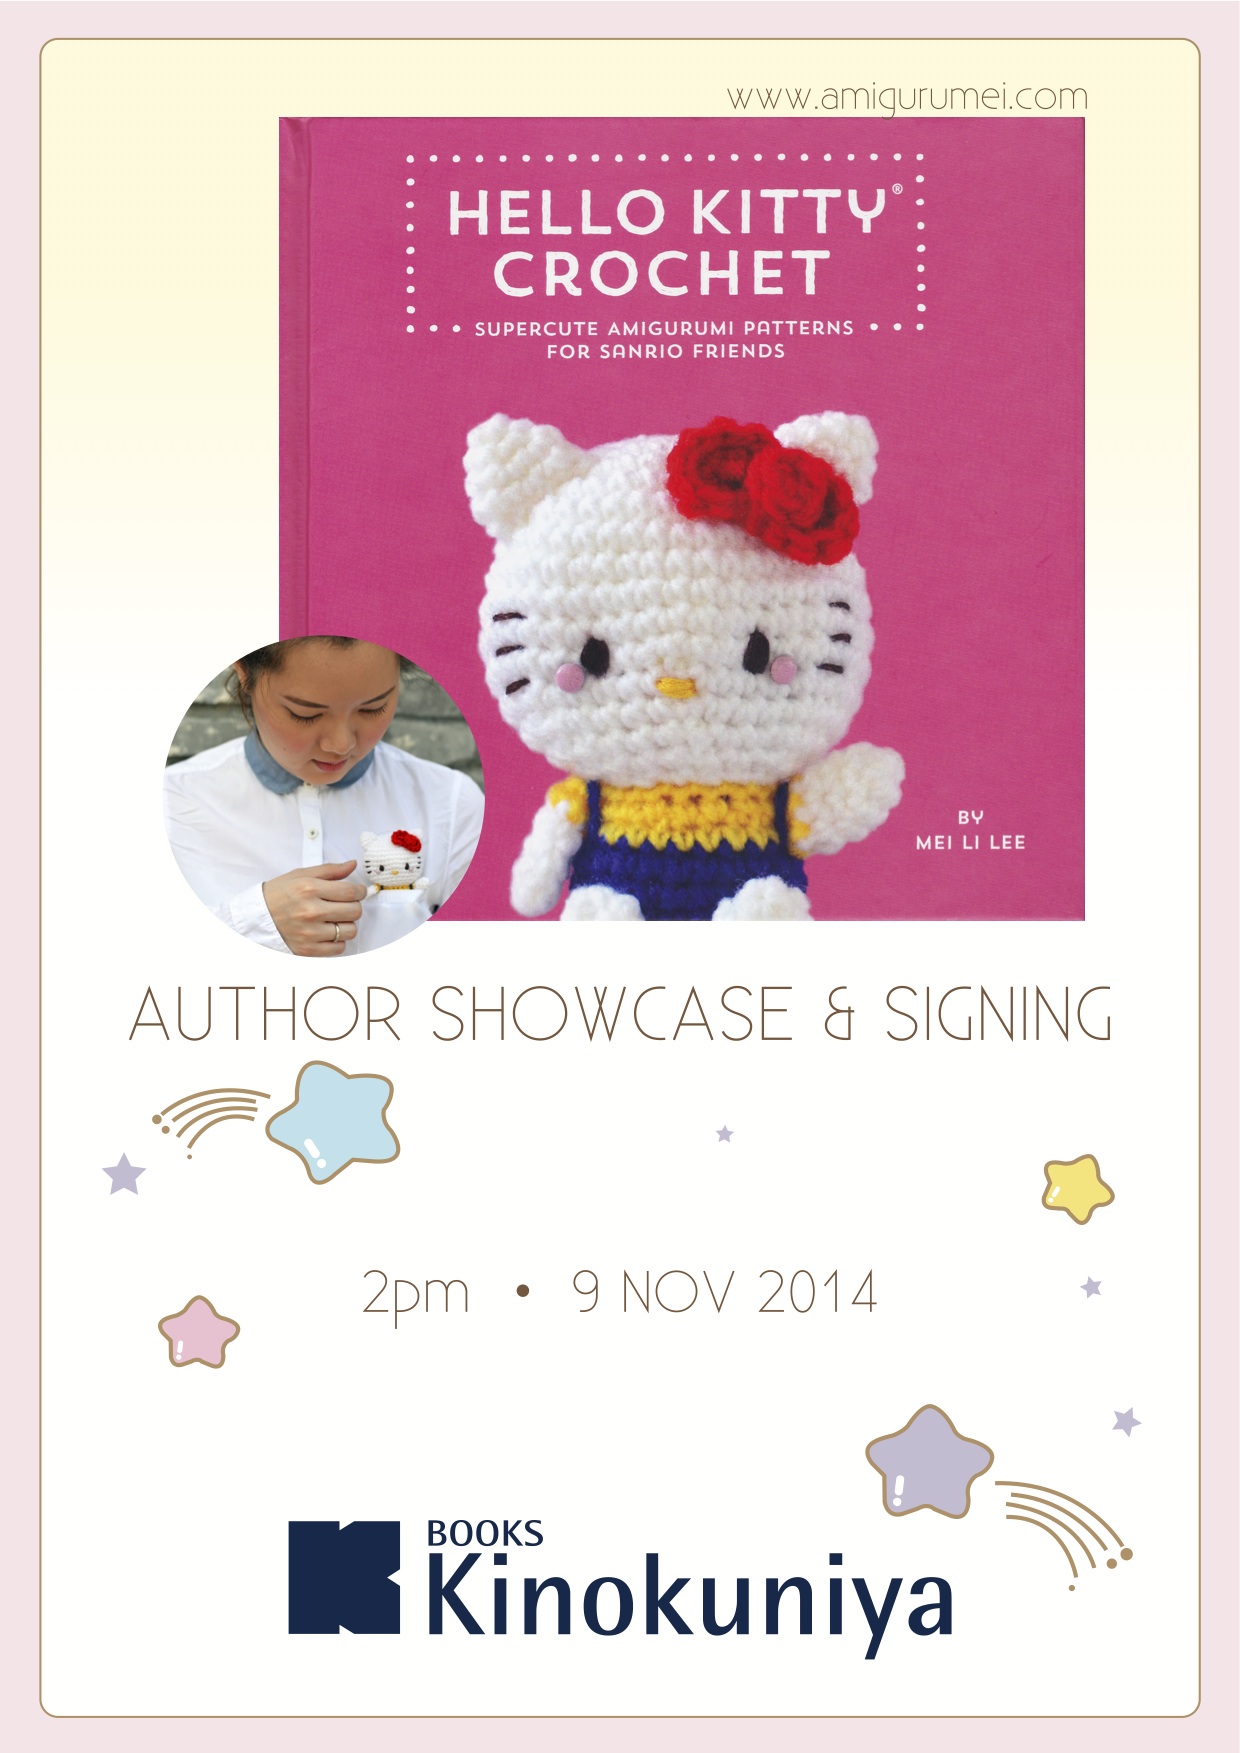
Many of you have asked about this character, which made an appearance in the Welcome to Sanrio Land! page in the Hello Kitty Crochet book.
Cinnamoroll was originally cast as one of the many stars of the book, but was later left out so that we could make space for his other friends. Poor pup! But everything is better now as you can finally make your own crochet Cinnamoroll!
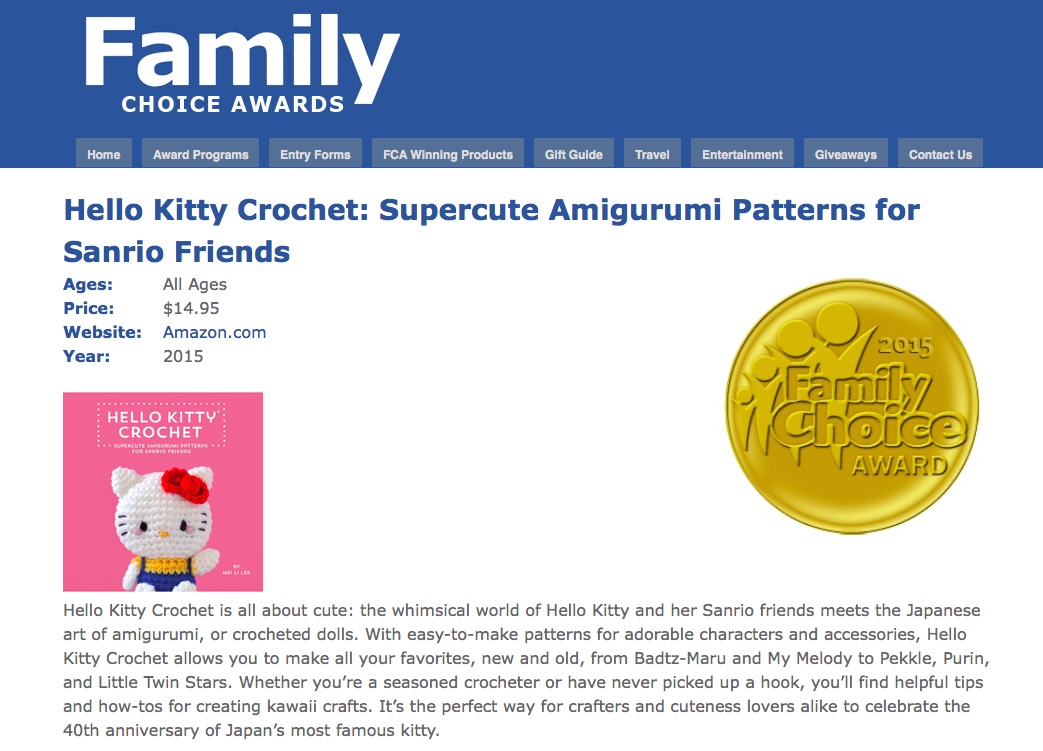
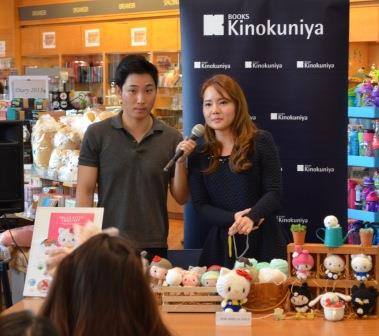
I first created this pattern when I was writing the Hello Kitty Crochet book in 2013. If I remember correctly, it was one of the first few designs that turned out looking ok! Sharing this pattern brings back loads of memories. I remember taking one whole month off work just to design all the patterns for the book. I had to organize my time well so I only had about one day to finish up on each character. Which wasn’t a whole lot since I had to design from scratch. I remember having Naoki Urasawa’s Monster anime to keep me company while I crocheted. Not a cutesy anime at all but it kept me going! It has been a great honour working with Quirk Books and also with Sanrio and I really hope you can make the complete set of characters now with the inclusion of Cinnamoroll 🙂
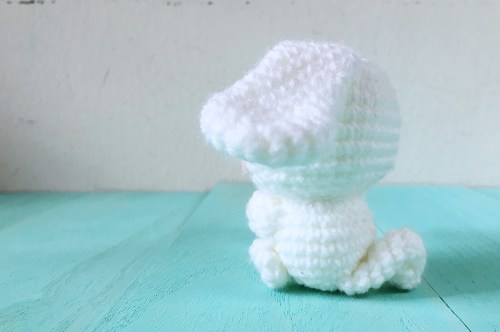
I have been wanting to share this pattern since a long time ago but so many things happened I never got around to it. I hope you will enjoy Cinnamoroll as it’s the sweetest character ever. You can also try giving him a more kawaii floppy head by using thicker yarn and a larger hook size.
Now let’s make Cinnamoroll!
Cinnamoroll amigurumi pattern
by amiguruMEI
Skill level: Easy
Duration: About 4 hours
Abbreviations
• Ch: chain
• Sc: single crochet
• Dc: double crochet
• Inv dec: invisible decrease
Materials & Tools
2.3mm hook
Acrylic yarn in white
Light blue embroidery floss
Dark brown embroidery floss
Pink felt
Darning needle
Polyester fiberfill
Craft glue

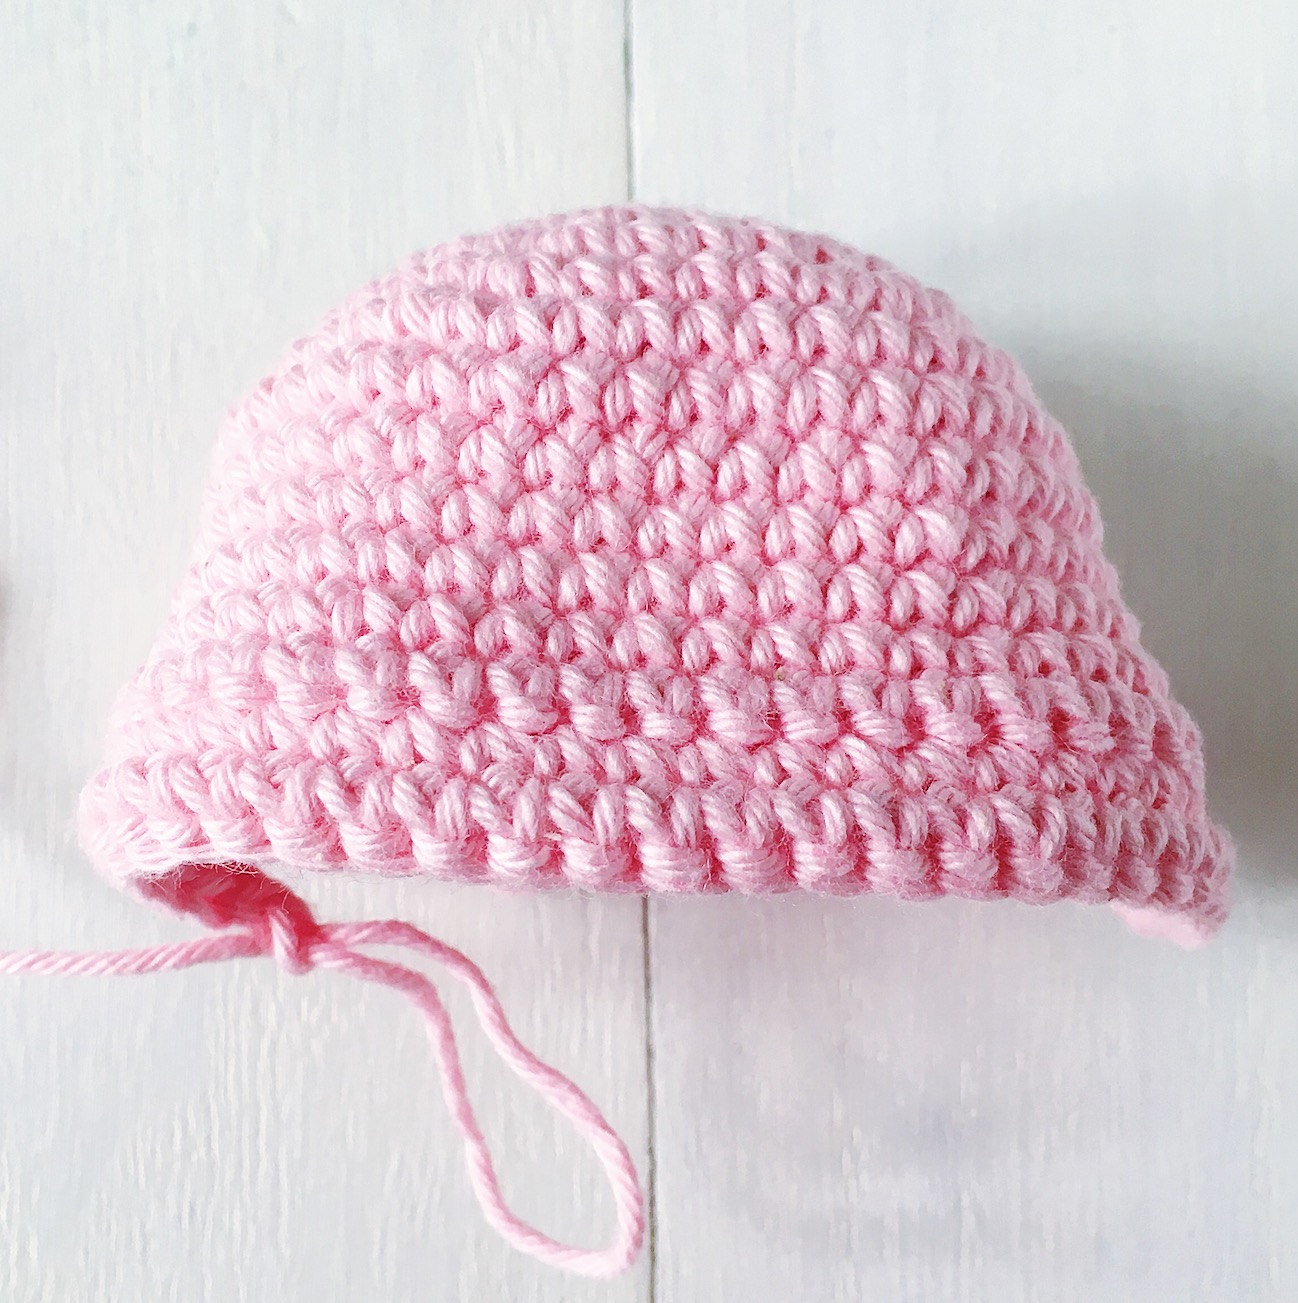
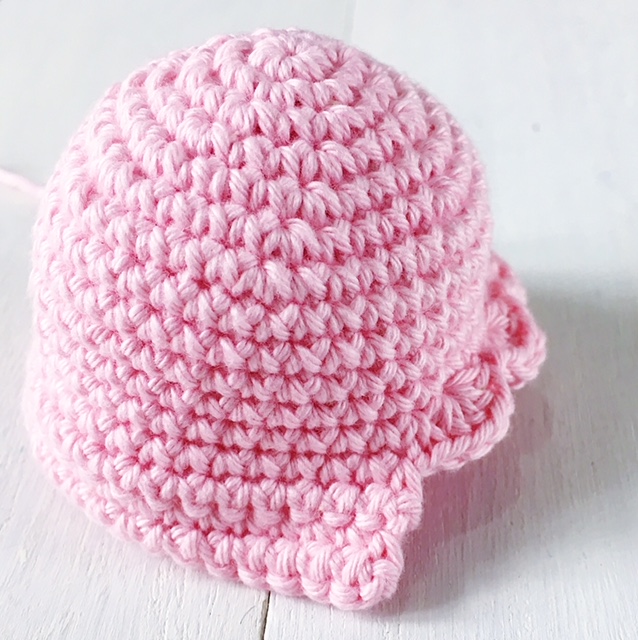
Head
With white yarn:
Round 1: Sc 6 in magic ring {6}.
Round 2: [Inc] around {12}.
Round 3: [Inc, sc 1] around {18}.
Round 4: [Inc, sc 2] around {24}.
Round 5: [Inc, sc 3] around {30}.
Round 6: [Inc, sc 4] around {36}.
Round 7: [Inc, sc 5] around {42}.
Rounds 8-11 (4 rounds altogether): Sc around {42}.
Round 12: [Inv dec, sc 5] around {36}.
Round 13: [Inv dec, sc 4] around {30}.
Round 14: [Inv dec, sc 3] around {24}.
Round 15: [Inv dec, sc 2] around {18}.
Stuff head.
Round 16: [Inv dec, sc 1] around {12}.
Round 17: [Inv dec] around {6}.
Fasten off and weave in ends.
Body
With white yarn:
Round 1: Sc 6 in magic ring {6}.
Round 2: [Inc] around {12}.
Round 3: [Inc, sc 1] around {18}.
Round 4: [Inc, sc 2] around {24}.
Rounds 5-8 (4 rounds altogether): Sc around {24}.
Round 9: [Inv dec, sc 2] around {18}.
Fasten off and leave a long end for sewing.
Stuff body.

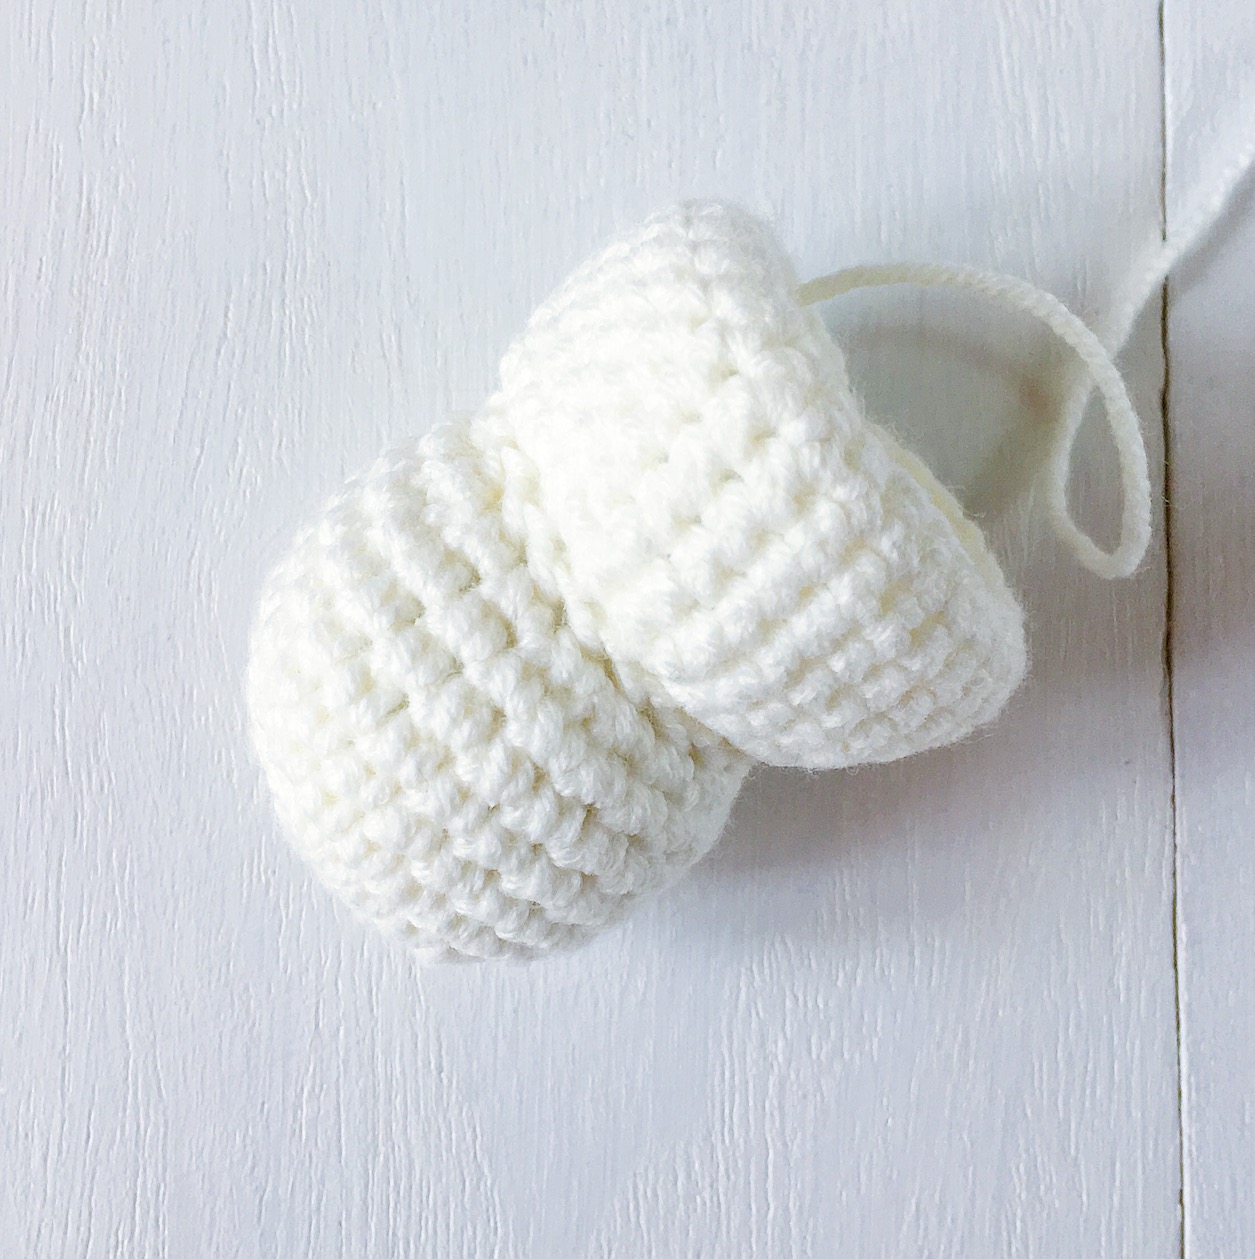
Ears
Make 2 with white yarn.
Round 1: Sc 6 in magic ring {6}.
Round 2: [Inc] around {12}.
Round 3: [Inc, sc 1] around {18}.
Rounds 4-5: Sc around {18}.
Round 6: [Inv dec, sc 1] around {12}.
Rounds 7-14 (8 rounds altogether): Sc around {12}.
Fasten off and leave a long end for sewing. Flatten piece.
Arms
Make 2 with white yarn.
Round 1: Sc 5 in magic ring {5}.
Rounds 2-4: Sc around {5}.
Feet
Make 2 with white yarn.
Round 1: Sc 8 in magic ring {8}.
Rounds 2-3: Sc around {8}.
Fasten off and weave in ends but leave a long tail for sewing.
Flatten piece and thread the long tail through the centre of the foot.
Tail
With white yarn:
Round 1: Sc 5 in magic ring {5}.
Rounds 2-12 (11 rounds altogether): Sc around {5}.
Fasten off and leave a long end for sewing.
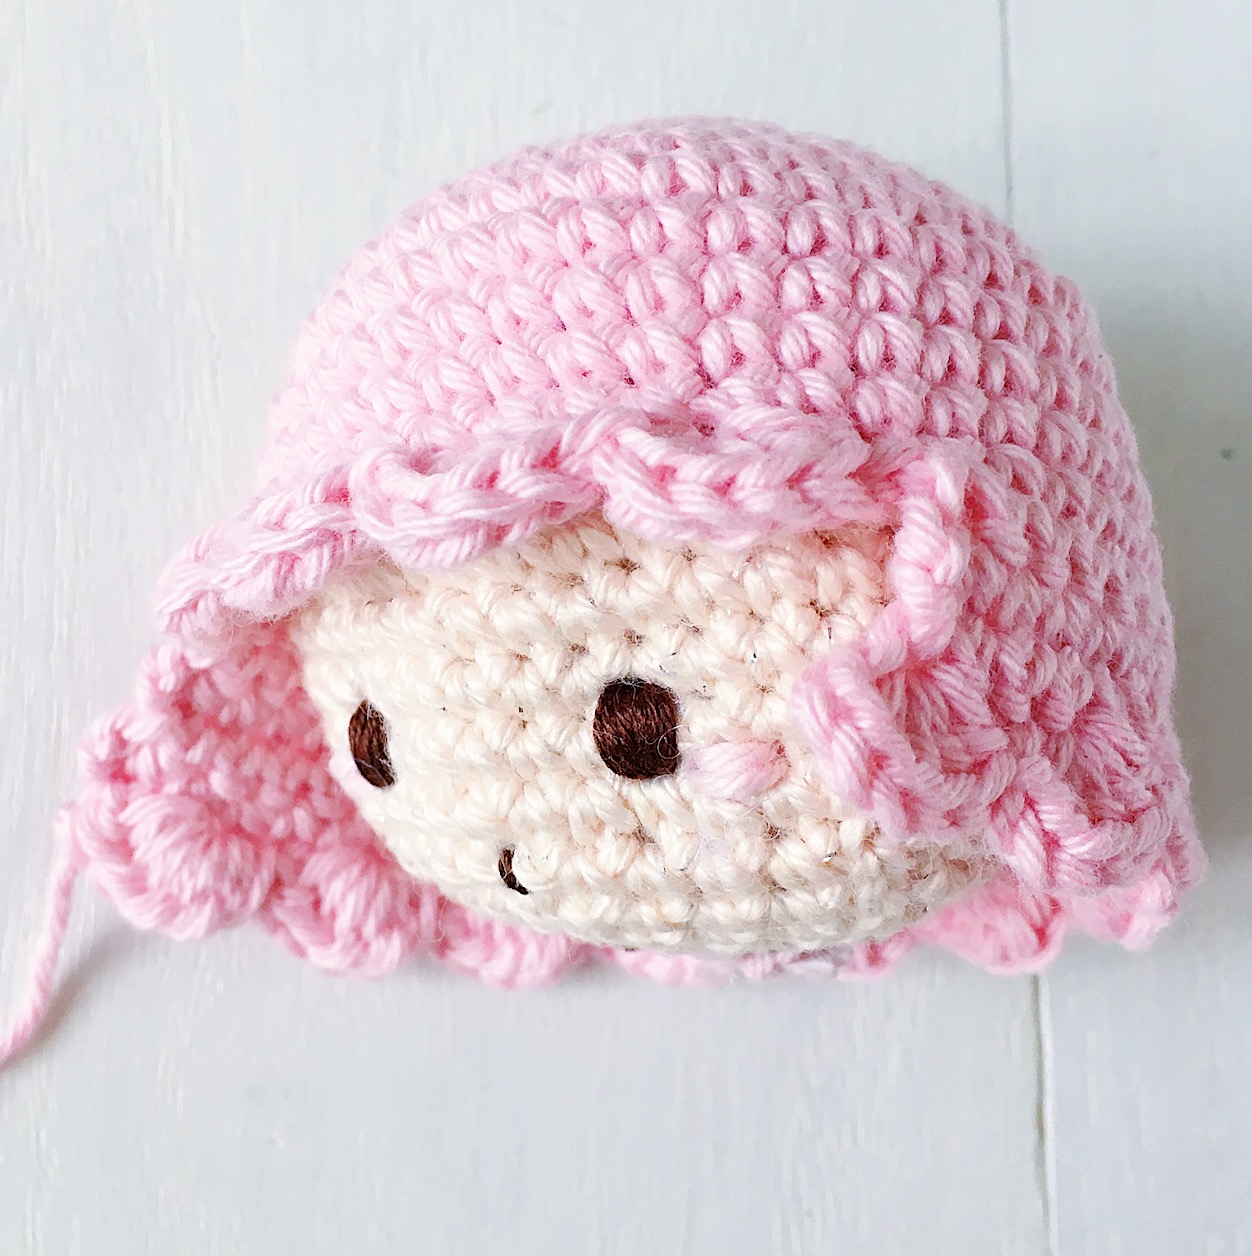
Designing the face
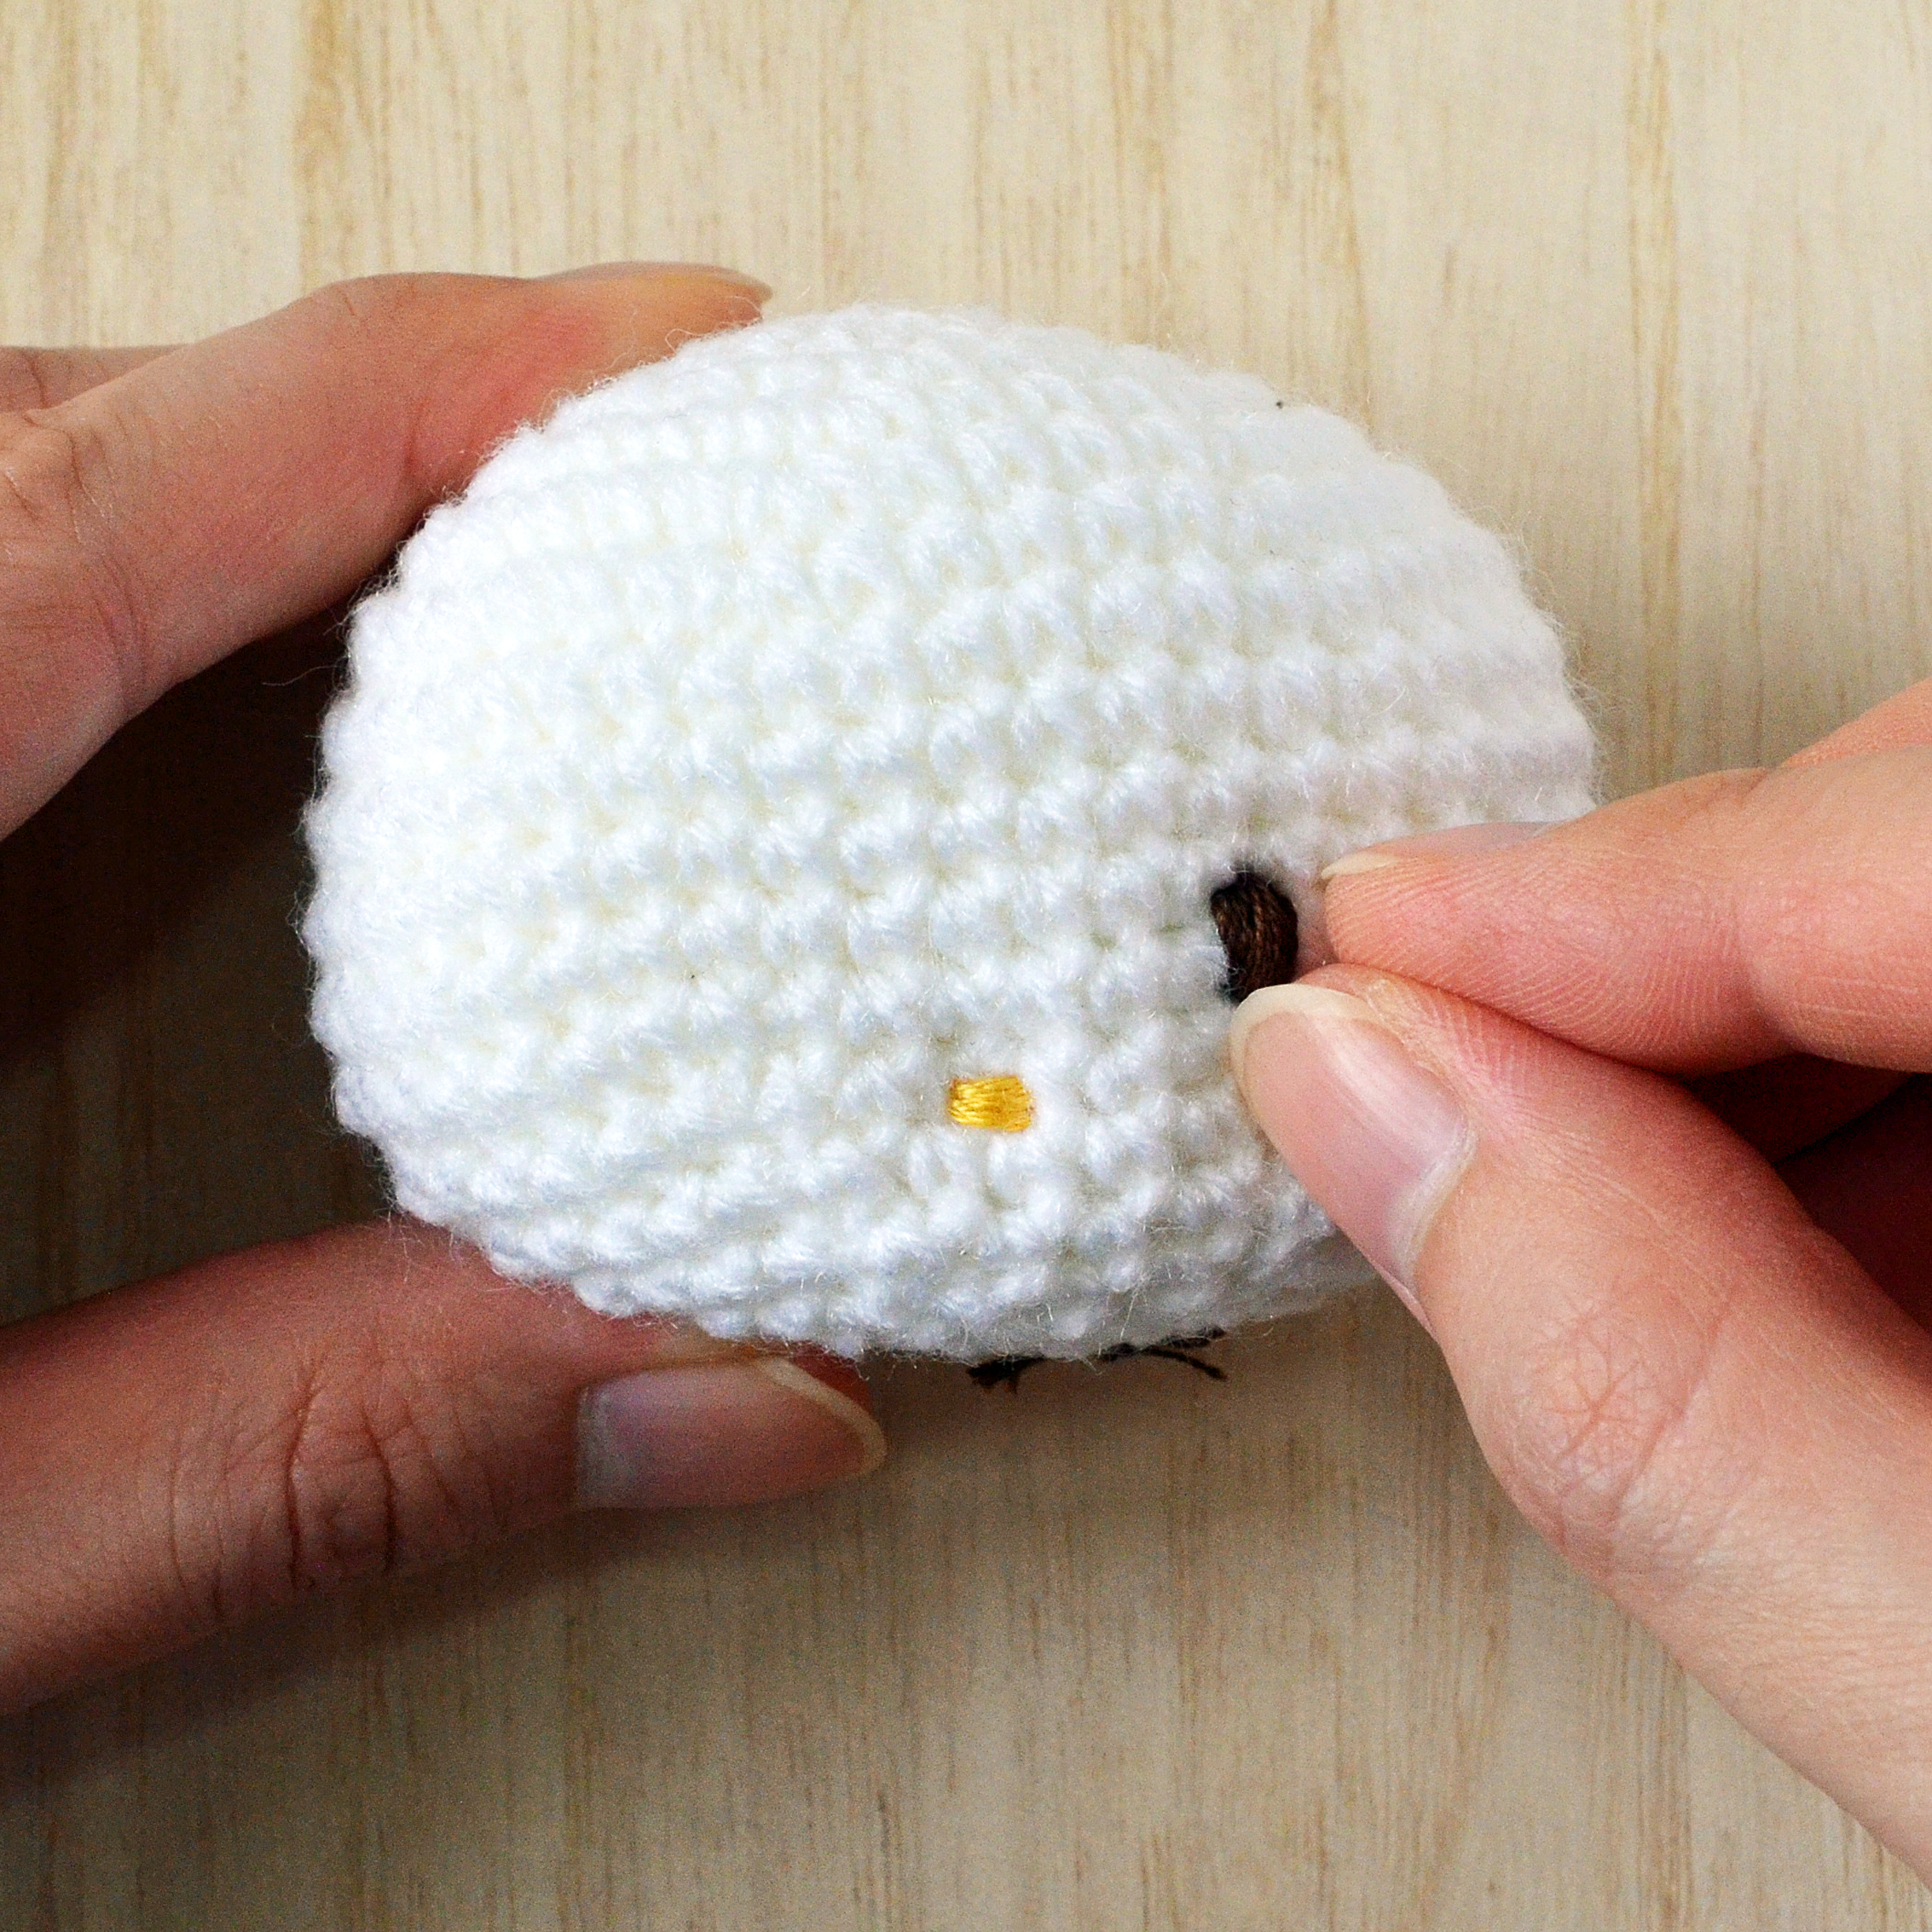
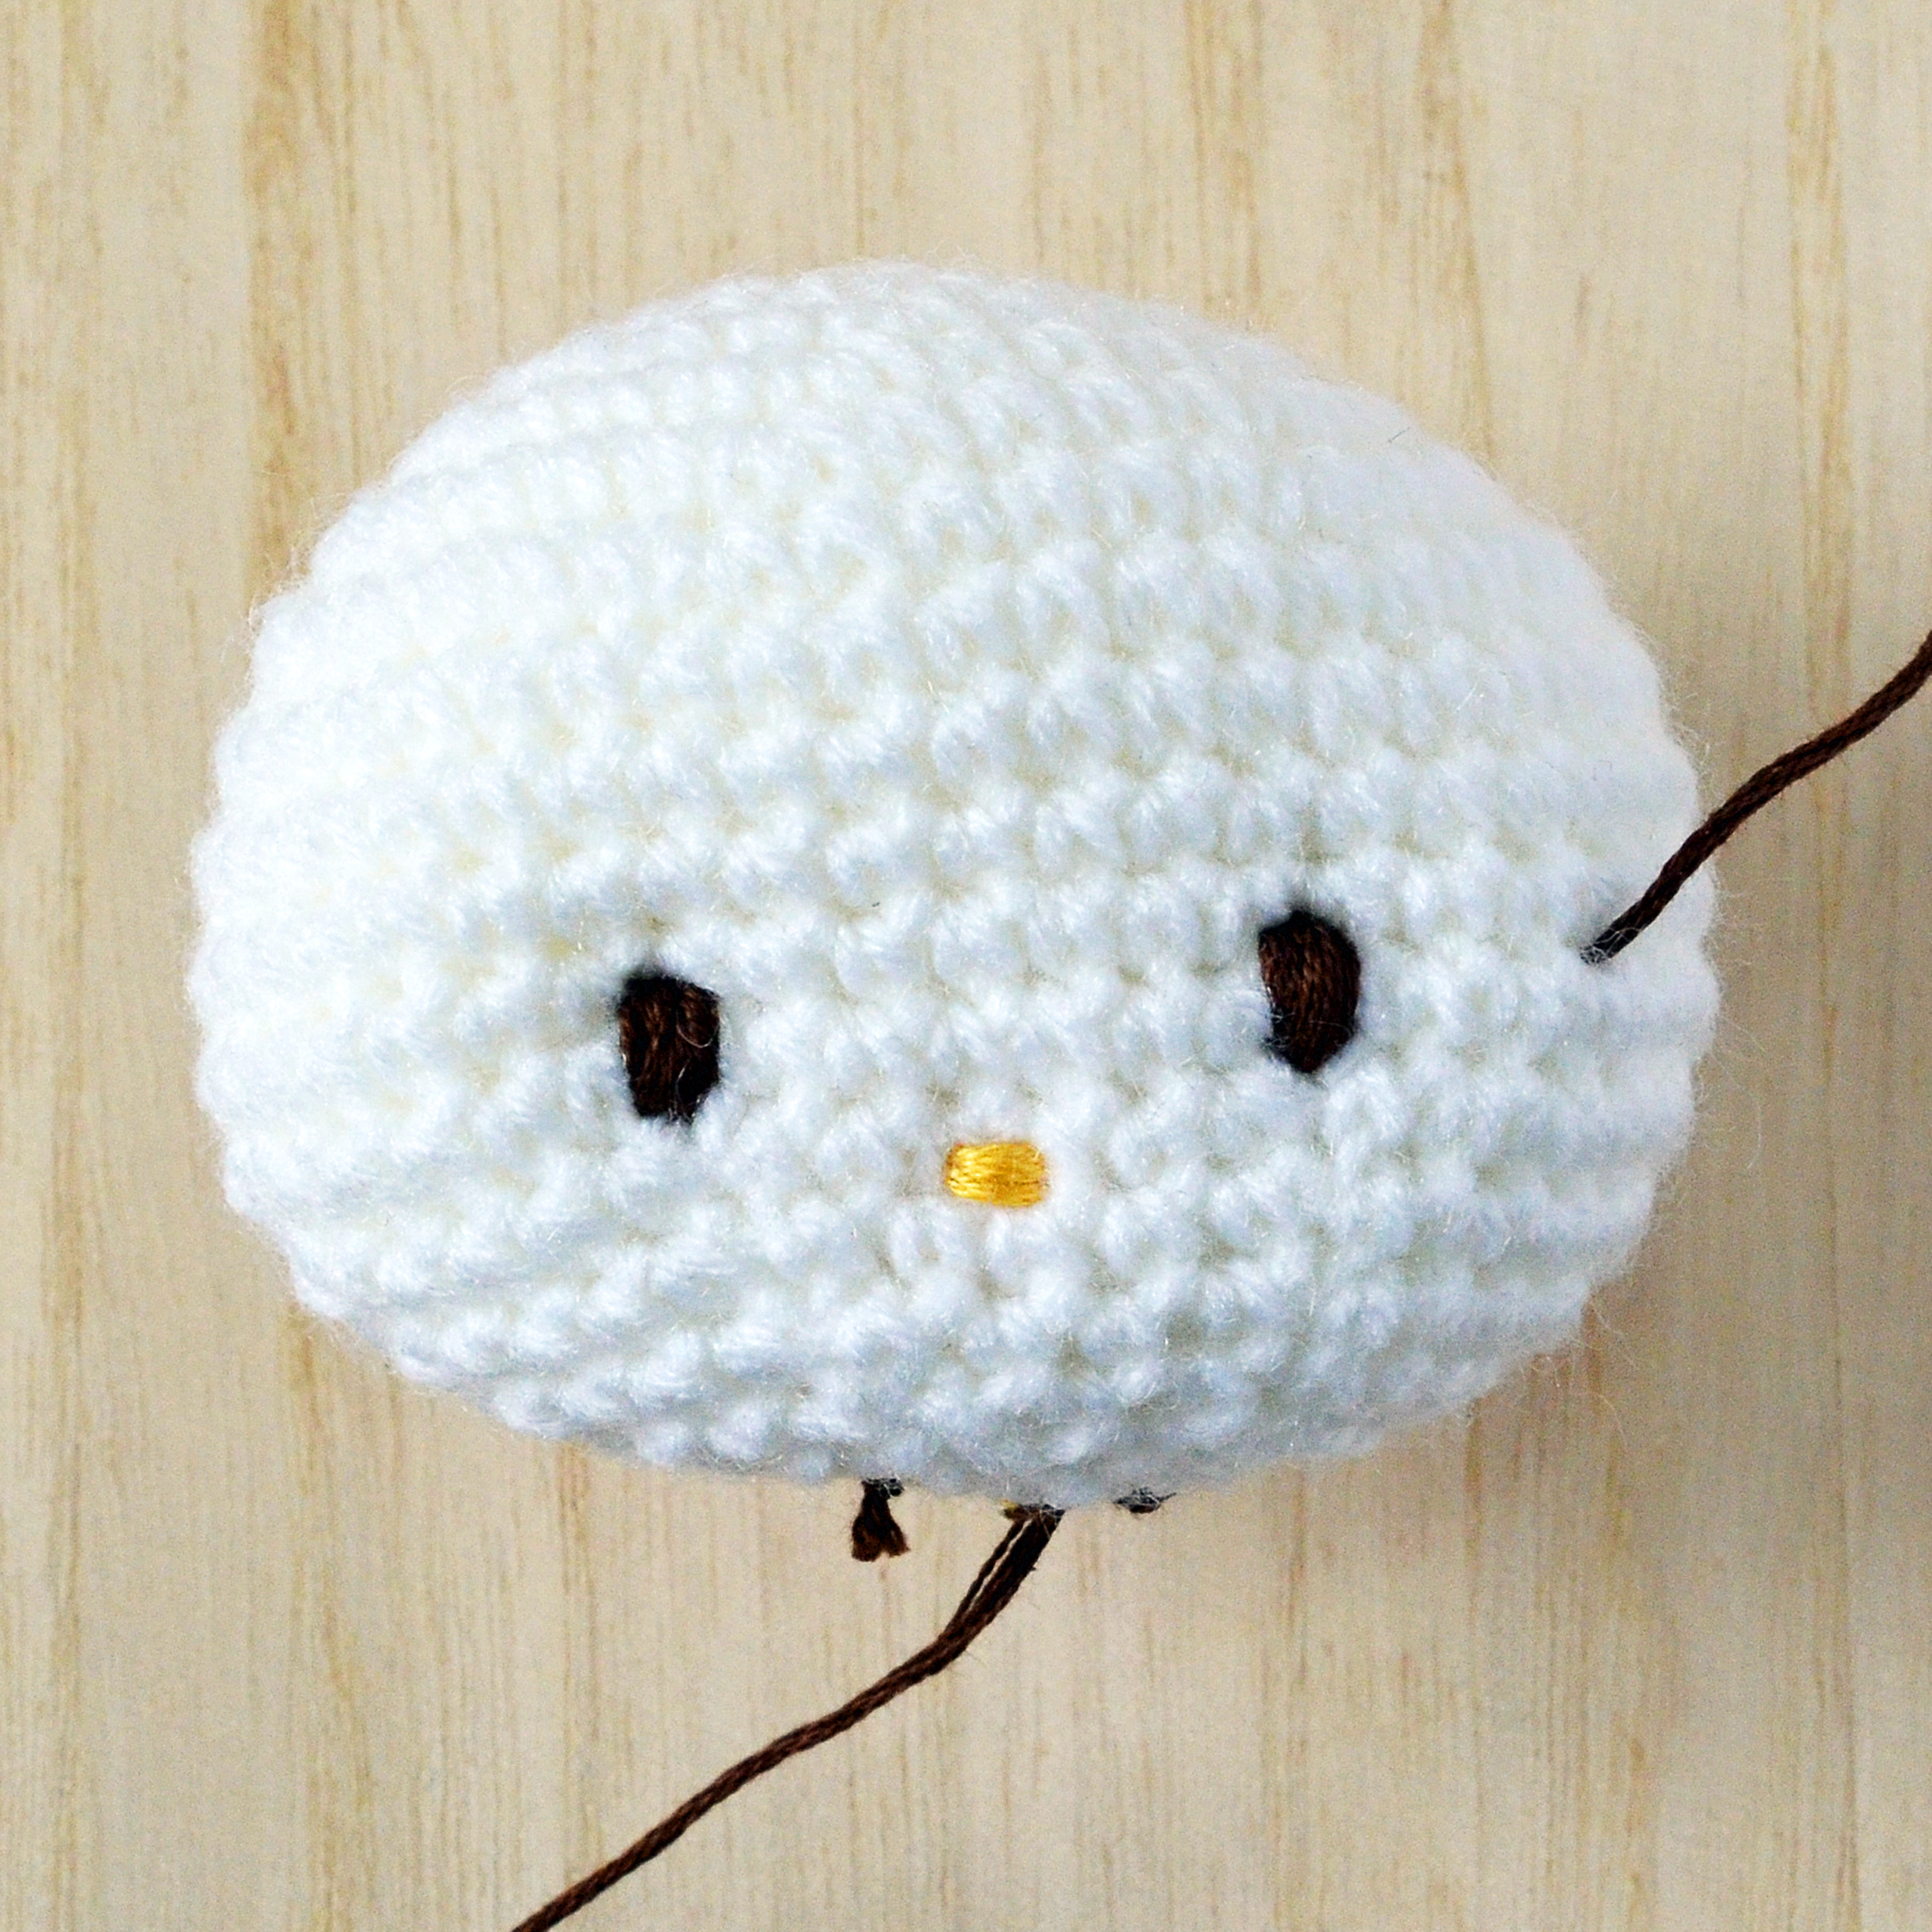
1. With blue embroidery floss: Sew eyes below Round 9, by making 12 vertical backstitches (going back and forth in the same two stitches from Round 9 to Round 10). There should be six stitches between the eyes.
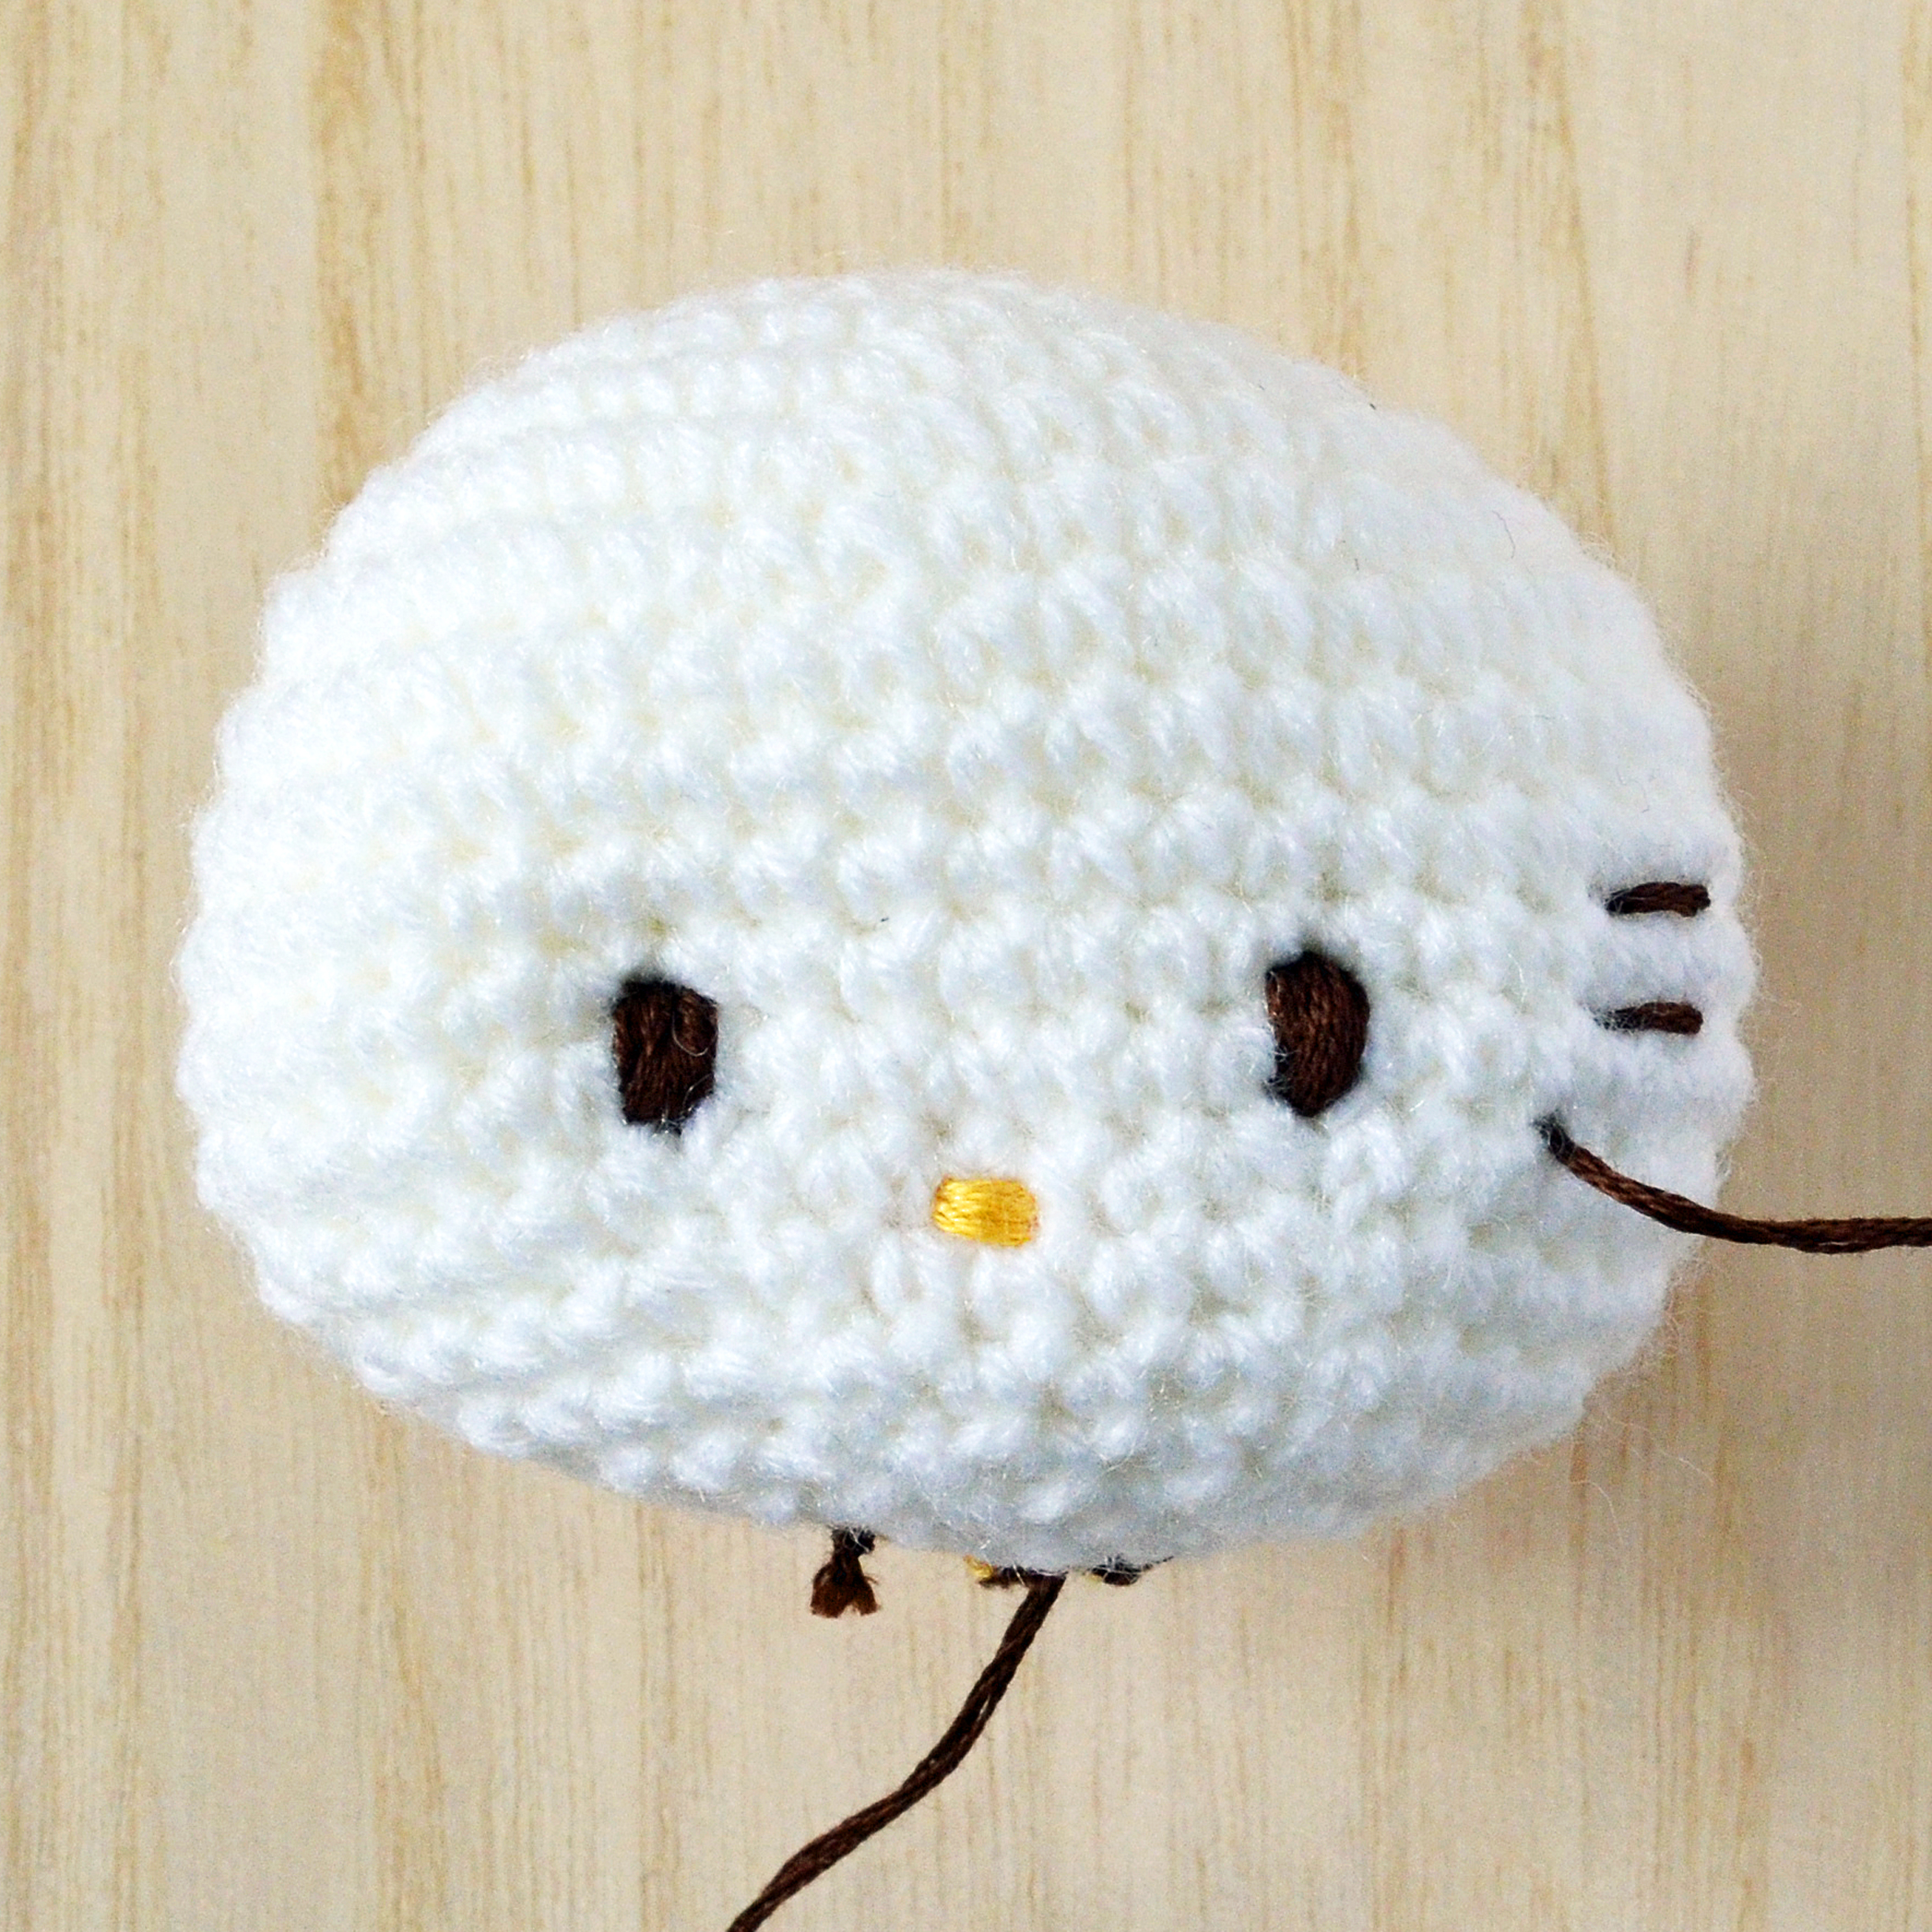
2. With dark brown embroidery floss: Sew lips below Round 10, between the eyes. Make a loose backstitch four stitches long. Bring your needle back to the centre of this stitch and make a small backstitch to hold the lips in a “W” shape. Add two more small backstitches (near Round 11) to hold the left and right curves together.
Assembly
1. Stitch head and body together.
2. Stitch arms onto the sides of the body.
3. Stitch feet onto the bottom front of the body.
4. Stitch ears in place. They should fall below Round 5 of the head.
5. Stitch tail on at the back. Roll up the tip of the tail until the midway point and stitch it in place.
6. Cut two pink felt ovals and glue onto the cheeks.
P/S At the moment, I’ve been using my iPhone 6 to capture the photos as I only have a makeshift ‘studio’ (which consists of the top of a diaper table, a few planks of wood and a reflector) and 10 minutes a day to come up with the pictures you see here (before I have to bathe my boys, feed them etc etc). I promise that I’ll take better photos soon and go back to my beloved Nikon D5100 DSLR 🙂