Come March, it’ll be two years since amiguruMEI first made its appearance in the blogosphere!
Firstly, I’d like to thank everyone for being so patient. It’s been a while since I last updated my posts but I’ve still been receiving encouraging comments from my fellow amigurumi lovers and crafters!
2013 was an exciting year for amiguruMEI – I took on several new projects and collaborations and that took up a lot of time. Hopefully, in the coming months, I will be able to share even more exciting news with everyone (and that includes free patterns, of course).
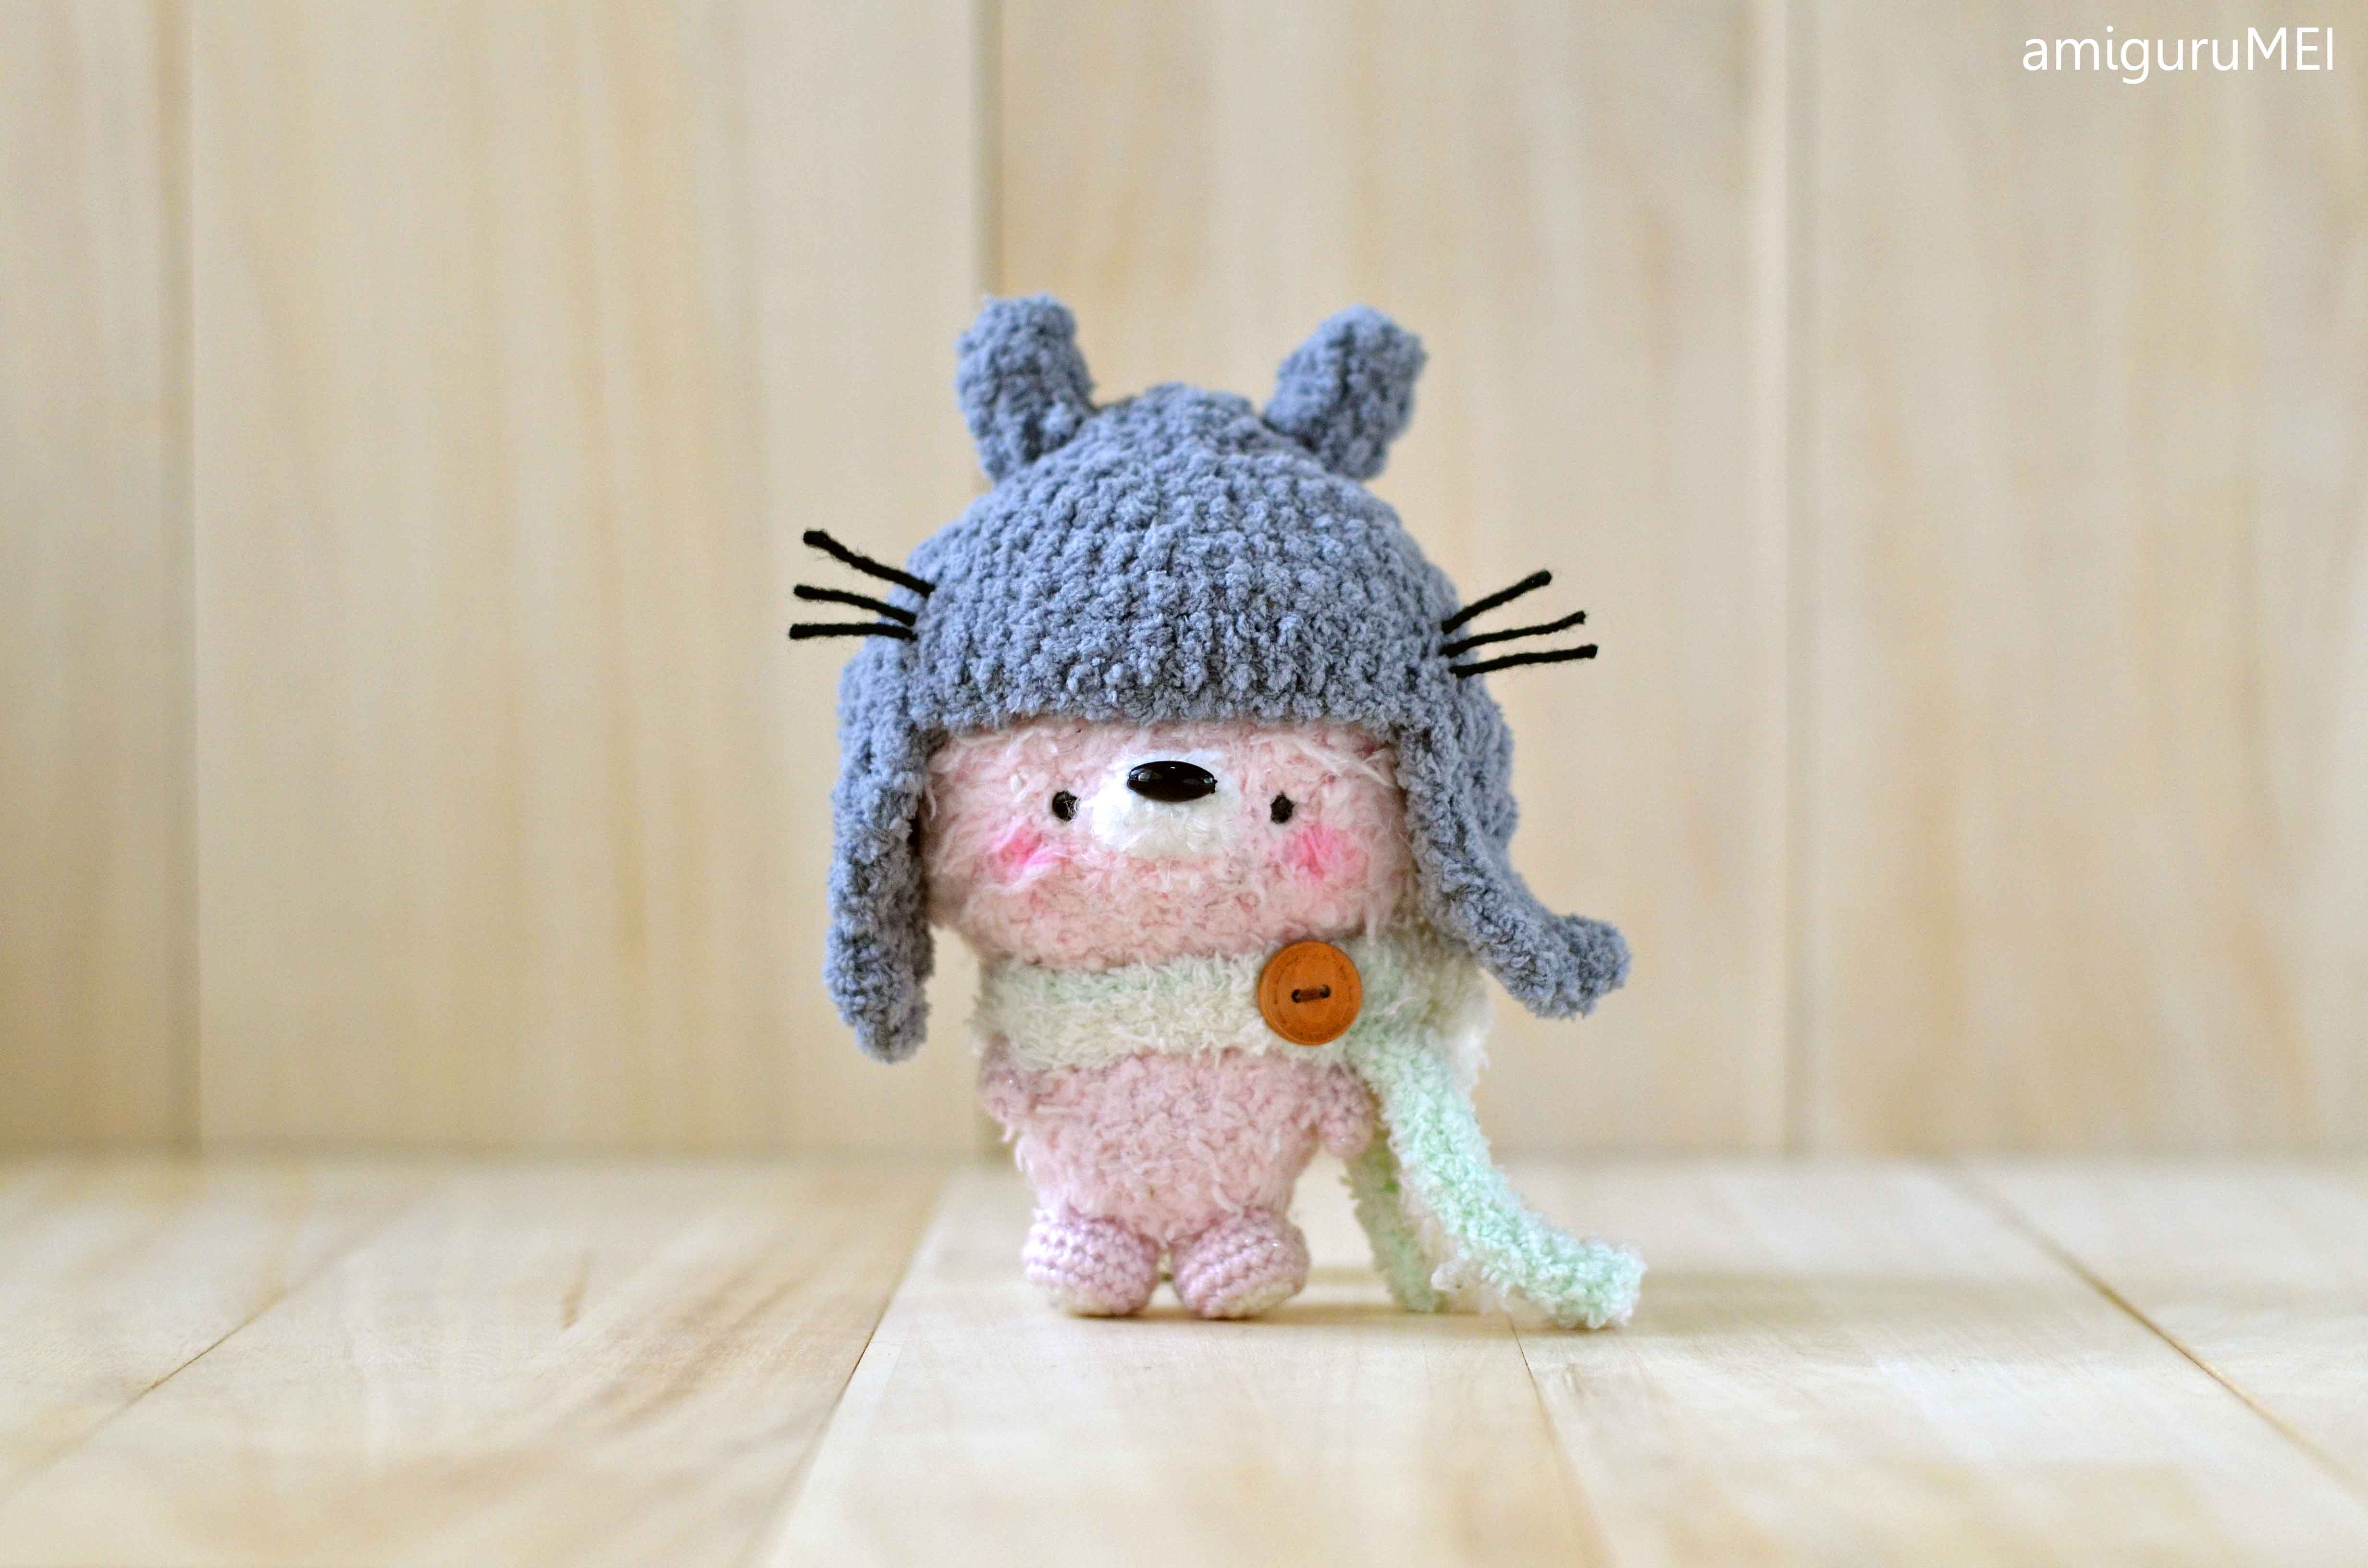
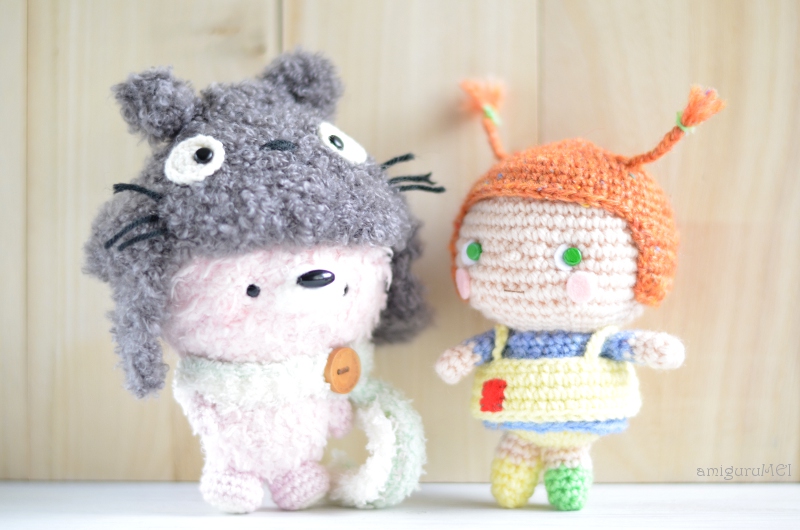
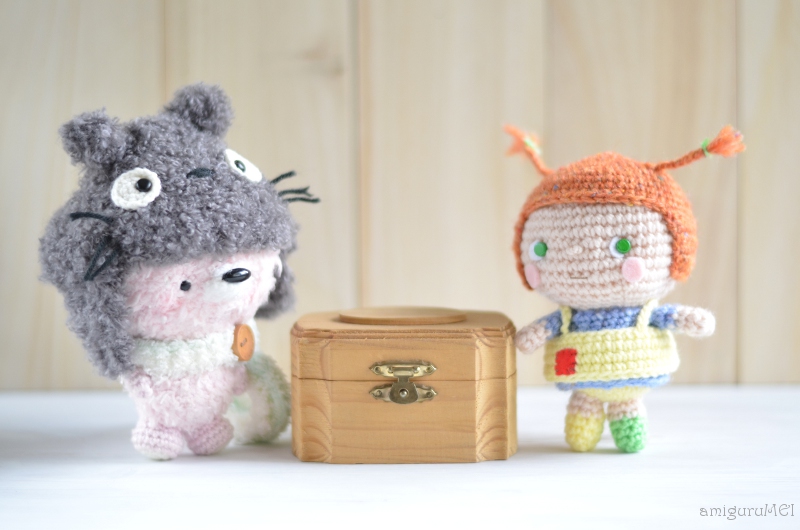
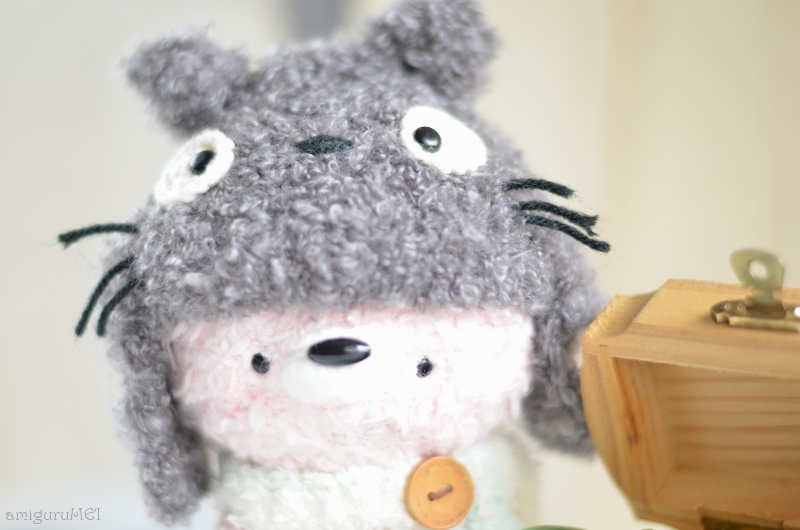
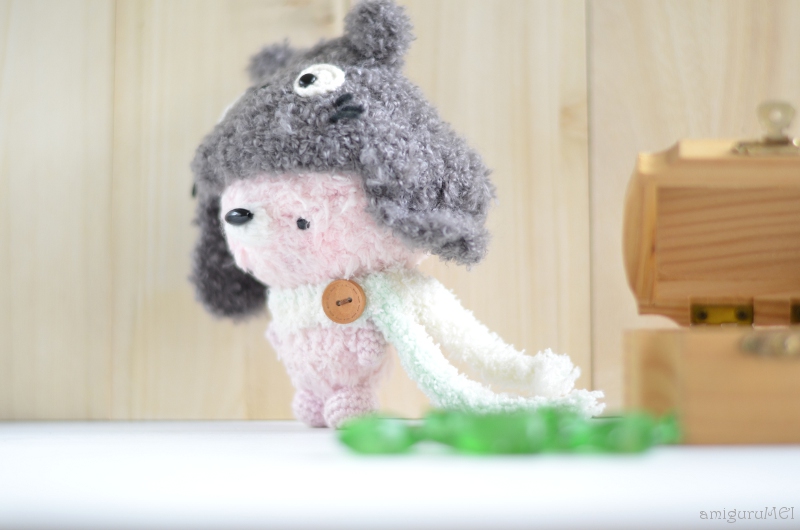
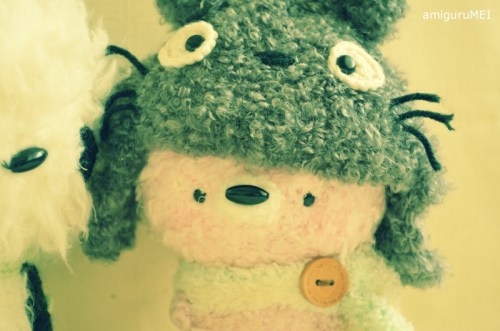
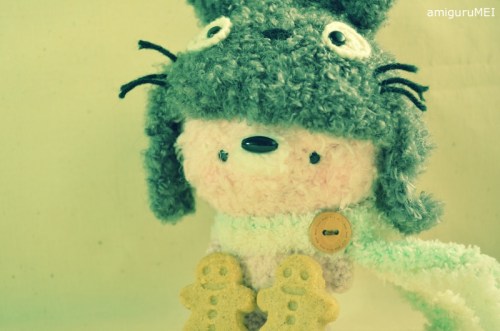
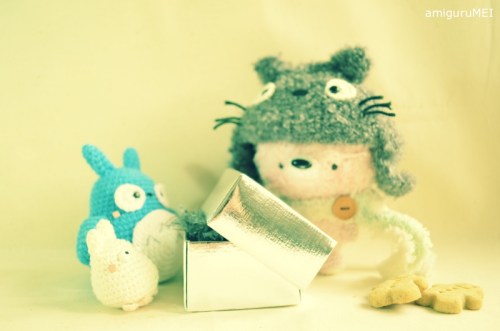
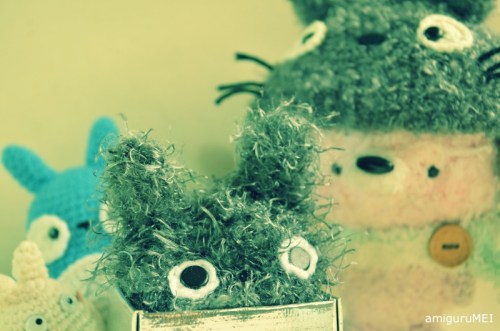
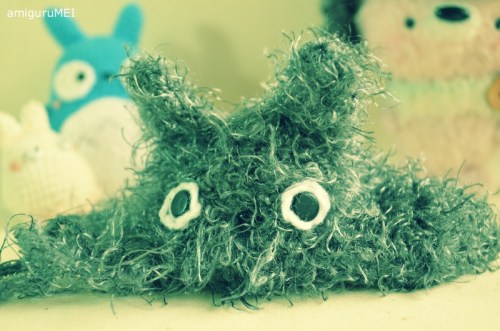
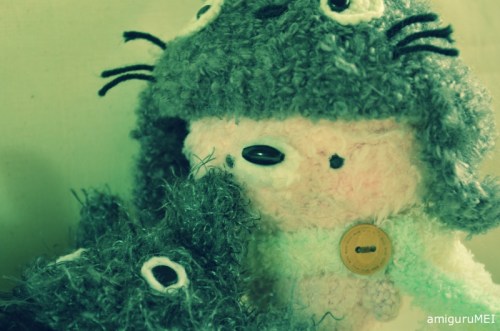
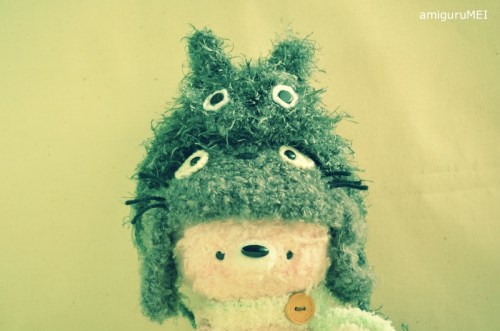
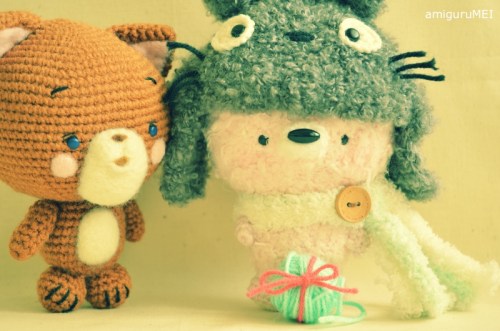
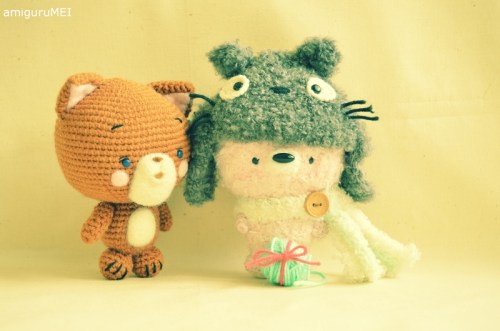
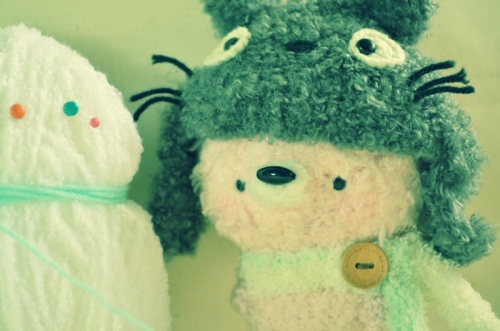
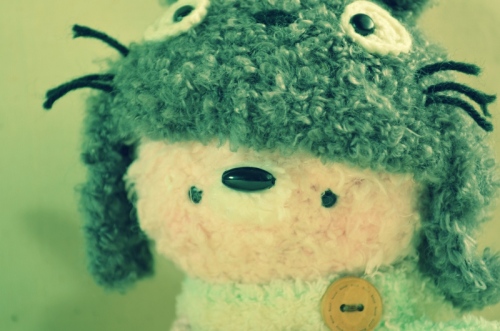
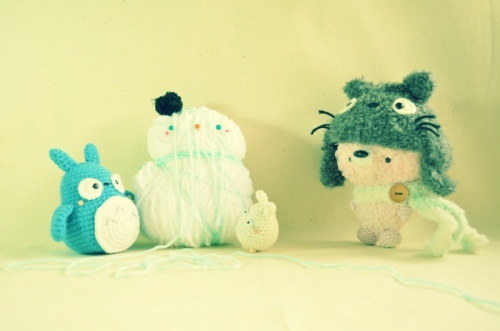
Secondly, let me share with you Mei-chan’s new look. For a long time now, I’ve been wanting to give her a new hat and so here it is! I must admit though that she doesn’t look too different, but it’s a good change nonetheless. Mei-chan, contrary to popular belief, isn’t a bear or a bunny. She is a cute little pink fox (though no one could ever say that they’ve seen her real ears) who is still a big fan of Totoro and anything Studio Ghibli-related.
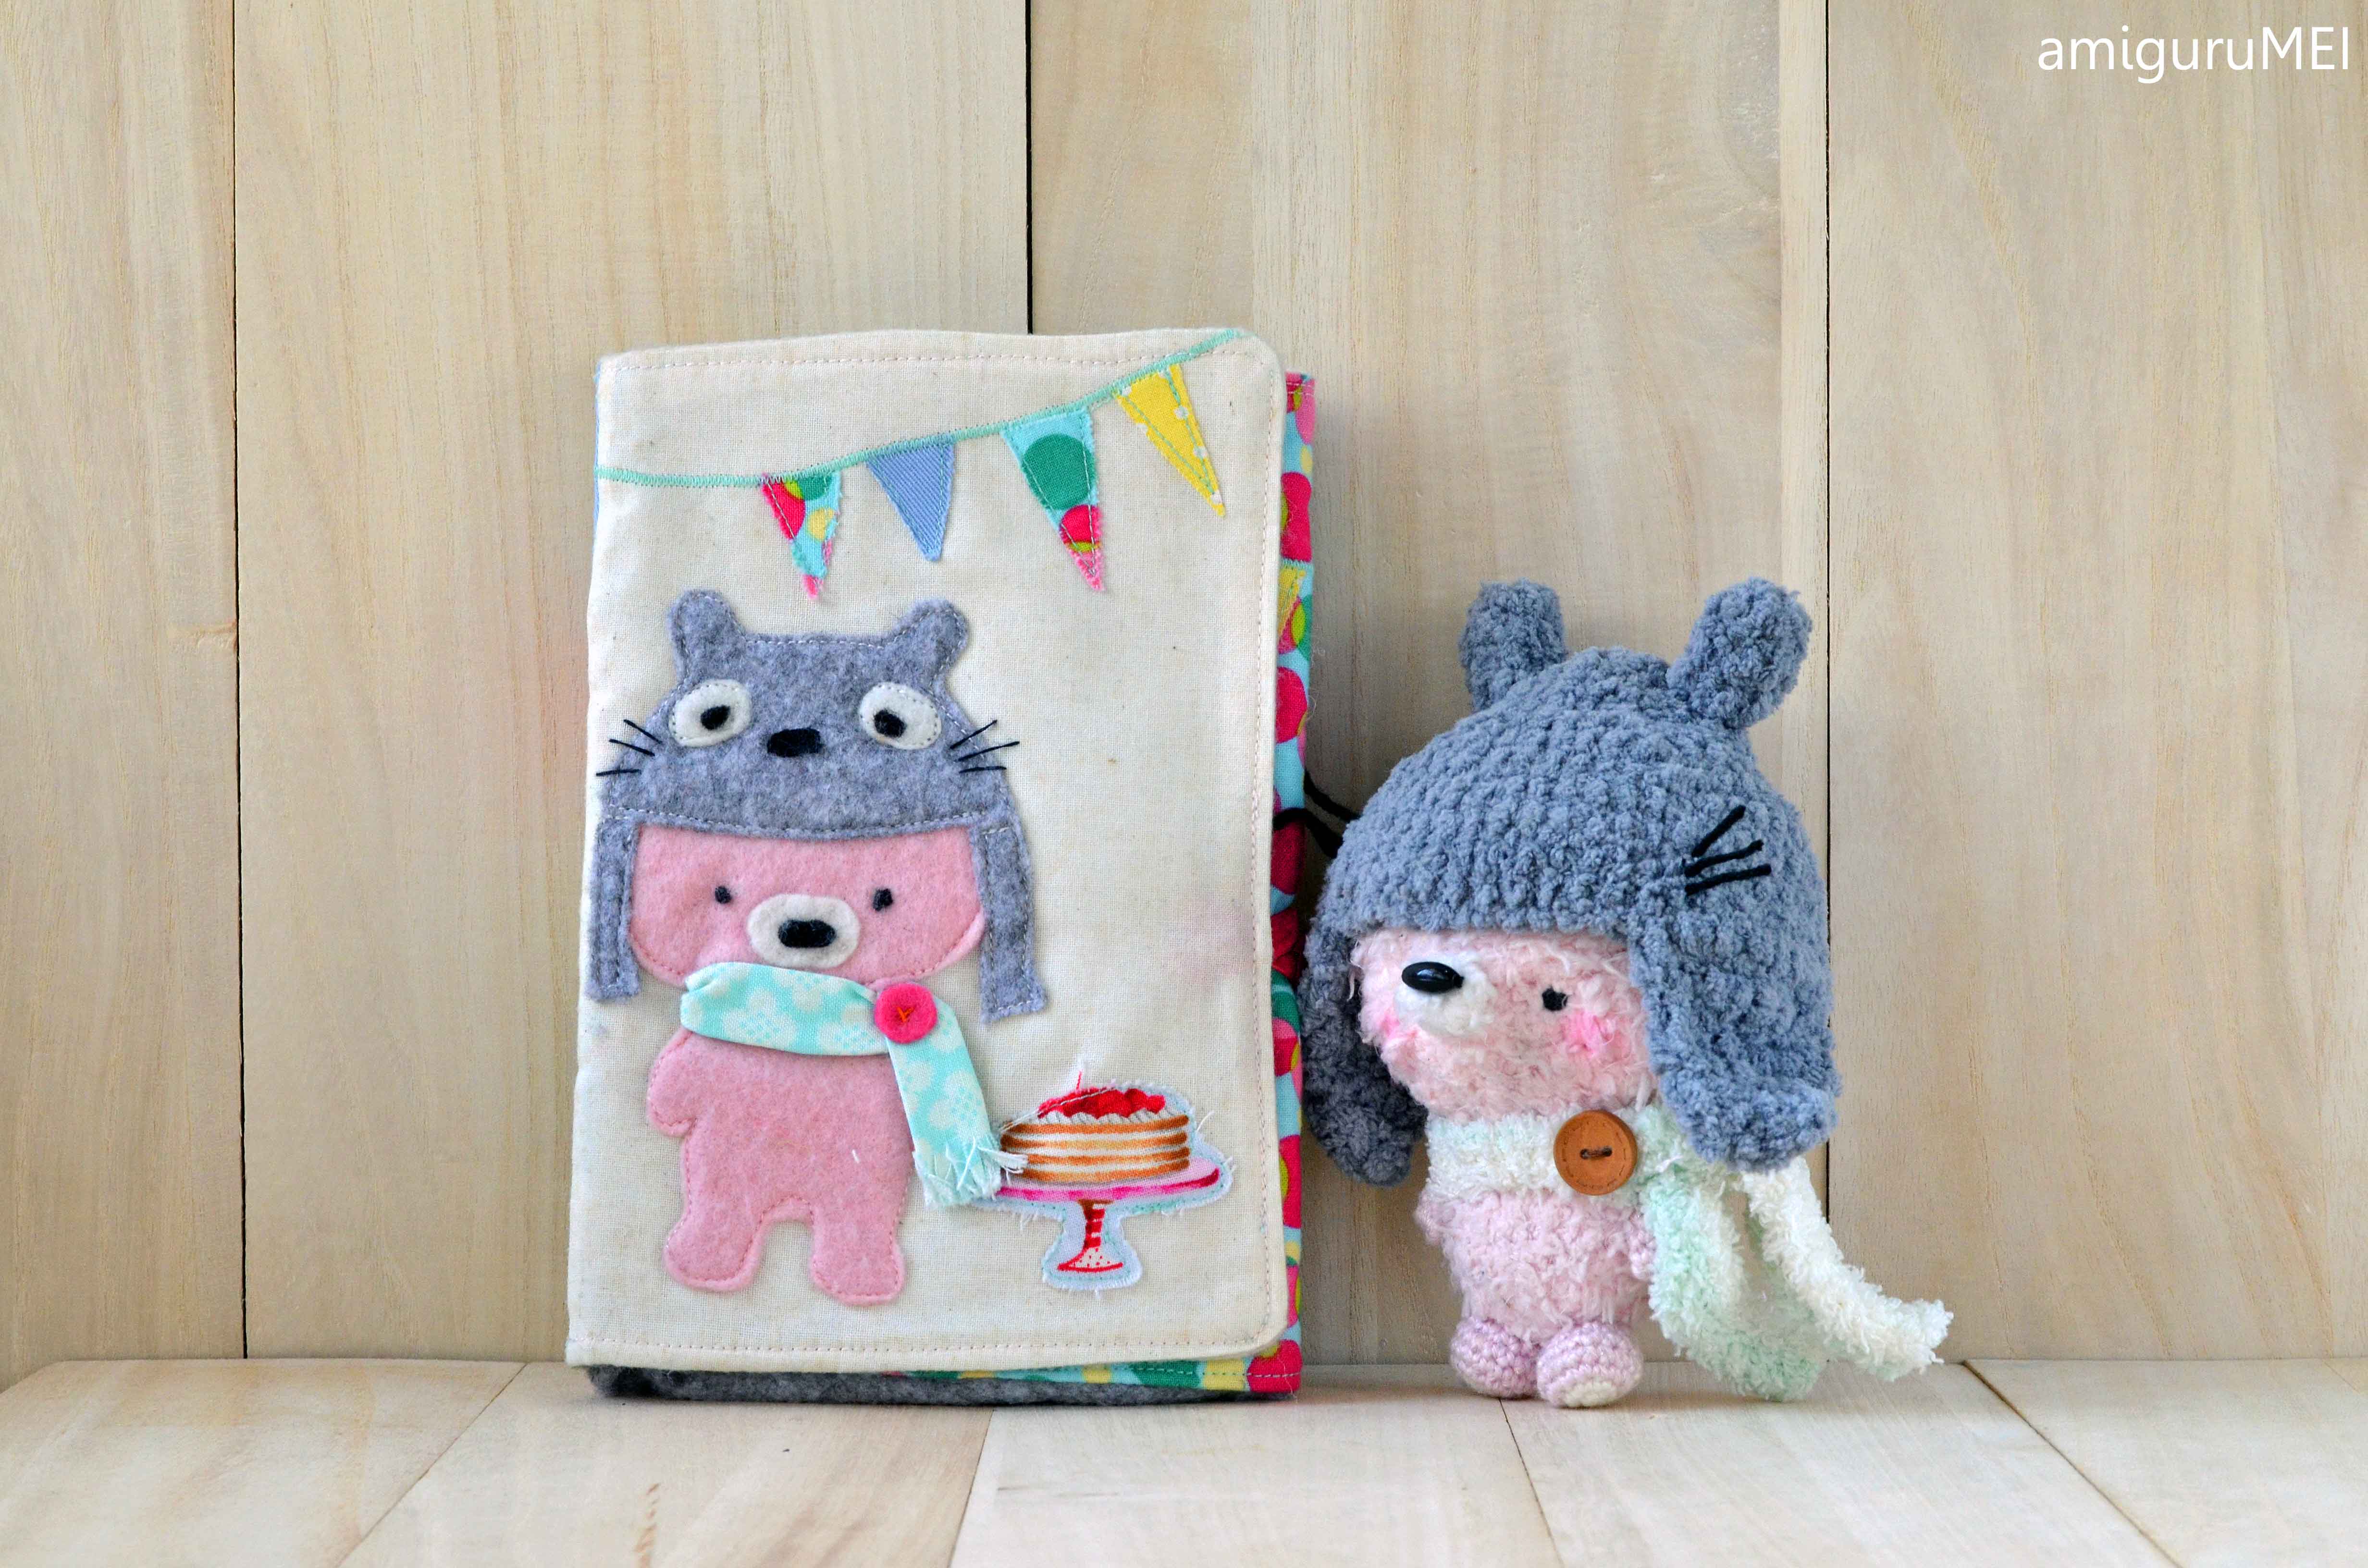
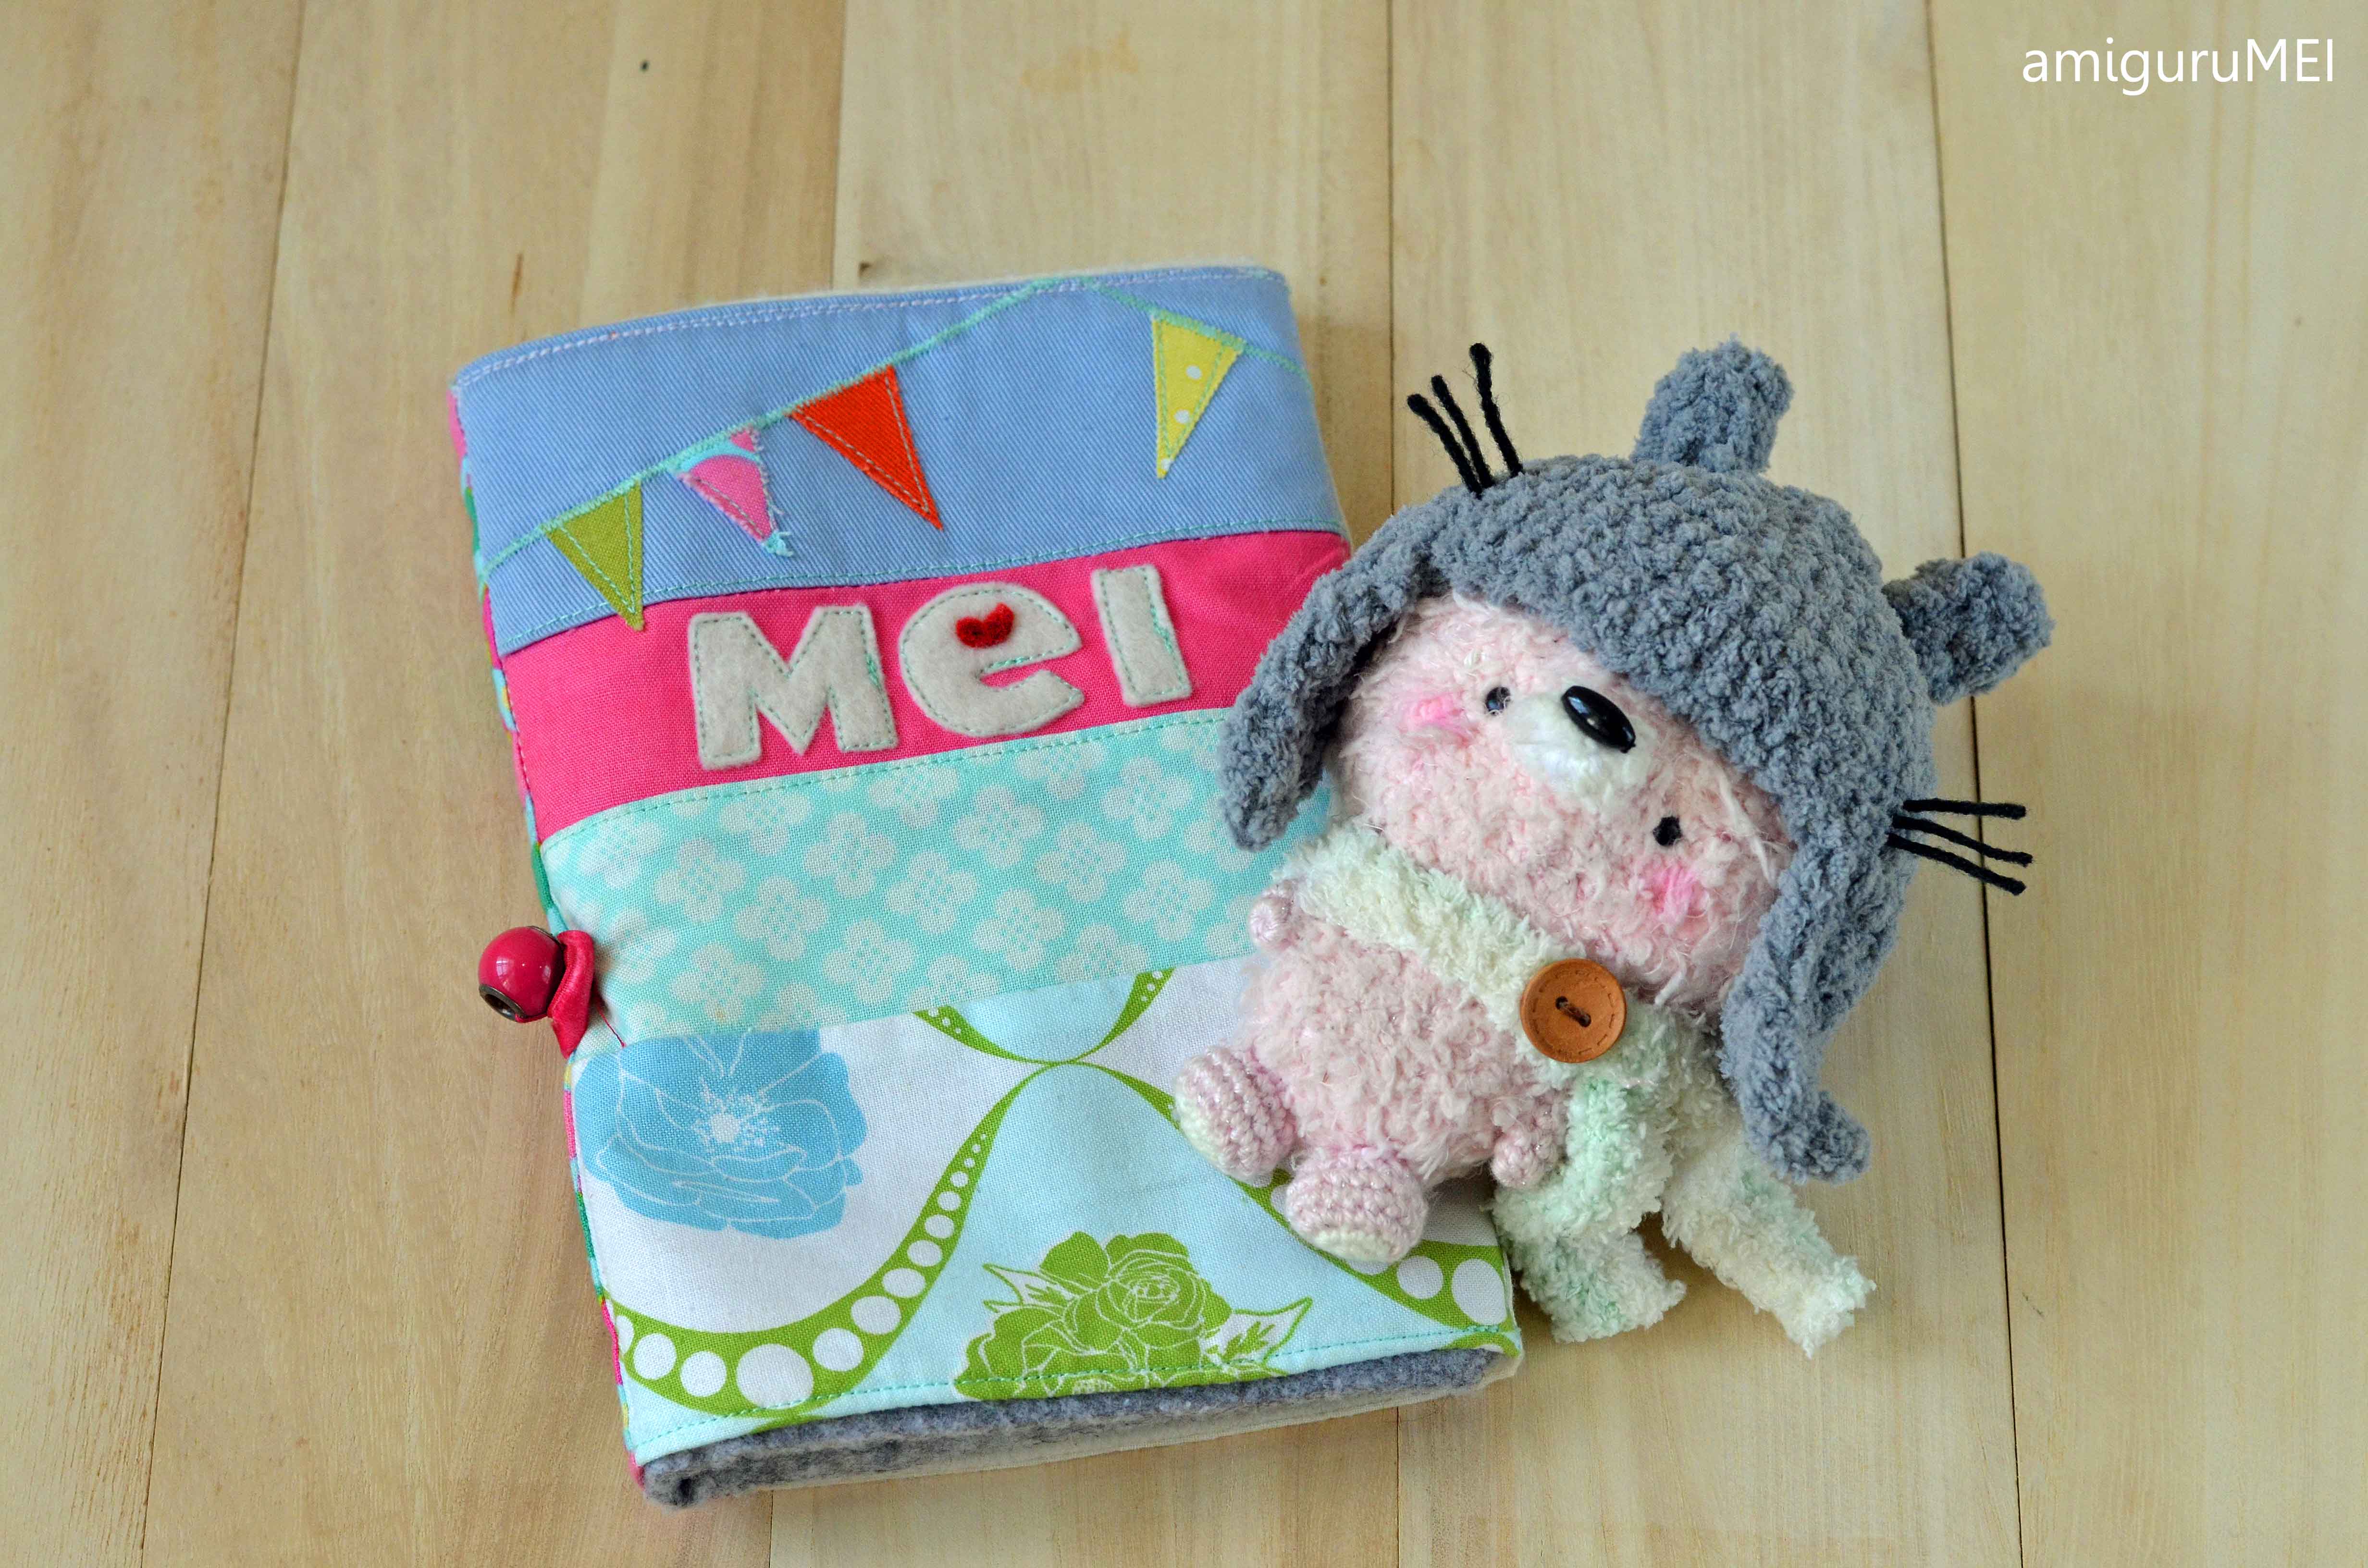
In the following picture, we have Mei-chan and an image from her past – the beautiful crochet hook pouch was made by a dear friend of mine, Lynn, who had gone on a sewing frenzy not too long ago.
It even has our name(s) on the back!
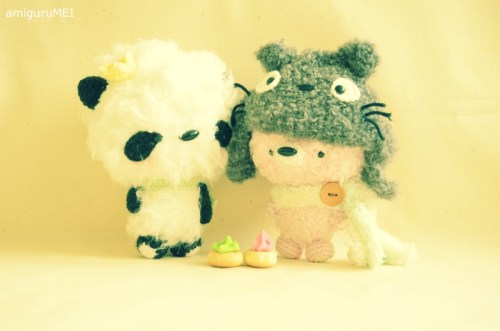
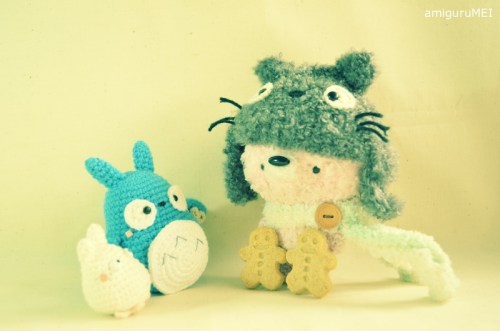
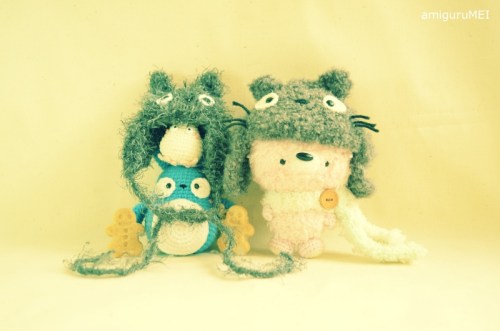
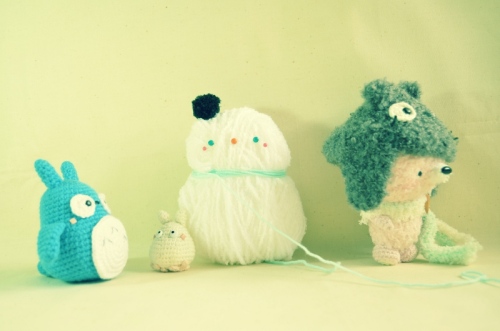
With Mei-chan as the leader of the pack, I hope to share more exciting characters and stories with you, as they are told in the world of amiguruMEI.
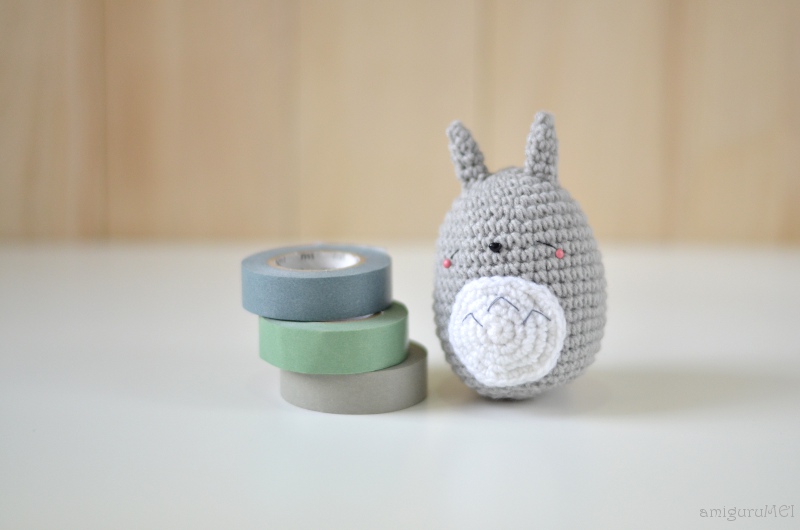
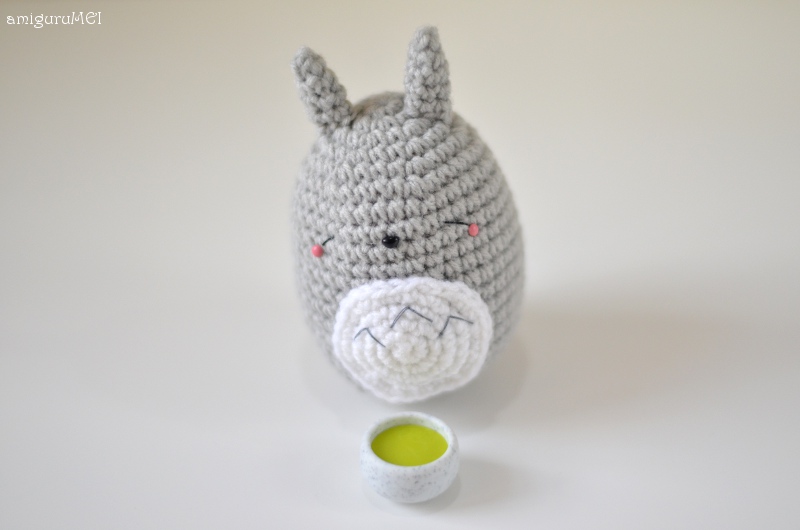
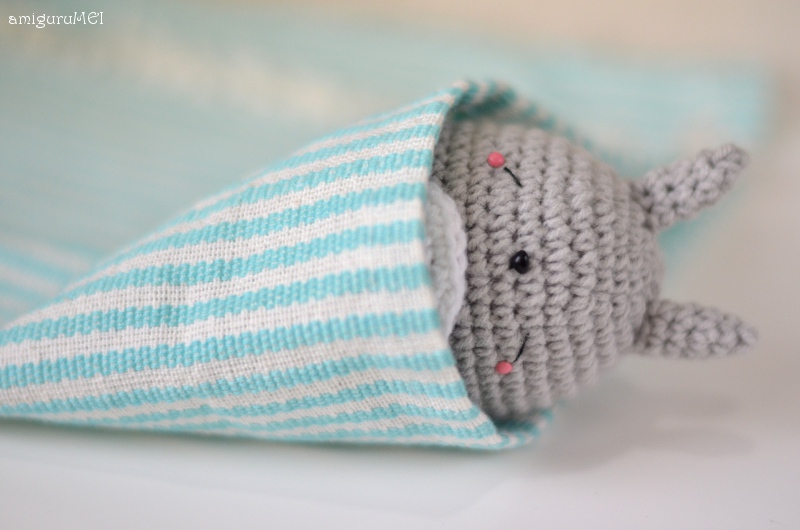
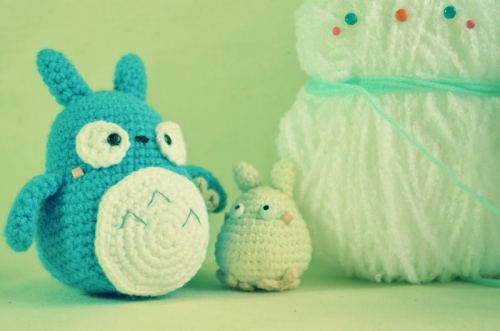
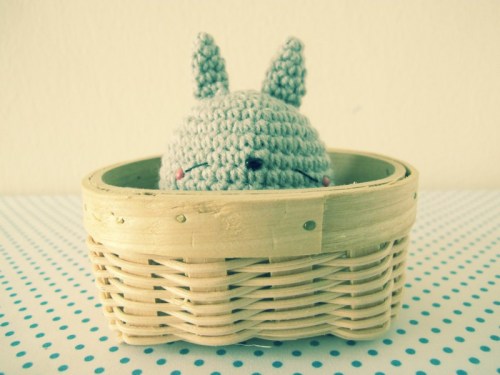
Awhile ago, we organised our very first Sleeping Totoro amiguruMEI giveaway.
Due to the numerous requests from amigurumi and Studio Ghibli lovers around the world, we’d like to share this original pattern with you, so you too can make your own kawaii Sleeping Totoro!
The pattern is easy enough for beginners, and the end result would make any anime fan a happy camper!
Enjoy!
Zzzzz…Zzzzz…
Make your own Sleeping Totoro!
Abbreviations
Ch: chain
Sc: single crochet
Dc: double crochet
Inv dec: invisible decrease
Materials
2.00 mm hook
Similar sized yarn in white and grey
Sewing thread in black and dark grey
4mm triangle plastic nose
Pink brads
Sewing needle
Darning needle
Polyester fiberfill
Zzzzz…
Body
With grey yarn:
Round 1: Sc 6 in magic ring {6}.
Round 2: [Inc] around {12}.
Round 3: [Inc, sc 1] around {18}.
Round 4: [Inc, sc 2] around {24}.
Round 5: [Inc, sc 3] around {30}.
Round 6: [Inc, sc 4] around {36}.
Round 7-18: Sc around {36}.
Round 19: [Inv dec, sc 4] around {30}.
Round 20: [Inv dec, sc 3] around {24}.
Round 21: [Inv dec, sc 2] around {18}.
Stuff head.
Round 22: [Inv dec, sc 1] around {12}.
Round 23: [Inv dec] around {6}.
Fasten off and weave in ends.
Tummy
With white yarn:
Round 1: Sc 6 in magic ring {6}.
Round 2: [Inc] around {12}.
Round 3: [Inc, sc 1] around {18}.
Round 4: [Inc, sc 2] around {24}.
Round 5: [Inc, sc 3] around {30}.
Fasten off by making slip stitches in the next 3 sts. Leave a long tail for sewing.
Ears (make 2)
With grey yarn:
Round 1: Sc 3 in magic ring {3}.
Round 2: [Inc] around {6}.
Round 3-5: Sc around {6}.
Fasten off and leave a long tail for sewing.
Tail
With grey yarn:
Round 1: Sc 6 in magic ring {6}.
Round 2: [Inc] around {12}.
Round 3: Sc around {12}.
Round 4: [Inv dec] around {6}.
Fasten off and leave a long tail for sewing.
Assembly
Glue on the triangle nose below Round 8.
For the eyes, count 3 stitches from the nose. Then make one simple diagonal backstitch (with black sewing thread) from the middle of Round 8 to the middle of Round 9. Repeat on the other side.
Glue pink brads onto the cheeks.
Sew 3 arrow tops (with dark grey sewing thread) onto the white tummy.
Sew the white tummy onto the body using a backstitch (this will give a neater effect as compared to the whipstitch method).
Sew on the ears. They should fall below Round 2 of the body, about one-thumb apart.
Sew on the tail at the back of the body. Tada!
As this is an original amiguruMEI pattern, kindly do not claim it as your own. You may place a link to this pattern from your site, but please do not repost it onto your page. Remember to share a picture of your own kawaii Sleeping Totoro with us!
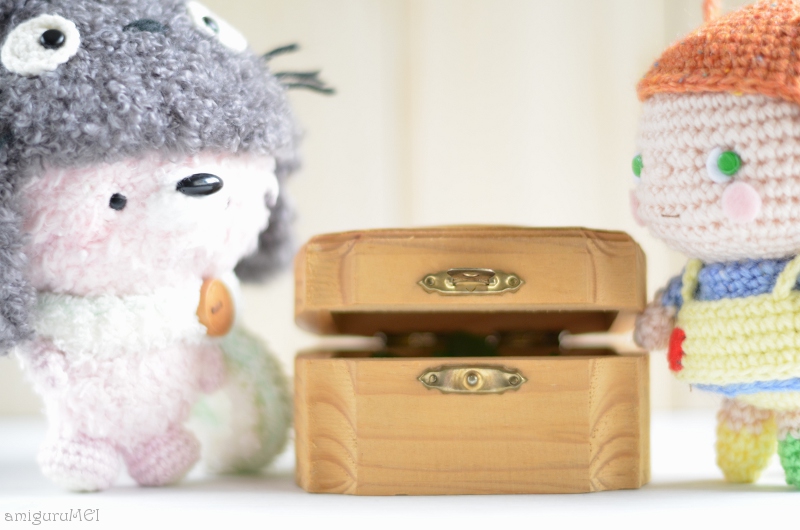
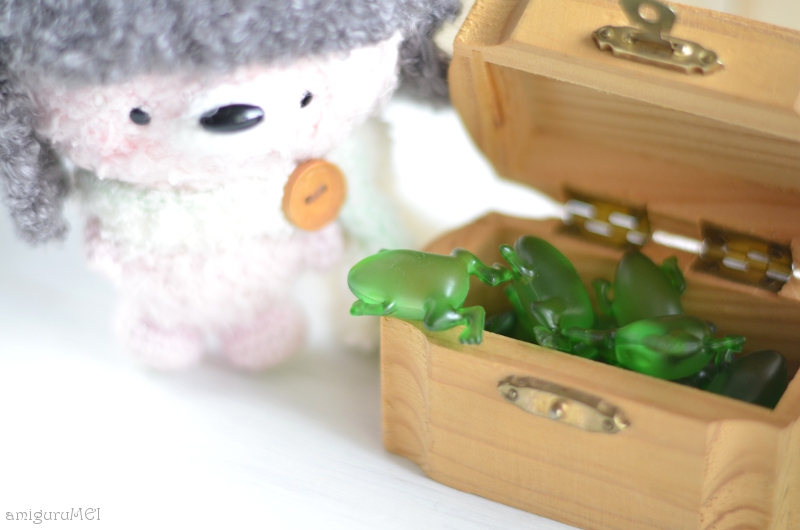
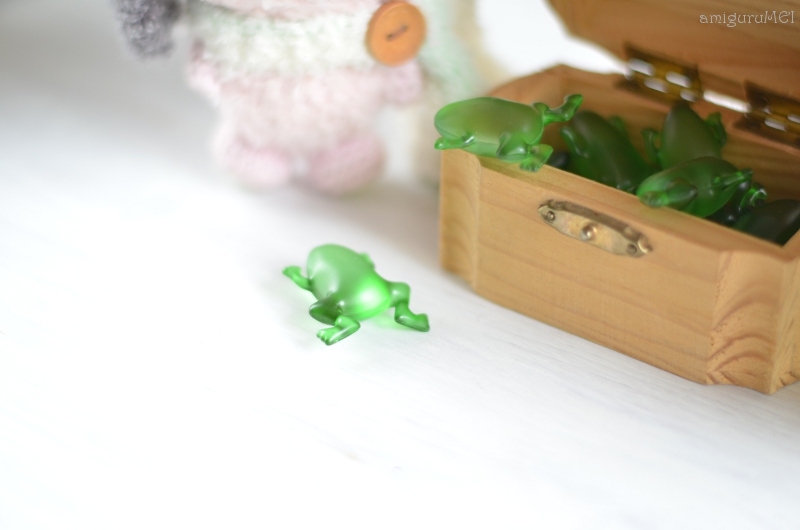
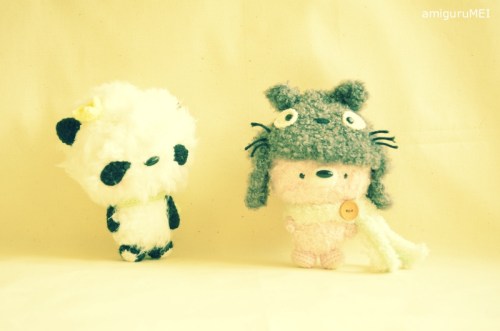
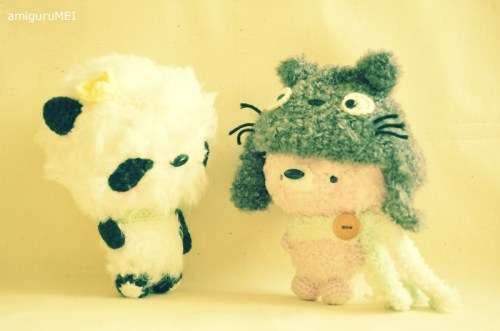
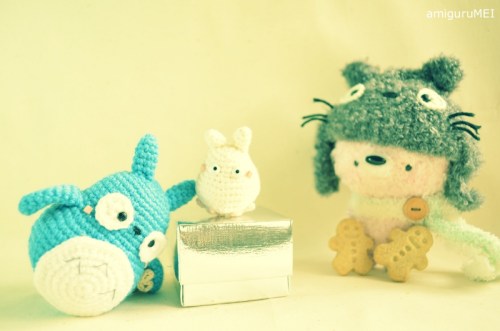
Mei-chan: *grumble grumble*Panda Oji-chan: Wow, Mei-chan! What’s that all about?Mei-chan: Huh?Oh…just thinking about my gifts this year, is all…Panda Oji-chan: Bad year?Panda Oji-chan: Maybe these will cheer you up………Mei-chan: On second thought…things are starting to look up…
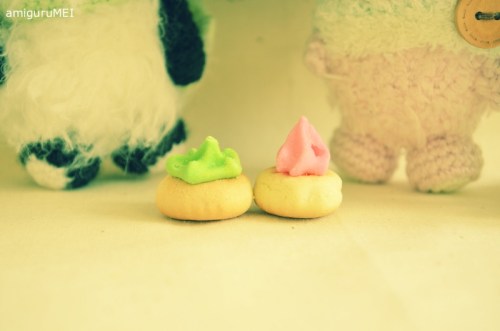
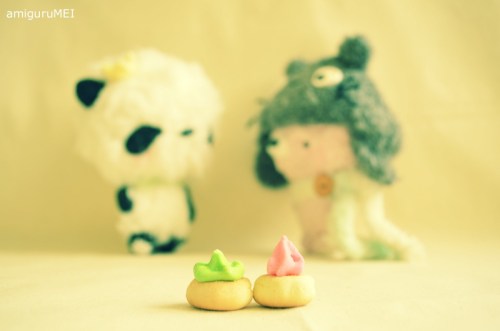
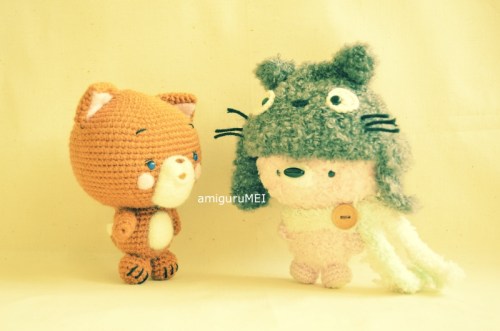
Mei-chan: Hey, lookie here guys!Mei-chan: Like em? They’re homemade, especially for you two!Mei-chan: …Wait, where are you going?…Mei-chan: A present for me? Oooh!……Mei-chan: A new hat! Awh…you shouldn’t have!…Mei-chan: I’m really touched by the effort guys…erm…you don’t think this is too much?…Mei-chan: I guess not…but I have a better idea!Mei-chan: Let’s share the hat, ok? Sharing is caring, after all!
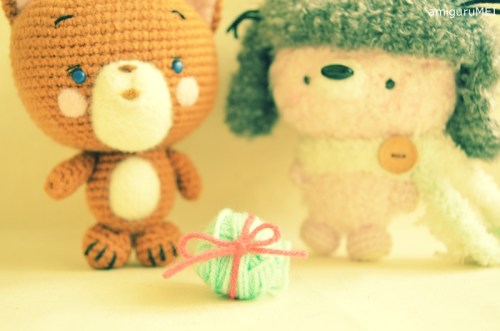
Komaneko-chan: Merry Christmas Mei-chan!Komaneko-chan: Look what I got you!…Komaneko-chan: They say: “When it comes to gifts, it’s the thought that counts!”Komaneko-chan: And I was thinking…maybe when I run out of yarn, I could come borrow some?Mei-chan: ???!
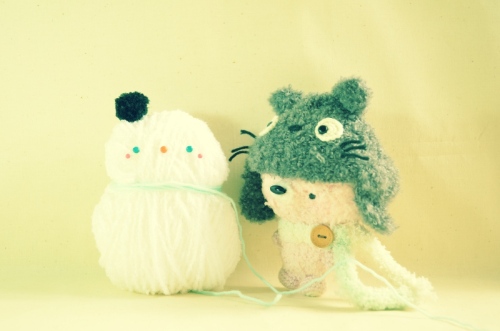
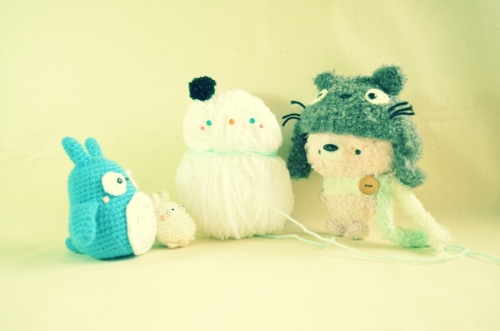
Mei-chan: Frosty the snowman! Lalalalalalala…Mei-chan: Oh hey guys! Right on time!Mei-chan: Think you can help finish Frosty’s scarf?Mei-chan: I just have to go check on something in the oven. I’ll be right back!…10 minutes later…Mei-chan: Oh deary me…
Welcome to amiguruMEI’s first giveaway do, in conjunction with Christmas and the spirit of giving, of course!
We have five Sleeping Totoros up for grabs and the best part is, anyone can win!
Taking part is easy – just visit Super Cute Kawaii, which is one of my favourite daily site haunts, and follow the super-easy instructions listed on the amiguruMEI giveaway post here.
You have one week (only ONE week) to up your chances of owning an original amiguruMEI handmade Sleeping Totoro, so がんばってね (do your best)!
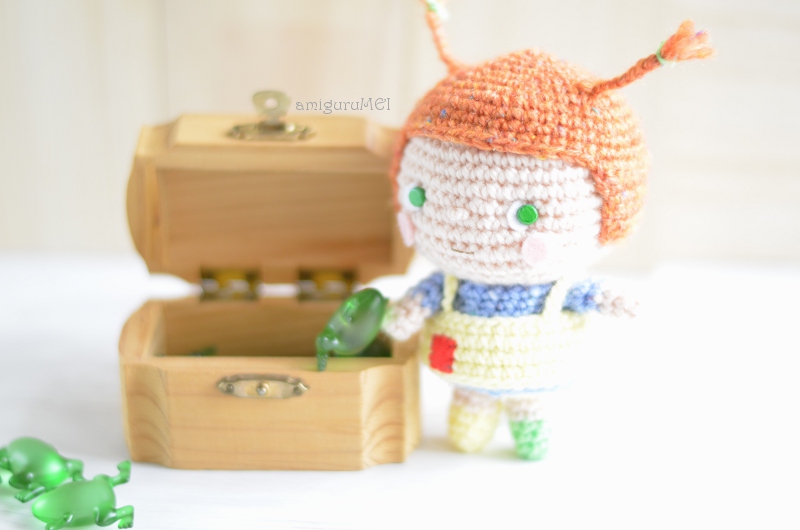
The kodama is a shy forest creature, believed to live in certain trees.
While no one knows what good they bring, those who attempt to cut down a tree housing a kodama will most certainly meet with great misfortune. Thus, such trees are often marked with a shimenawa rope.
The spirits, rooted deeply in Japanese folklore, made an eerie-cute appearance as tiny white rattle-heads in Hayao Miyazaki’s Princess Mononoke.
こんばんは… (Konbanwa)わたしはたいくつしています… (Watashi wa taikutsu shiteimasu)
Make your own Kodama-chan!
Materials
2.50 mm hook
Similar sized yarn (white)
Darning needle
1 x 4mm brad (black)
1 x 6mm brad (black)
1 x 8mm brad (black)
Polyester fiberfill
Small pebbles (to weigh Kodama-chan down)
Head
With white yarn:
Round 1: 6 sc in magic circle (6)
Round 2: 2 sc in each sc around (12)
Round 3: *2 sc, sc in next sc*, repeat 6 times (18)
Round 4: *2sc, sc in next 2 sc*, repeat 6 times (24)
Round 5: *2 sc, sc in next 3 sc*, repeat 6 times (30)
Round 6: *2 sc, sc in next 4 sc*, repeat 6 times (36)
Round 7: *2 sc, sc in next 5 sc*, repeat 6 times (42)
Round 8: *2 sc, sc in next 6 sc*, repeat 6 times (48)
Round 9: *2 sc, sc in next 7 sc*, repeat 6 times (54)
Round 10 – 16: Sc in each sc around (54)
Round 17: *Inv dec, sc in next 7 sc*, repeat 6 times (48)
Round 18: * Inv dec, sc in next 6 sc*, repeat 6 times (42)
Round 19: * Inv dec, sc in next 5 sc*, repeat 6 times (36)
Pop in the black brads for the eyes – the 8mm brad should fall right below round 12, and the 6mm, below round 13. There should be a space of 11 stitches between the eyes. For the tiny mouth, pop in the 4mm brad on the 17th row, centred between the eyes.
Round 20: * Inv dec, sc in next 4 sc*, repeat 6 times (30)
Round 21: *Inv dec, sc in next 3 sc*, repeat 6 times (24)
Round 22: *Inv dec, sc in next 2 sc*, repeat 6 times (18)
Begin stuffing the head.
Round 23: *Inv dec, sc in next 1 sc*, repeat 6 times (12)
Round 24: Inv dec all around (6)
Fasten off and weave in ends.
Body
With white yarn:
Round 1: 6 sc in magic circle (6)
Round 2: 2 sc in each sc around (12)
Round 3: *2 sc, sc in next sc*, repeat 6 times (18)
Round 4: *2sc, sc in next 2 sc*, repeat 6 times (24)
Round 5 – 10: Sc in each sc around (24)
Fasten off and weave in ends.
Begin stuffing the body. Add some pebbles to weigh Kodama-chan down.
Arms (make 2)
With white yarn:
Round 1: 7 sc in magic circle (7)
Round 2 – 6: Sc in each sc around (7)
Fasten off and leave a long end for sewing.
Legs (make 2)
With white yarn:
Round 1: 7 sc in magic circle (7)
Round 2 – 5: Sc in each sc around (7)
Fasten off and leave a long end for sewing.
Assembly
Sew on the body.
Sew on the legs.
Sew on the arms.
Ta da!
As this is an original amiguruMEI pattern, kindly do not claim it as your own. If you plan to sell the amigurumi made from this pattern, I would be delighted to have you mention amiguruMEI as the pattern provider. You may place a link to this pattern from your site, but please do not repost it onto your page. Remember to share a picture of your own kawaii versions of Kodama-chan with amiguruMEI!