Oh gosh, hello everyone!
It’s been such a long, long time! I must apologise for the long absence!
If you’ve been following my Instagram, you would know why I’ve been missing from the amigurumi scene: I just became a mom to two lovely twin boys (and boy, do they keep my two hands full!)
Jacob and Joshua are now almost four months old and till this day, it still seems surreal that I have two babies to call my own 🙂
And since it’s Mother’s Day today, which of course is an extra-special event for me this year as a first-time mom, I’d like to share a free amigurumi pattern with all my favourite crafters…yes you, whom I have not been in touch with for aeons!
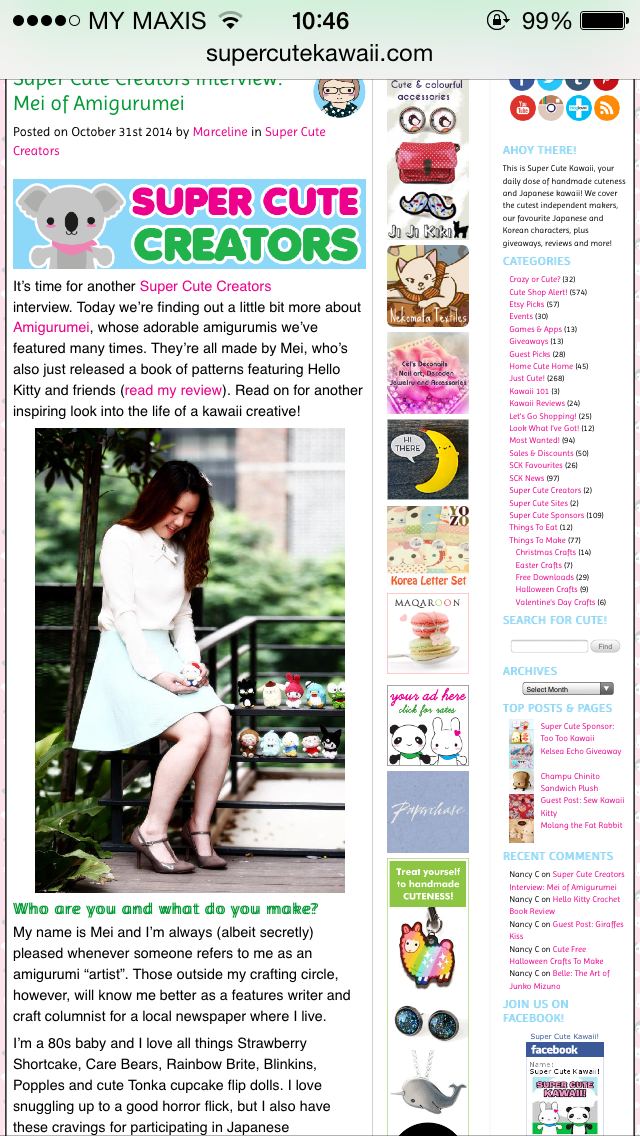
Oh and please do head on over to @simplycrochetmag as I’ve been given the wonderful opportunity to work on an Instagram takeover for the magazine, just for this weekend. The free pattern for Risa-chan is an added bonus to mark this amazing collaboration 🙂

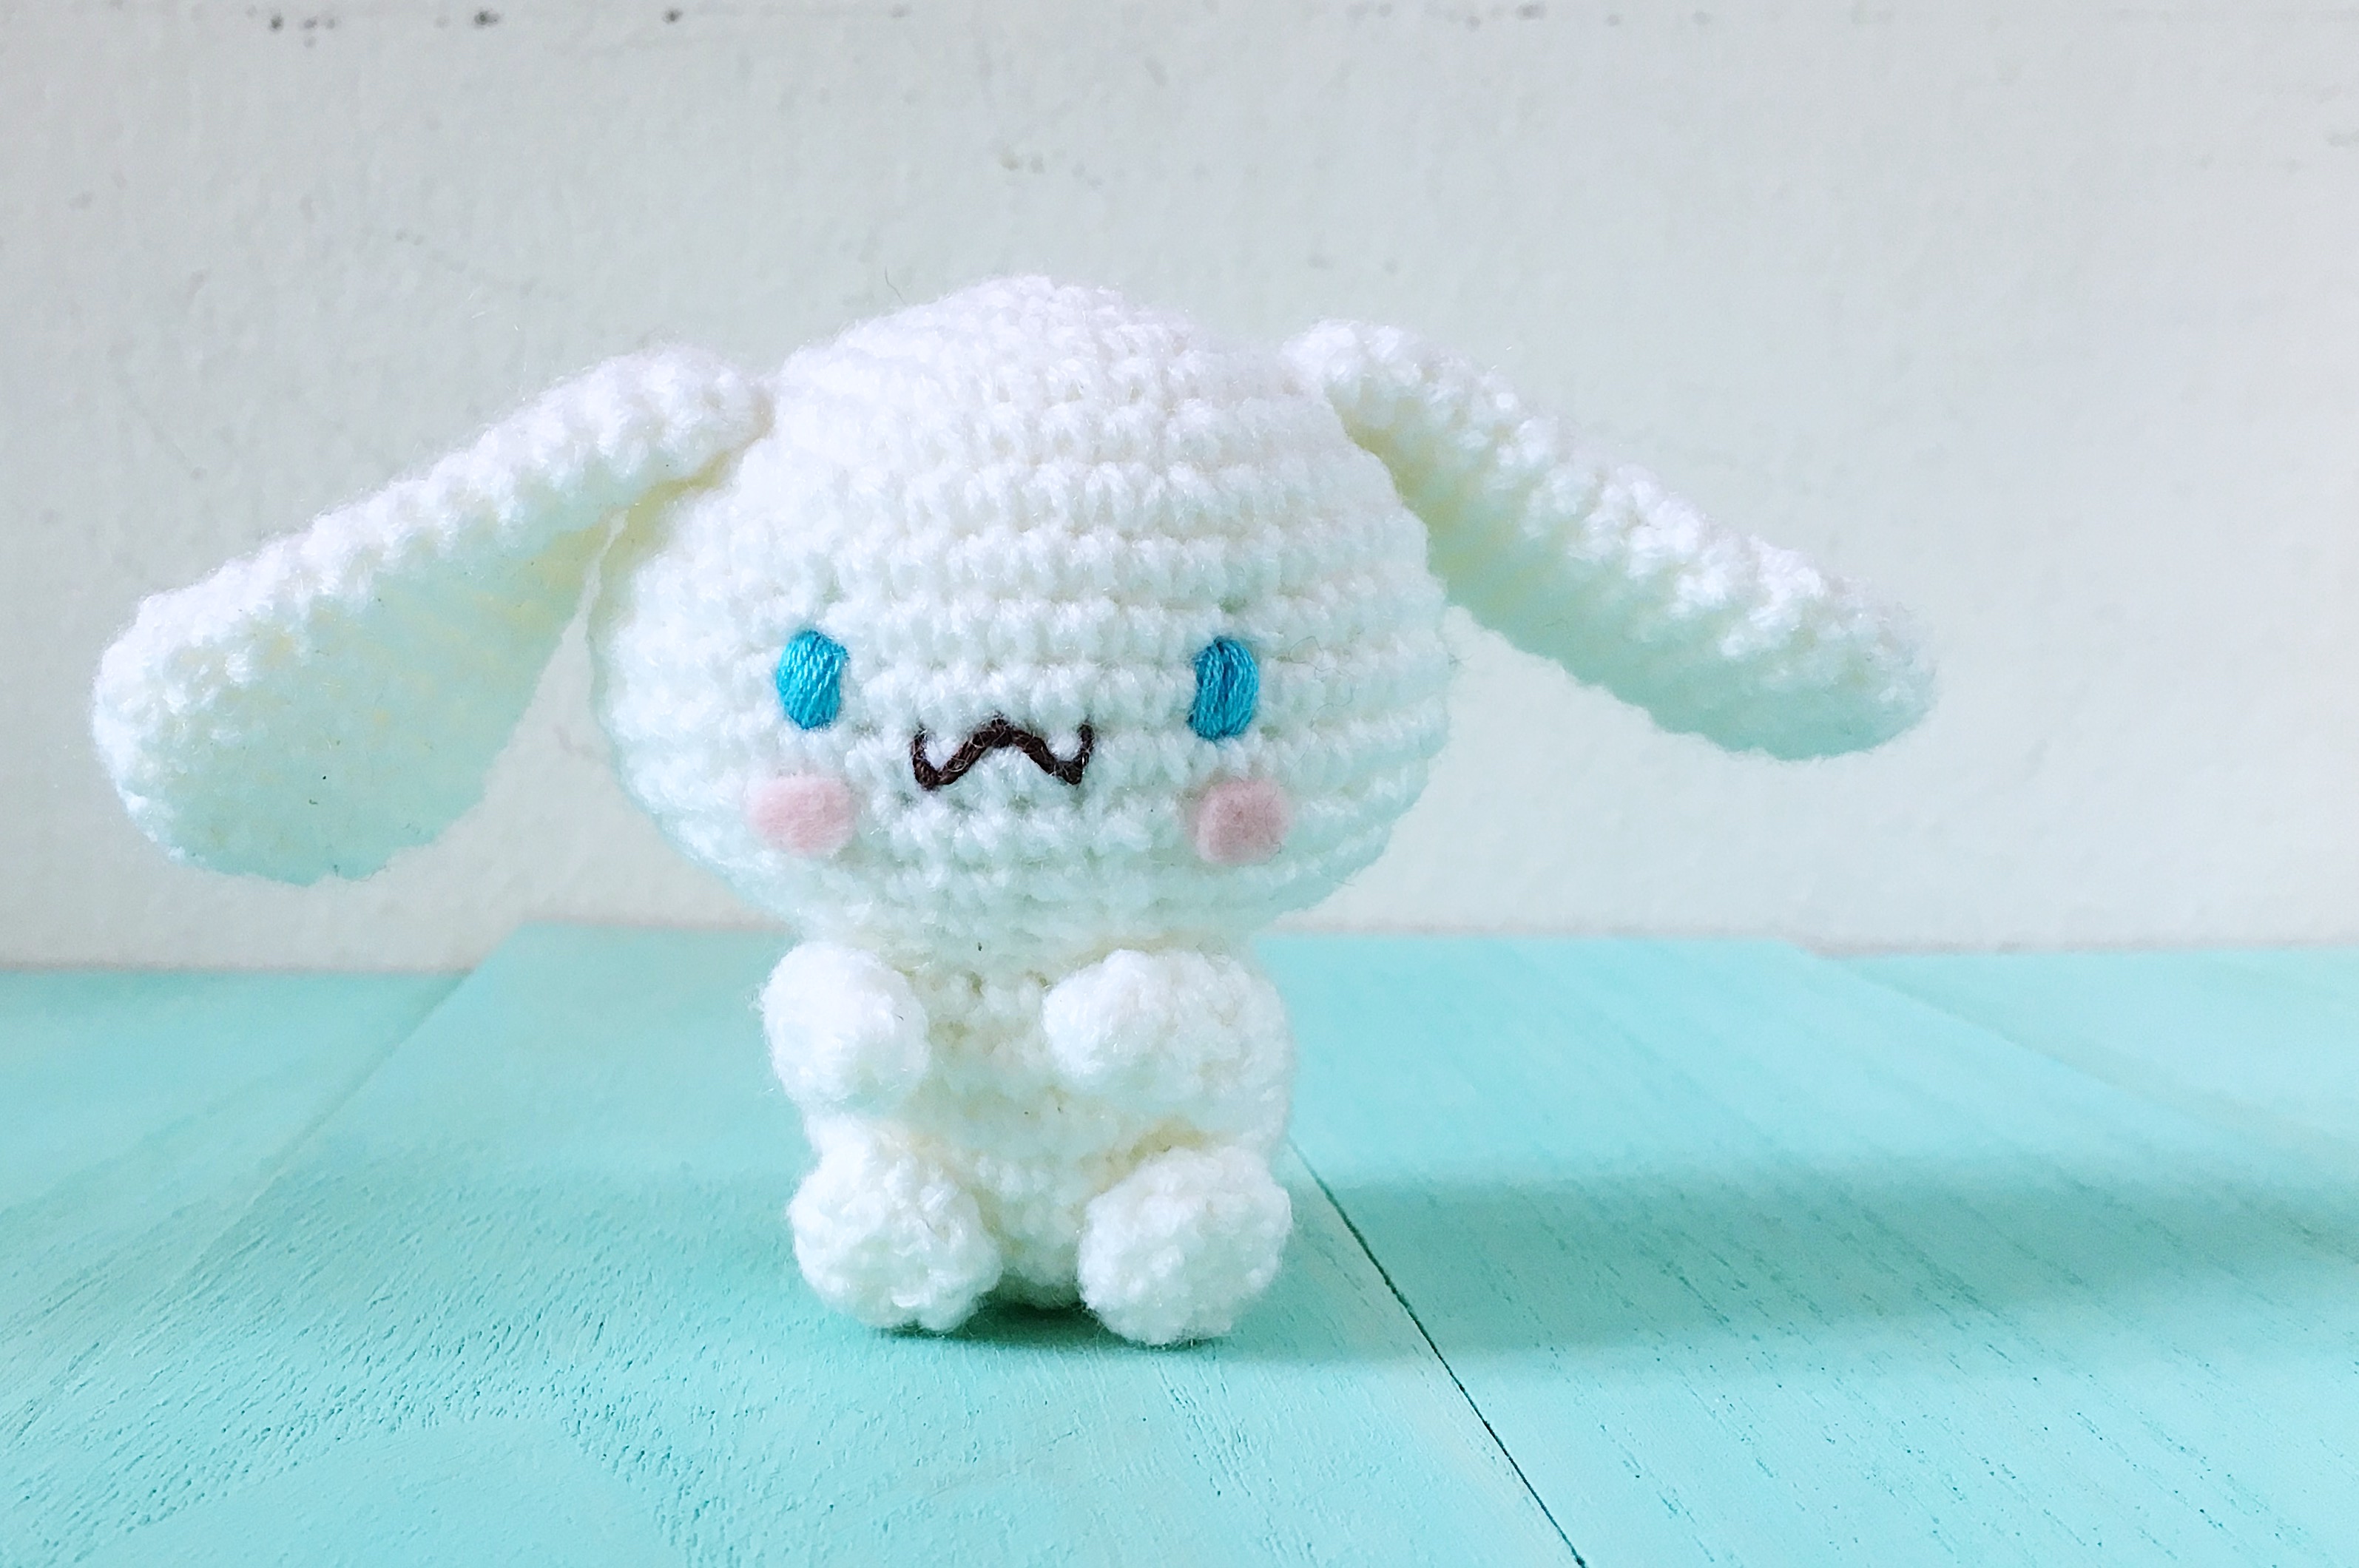
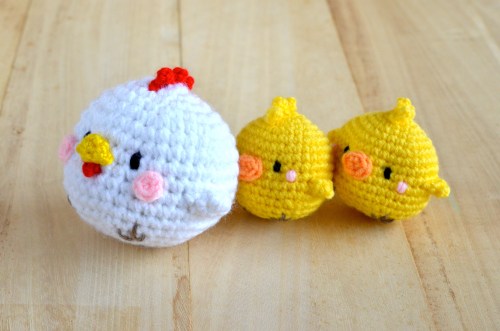
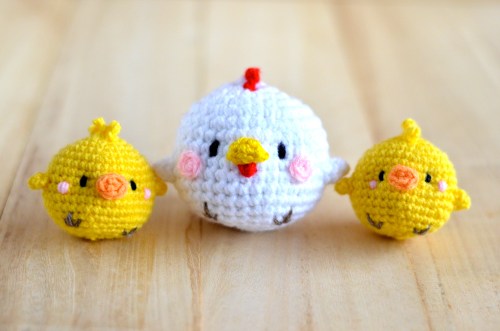
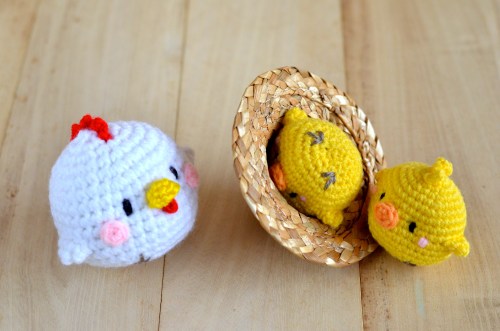
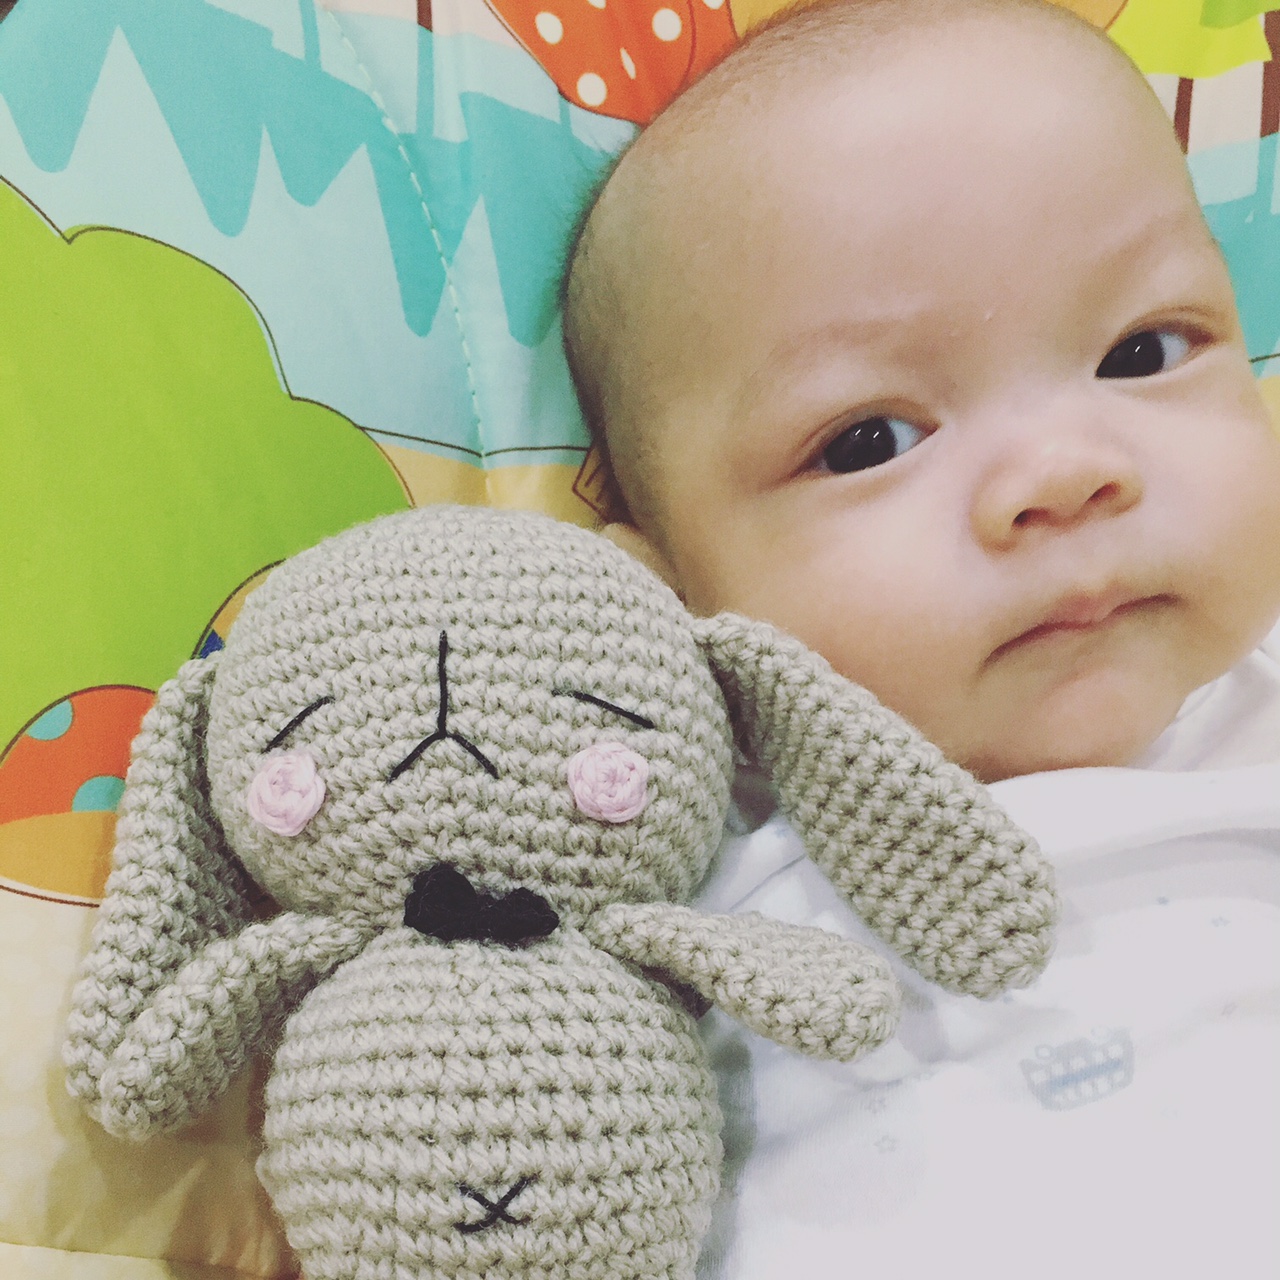
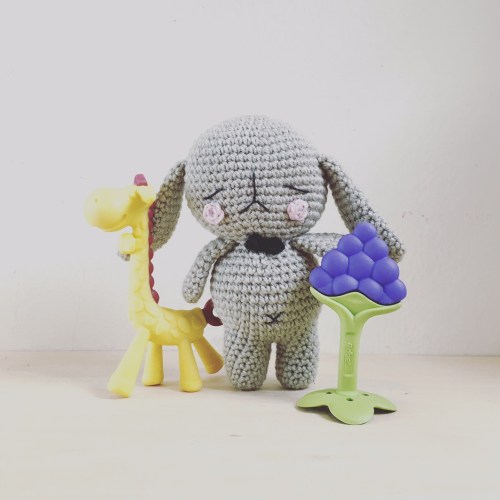
Please meet Risa-chan, the bunny mommy I made over a year ago when I first found out that I was going to be a mom 🙂 She’s this sweet little thing who has stuck by me through my morning sickness and stayed quiet and calm when I was hospitalised for preterm labour, on Christmas! Thankfully, her presence kept my jitters at bay and my boys managed to hang on for three more weeks before their scheduled due dates 😉

I must say that I never imagined that it would be this though to be a mother, and to this I would like to send my love and a great big hug to all mothers on this special day. Please enjoy the free amigurumi pattern for Risa-chan, which I hurriedly wrote with one hand rocking my two boys in their bouncers (they can only nap with constant rocking, sigh!)
Here’s a first look at my boys! Jacob was born two minutes earlier than lil’ Joshua.
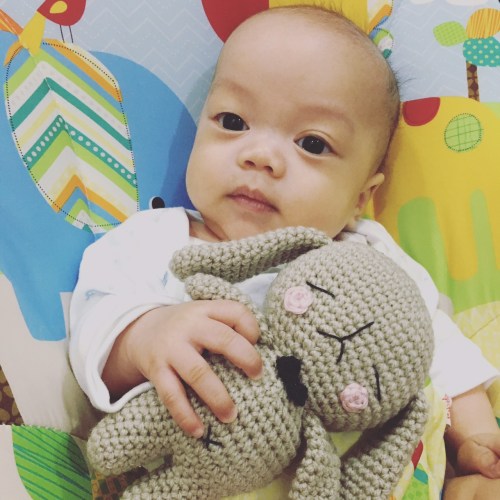

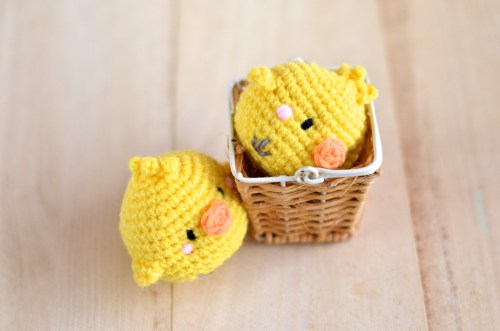
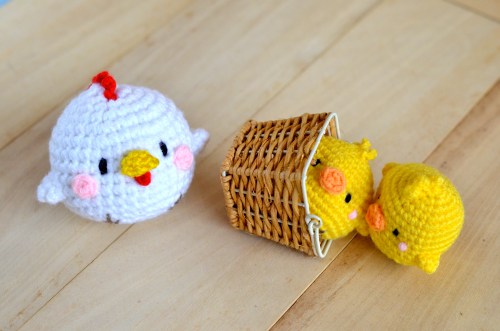
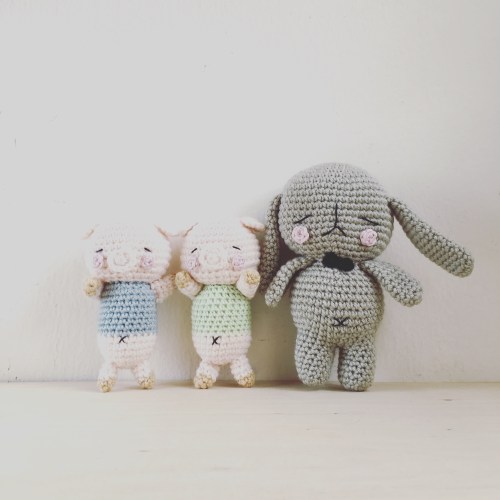
Yep, they sure do seem to love mama’s Risa-chan! Well, at least they didn’t complain! (By the way, I made a bunch of baby-friendly amigurumi that I’d love to show you guys soon! Like the two little rattle piglets that Risa-chan is seen cosying up to below)
I hope to be able to share more of my work and also some free patterns in the coming months; I’m still trying to find a balance between getting enough sleep and pumping for milk for now, so please do bear with me! I hope everyone has been well! Please do drop me a line and continue sending me wonderful pictures of your work! (don’t mind me if I reply your mail in the wee hours of the morning; my boys still wake up to nurse 2 to 3 times throughout the night and that’s when you’d find me fiddling with my iPhone in the dark 🙂
XOXO
Mei
FREE AMIGURUMI PATTERN: RISA-CHAN THE BUNNY MOMMY
Abbreviations
- Ch: chain
- Sc: single crochet
- Dc: double crochet
- Inv dec: invisible decrease
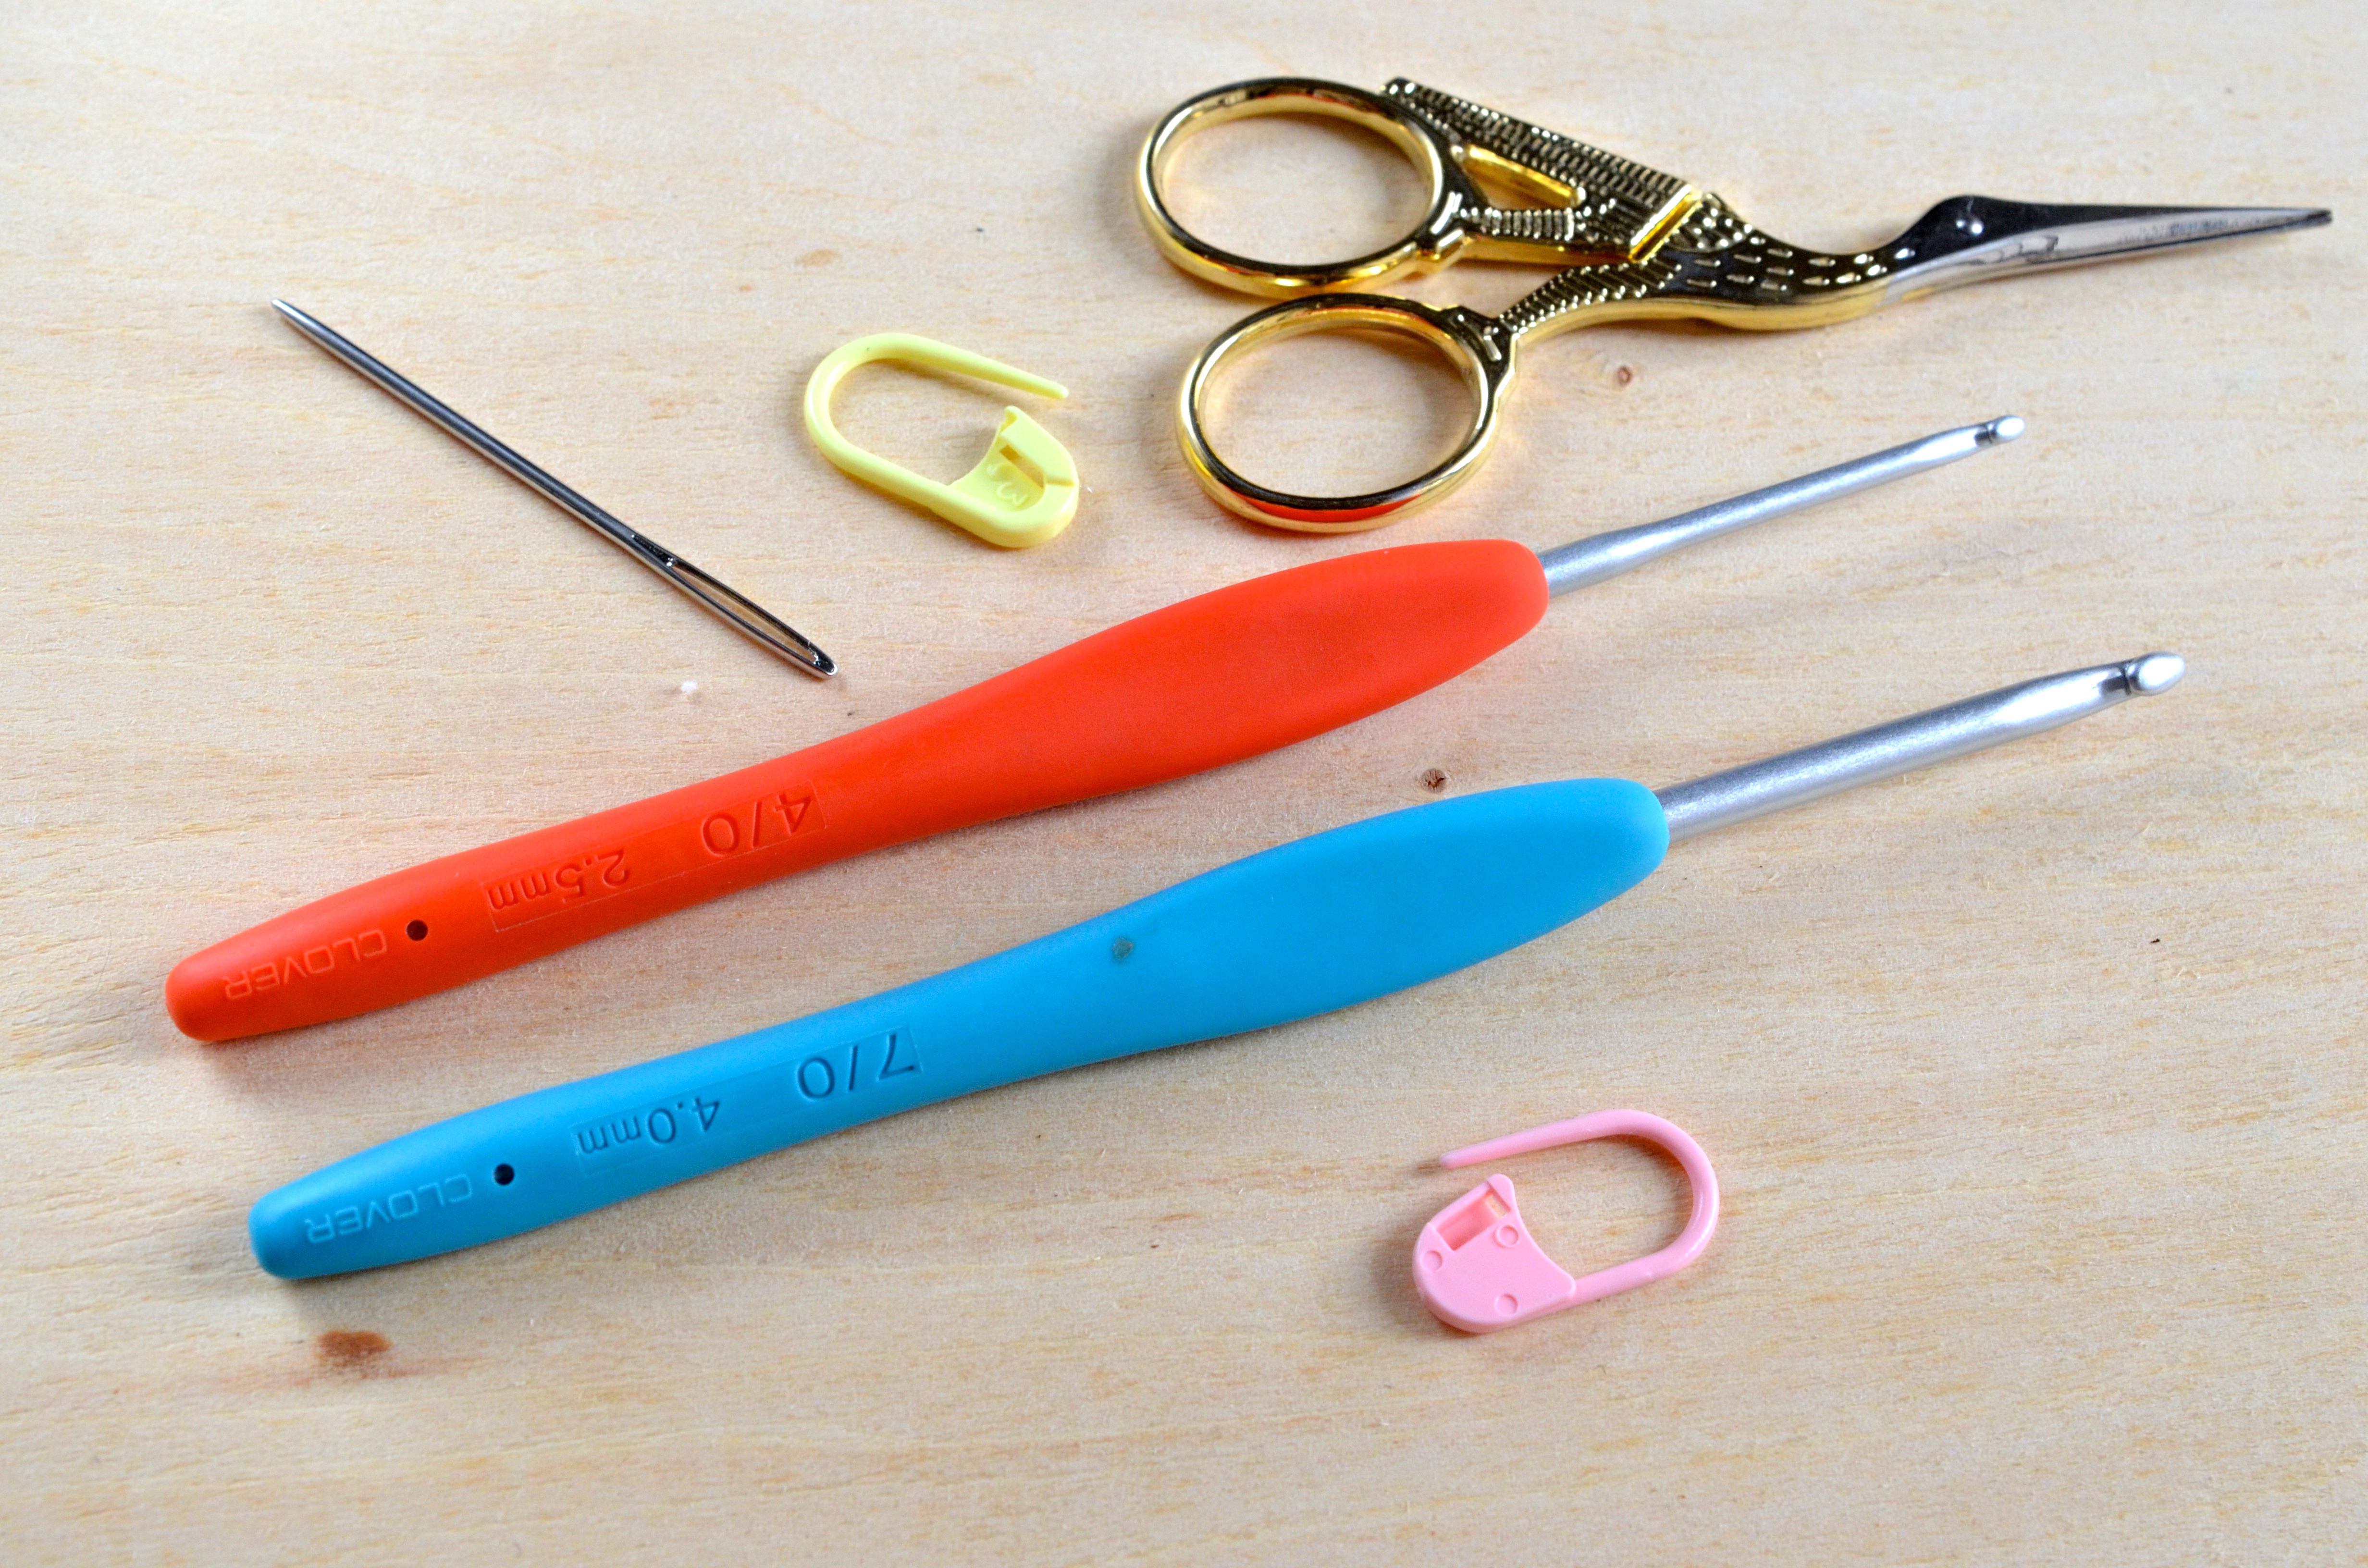
Materials
- 2.5 mm hook
- 2mm hook
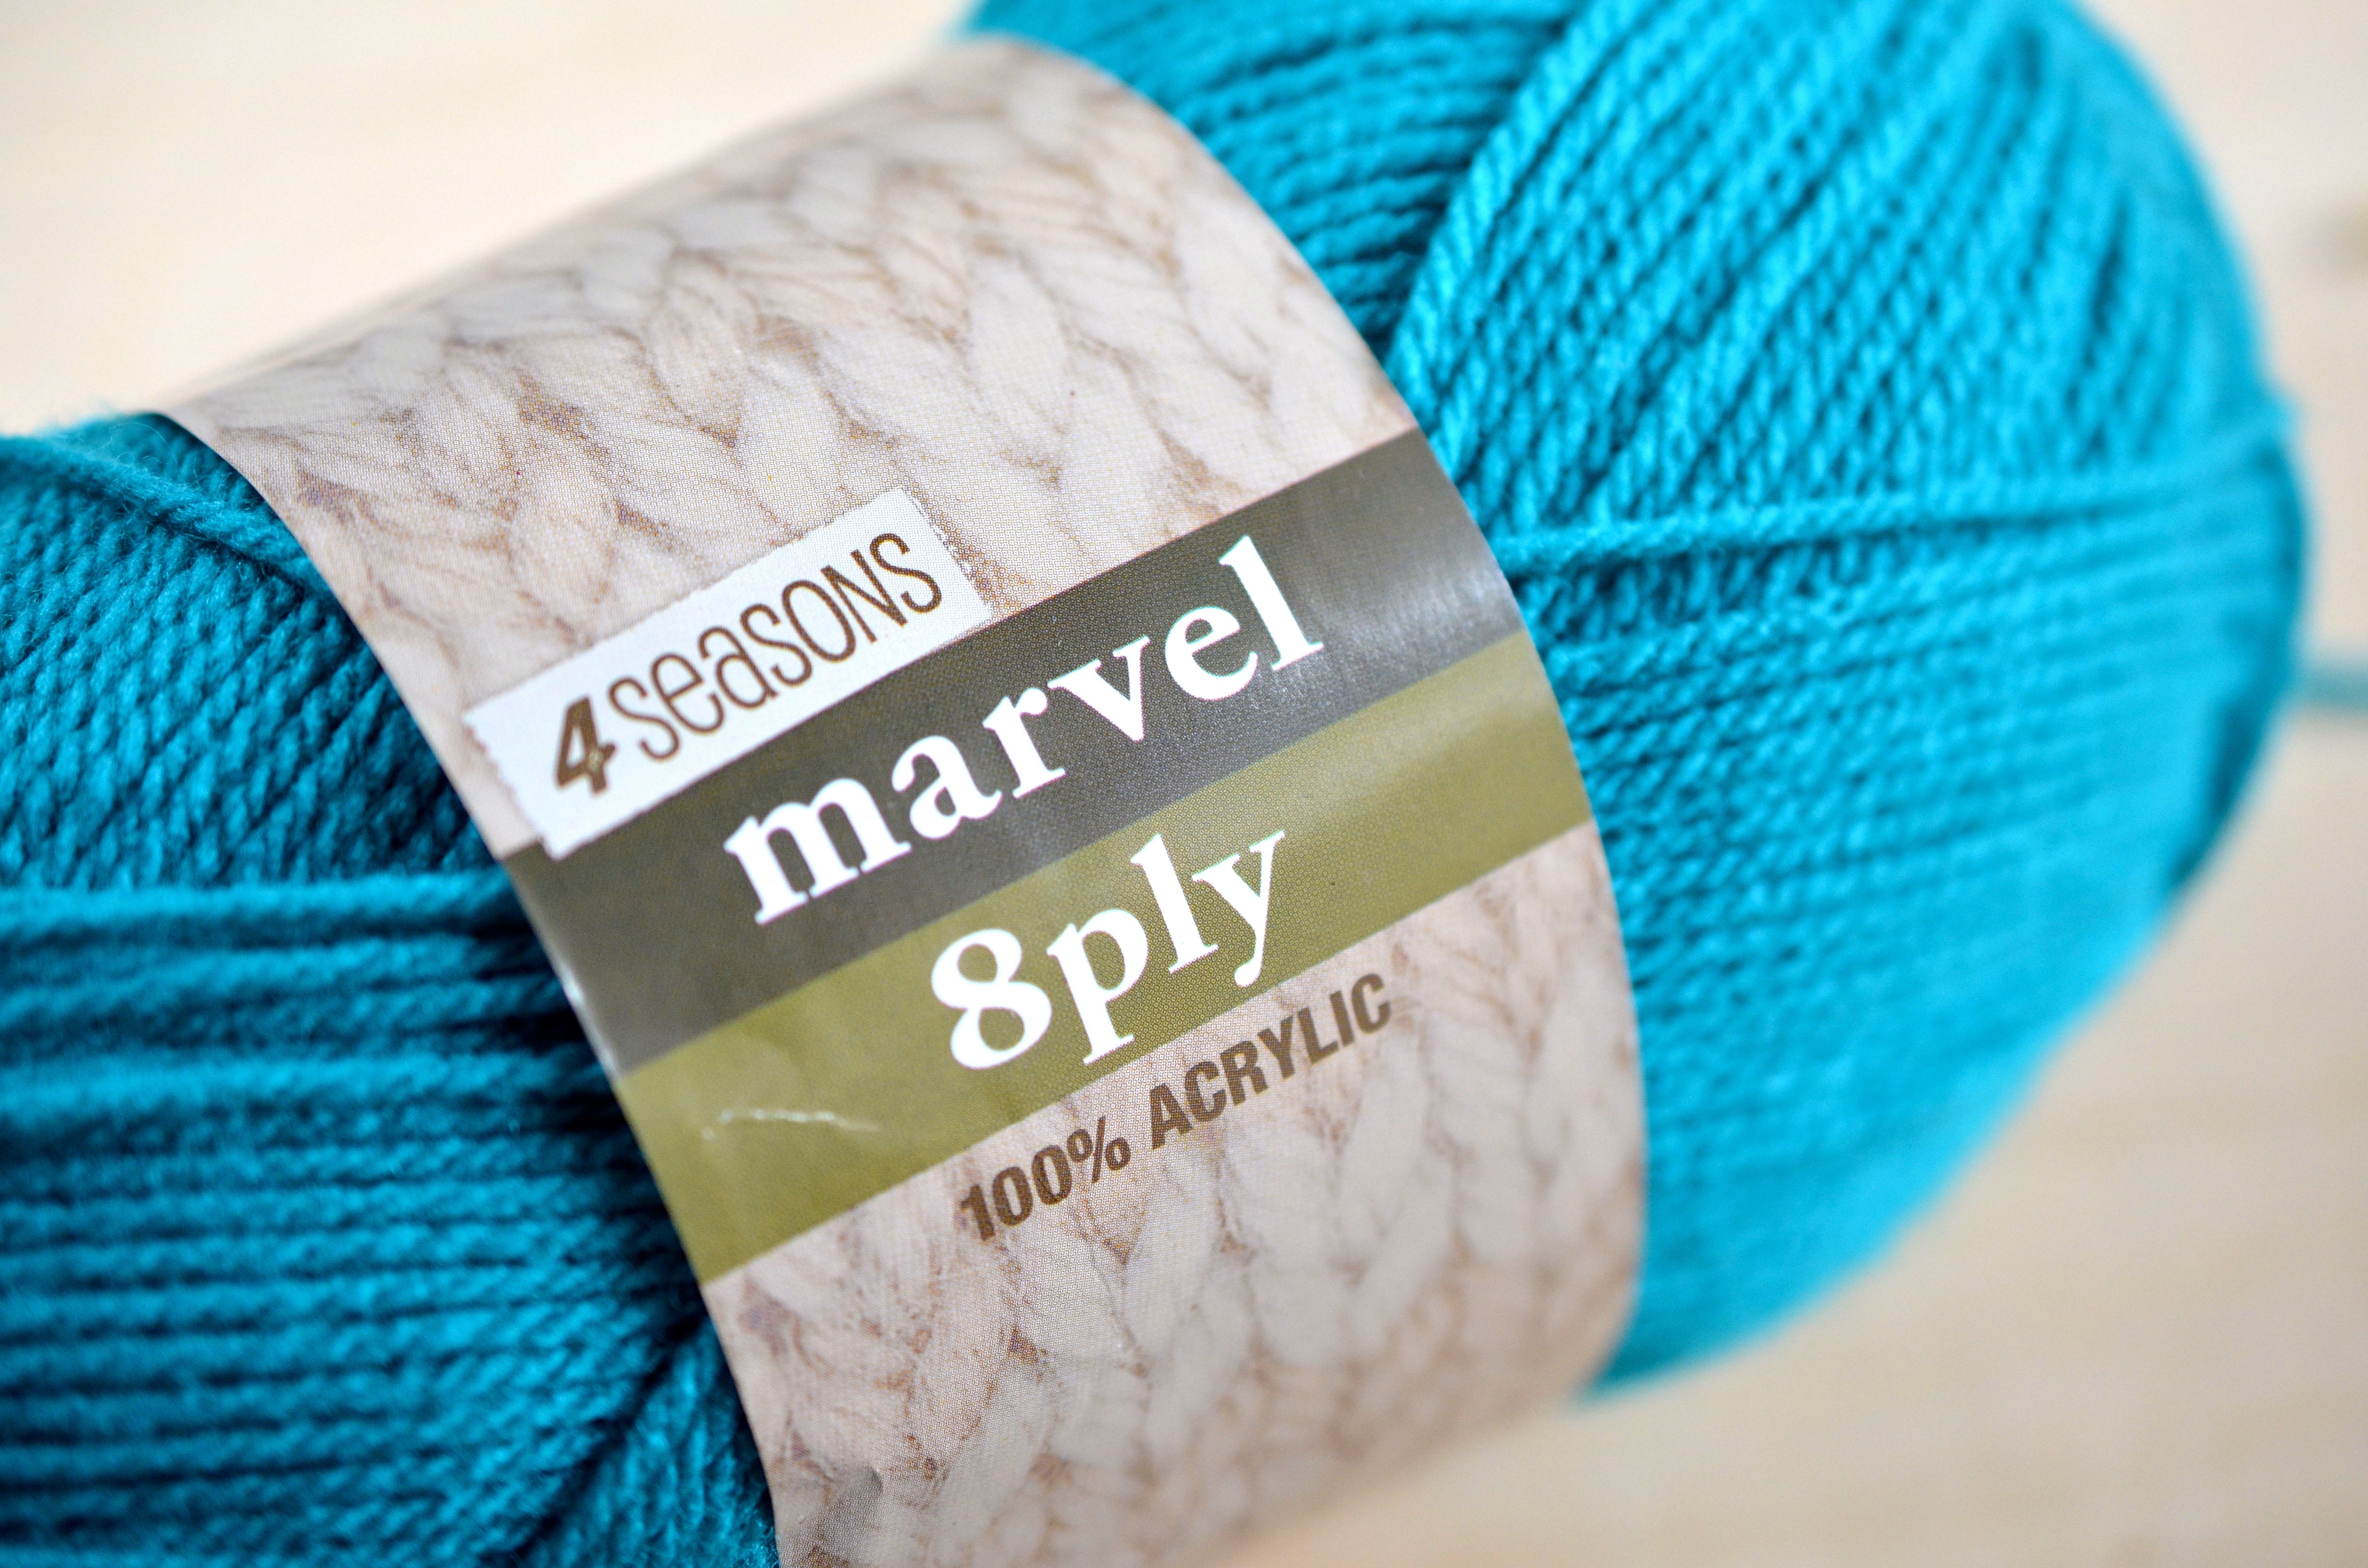
- Yarn in taupe (greyish-brown) and pink
- Embroidery floss in black (I used black crochet thread, which gives a neater finish)
- Darning needle
- Polyester fiberfill
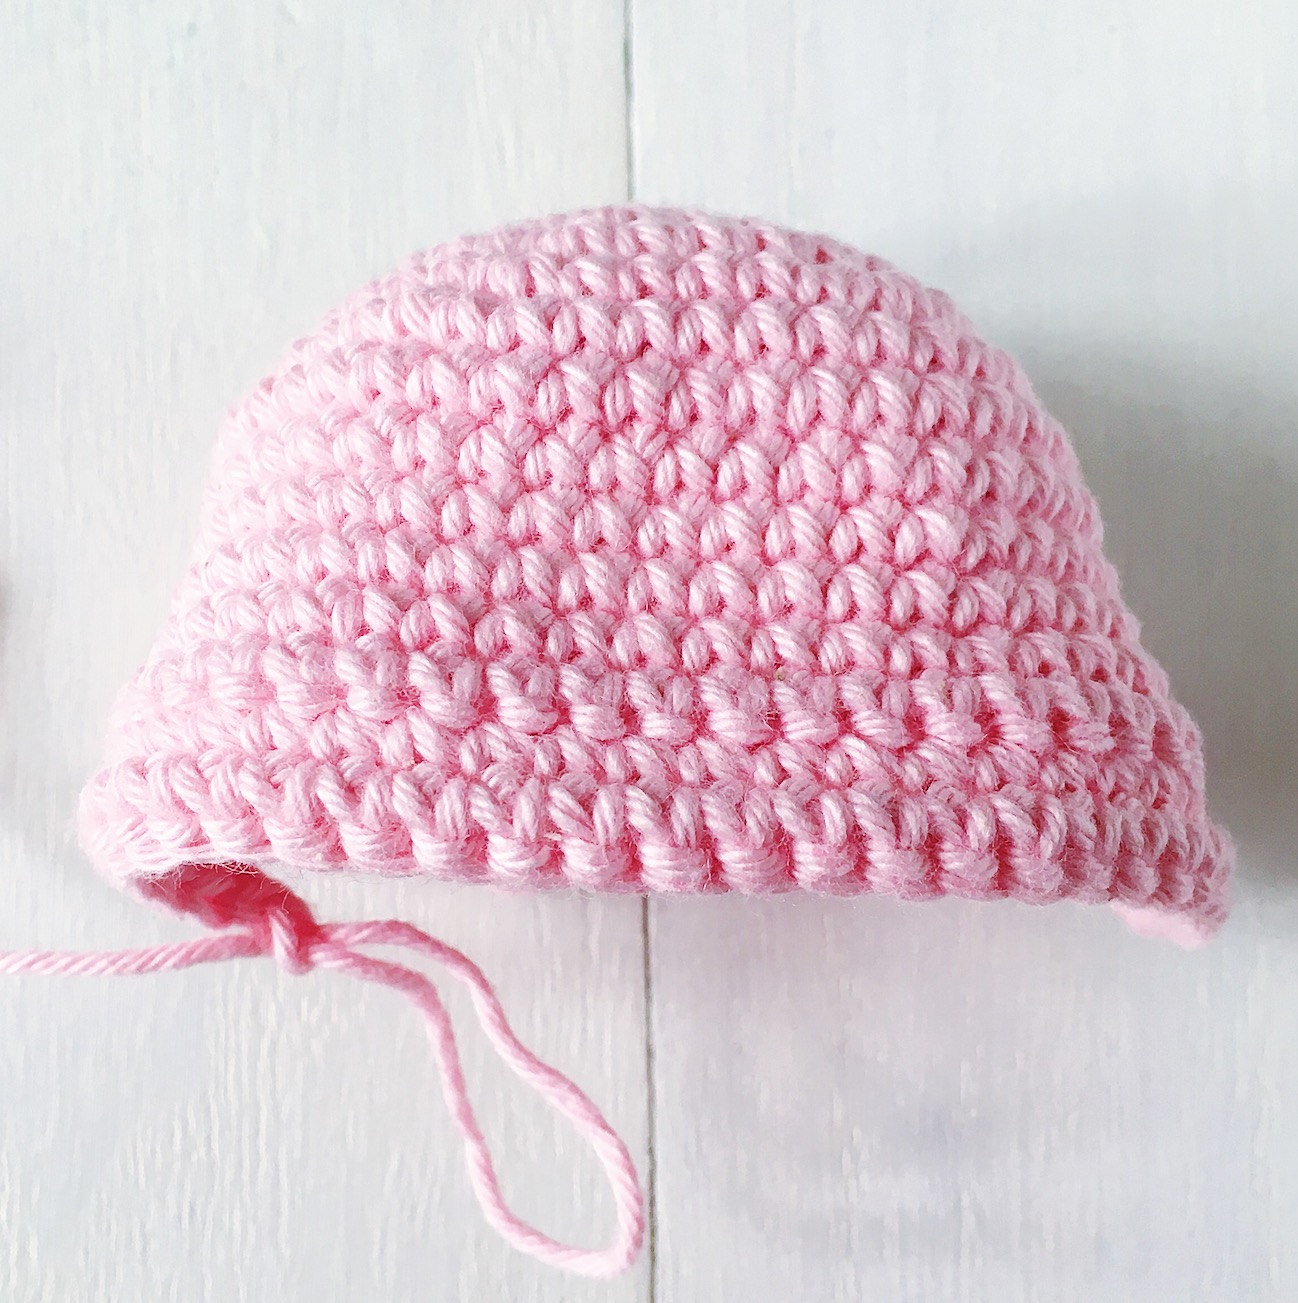
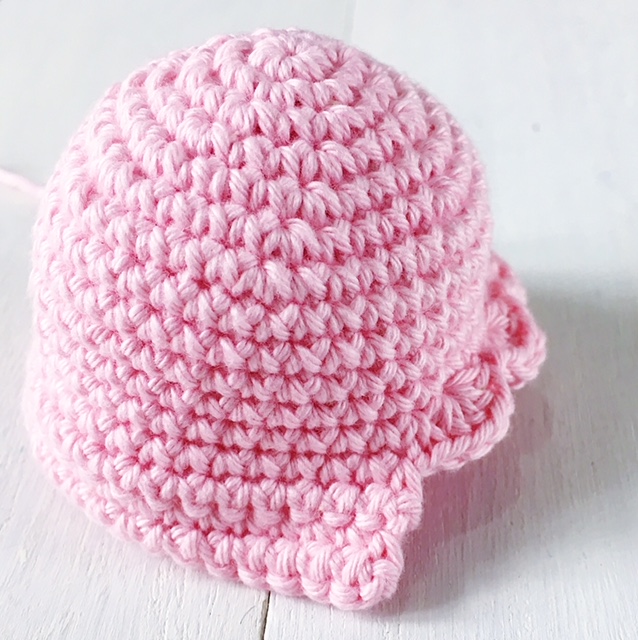
Head
With taupe yarn:
Round 1: Sc 6 in magic ring {6}.
Round 2: [Inc] around {12}.
Round 3: [Inc, sc 1] around {18}.
Round 4: [Inc, sc 2] around {24}.
Round 5: [Inc, sc 3] around {30}.
Round 6: [Inc, sc 4] around {36}.
Round 7: [Inc, sc 5] around {42}.
Round 8: [Inc, sc 6] around {48}.
Round 9-16: Sc around {48}.
Round 17: [Inv dec, sc 6] around {42}.
Round 18: [Inv dec, sc 5] around {36}.
Round 19: [Inv dec, sc 4] around {30}.
Round 20: [Inv dec, sc 3] around {24}.
Round 21: [Inv dec, sc 2] around {18}.
Stuff head. Mould head with your hands — flatten the front where you intend the face to be.
Round 22: [Inv dec, sc 1] around {12}.
Round 23: [Inv dec] around {6}.
Fasten off and weave in ends.
Leg A
With taupe yarn:
Round 1: Sc 6 in magic ring {6}.
Round 2: [Inc] around {12}.
Round 3-9: Sc around {12}.
Fasten off and leave a long end for sewing.
Leg B (joins with Leg A and continues onto body)
With taupe yarn:
Round 1: Sc 6 in magic ring {6}.
Round 2: [Inc] around {12}.
Round 3-9: Sc around {12}.
Round 10: Sc in the next 6 sts. Join to Leg A by making the next sc in Leg A. Continue for 11 more sts. Make the next 6 sc in Leg B {24}.
Round 11: [Inc, sc 2] around {30}.
Round 12: [Inc, sc 3] around {36}.
Round 13-18: Sc around {36}.
Round 19: [Inv dec, sc 3] around { 30}.
Round 20: [Inv dec, sc 2] around {24}.
Stuff body.
Round 21: [Inv dec, sc 1] around {18}.
Fasten off and leave a long end for sewing.
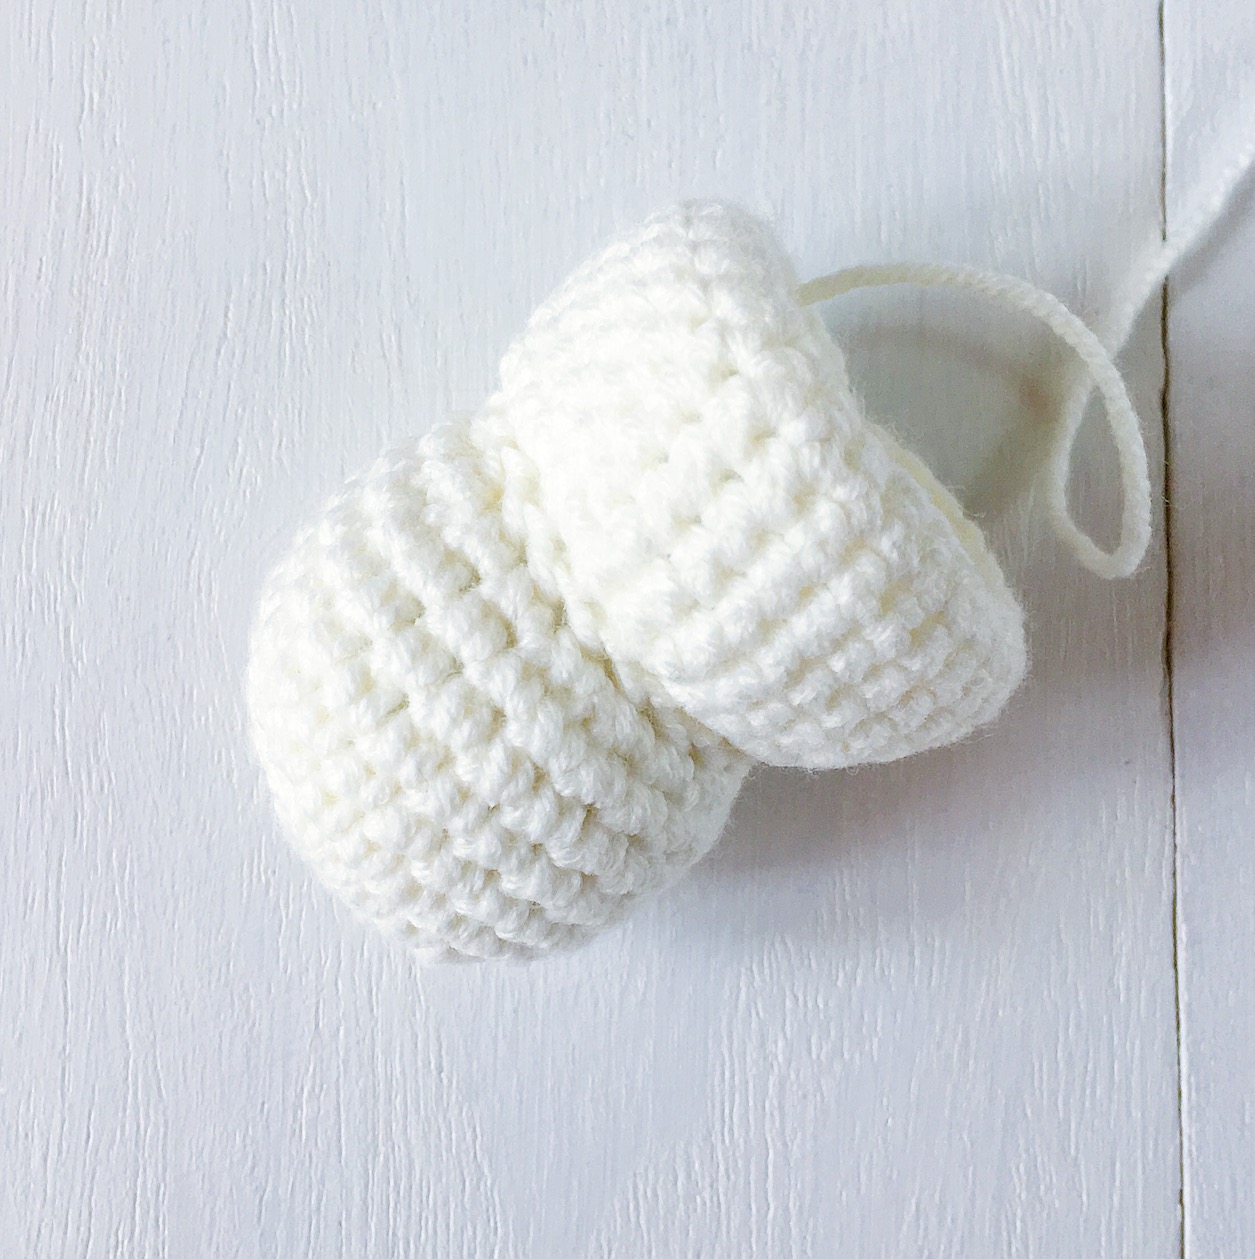
Ears (make 2)
With taupe yarn:
Round 1: Sc 6 in magic ring {6}.
Round 2: [Inc] around {12}.
Round 3-17: Sc around {12}.
Fasten off and leave a long tail for sewing. Do not stuff with polyfill so it will have a floppy look.
Arms (make 2)
With taupe yarn:
Round 1: Sc 5 in magic ring {5}.
Round 2: [Inc] around {10}.
Round 3-10: Sc around {10}.
Fasten off and leave a long tail for sewing. Optional to stuff with polyfill. I left mine without any 🙂
Cheeks (make 2)
With pink yarn:
Round 1: Sc 5 in magic ring {5}.
Fasten off and leave a long tail for sewing.
Bow
With black embroidery floss and 2mm hook:
Row 1: Ch 5, sc 3, inc in last st. Rotate work.
Row 2: inc, sc 6, inc. Rotate work.
Row 3. inc, sc 8, inc. Fasten off. thread tail end through to the centre of the bow. use the same tail end to make 3 loops over the bow and secure at the back by knotting it with the starting tail.
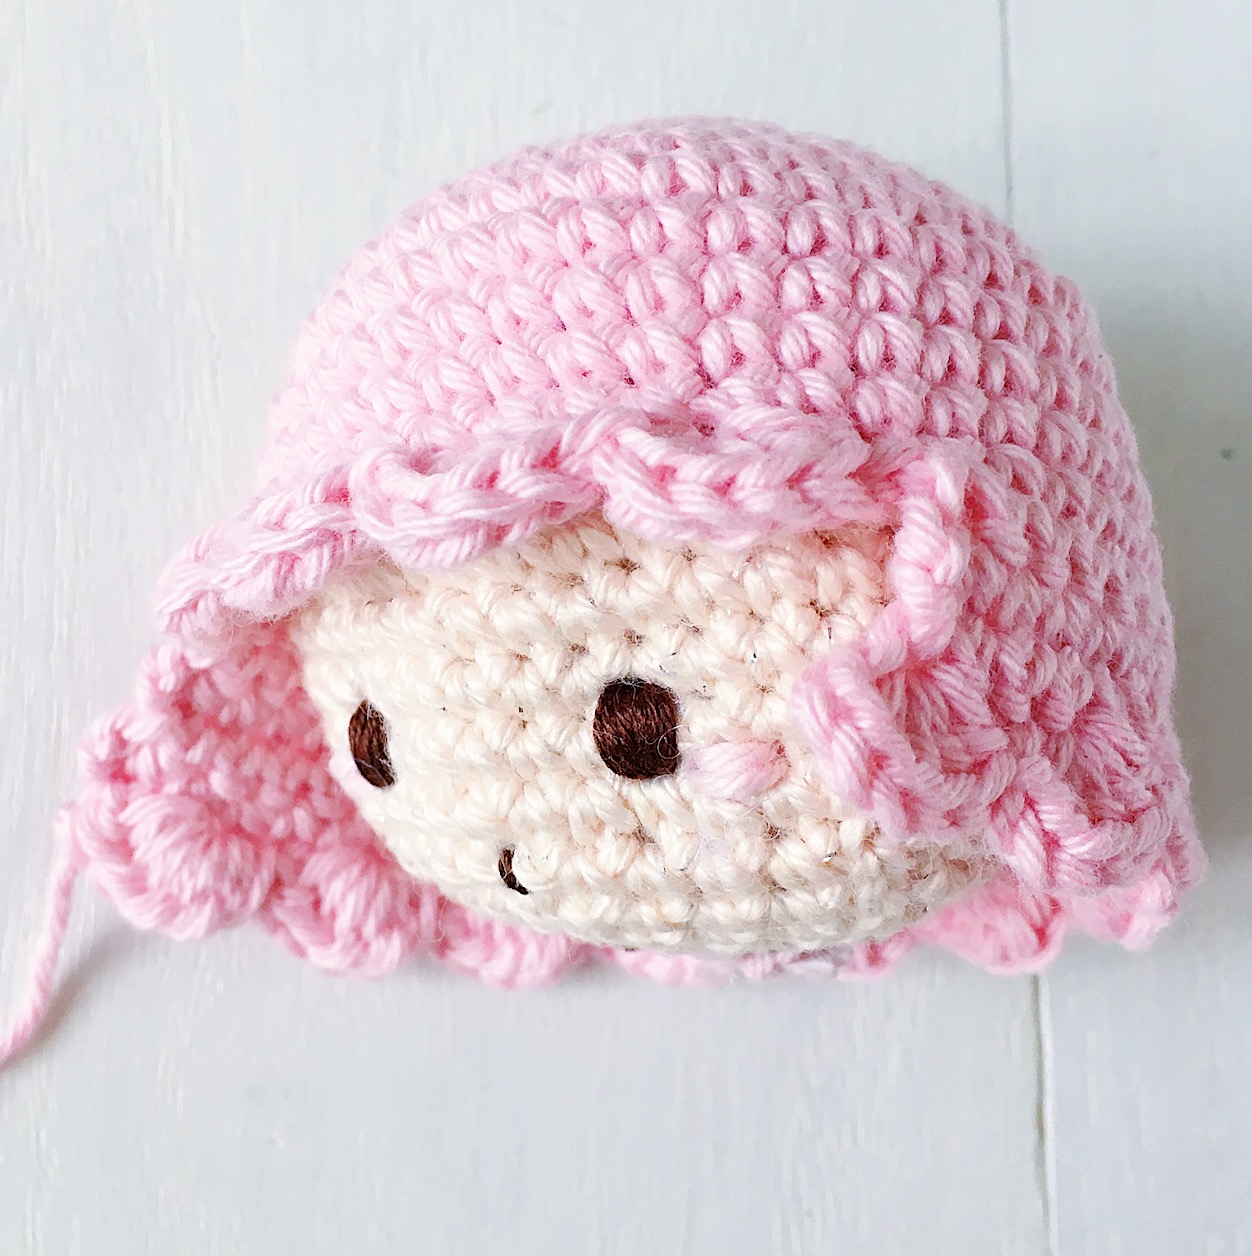
Facial Details
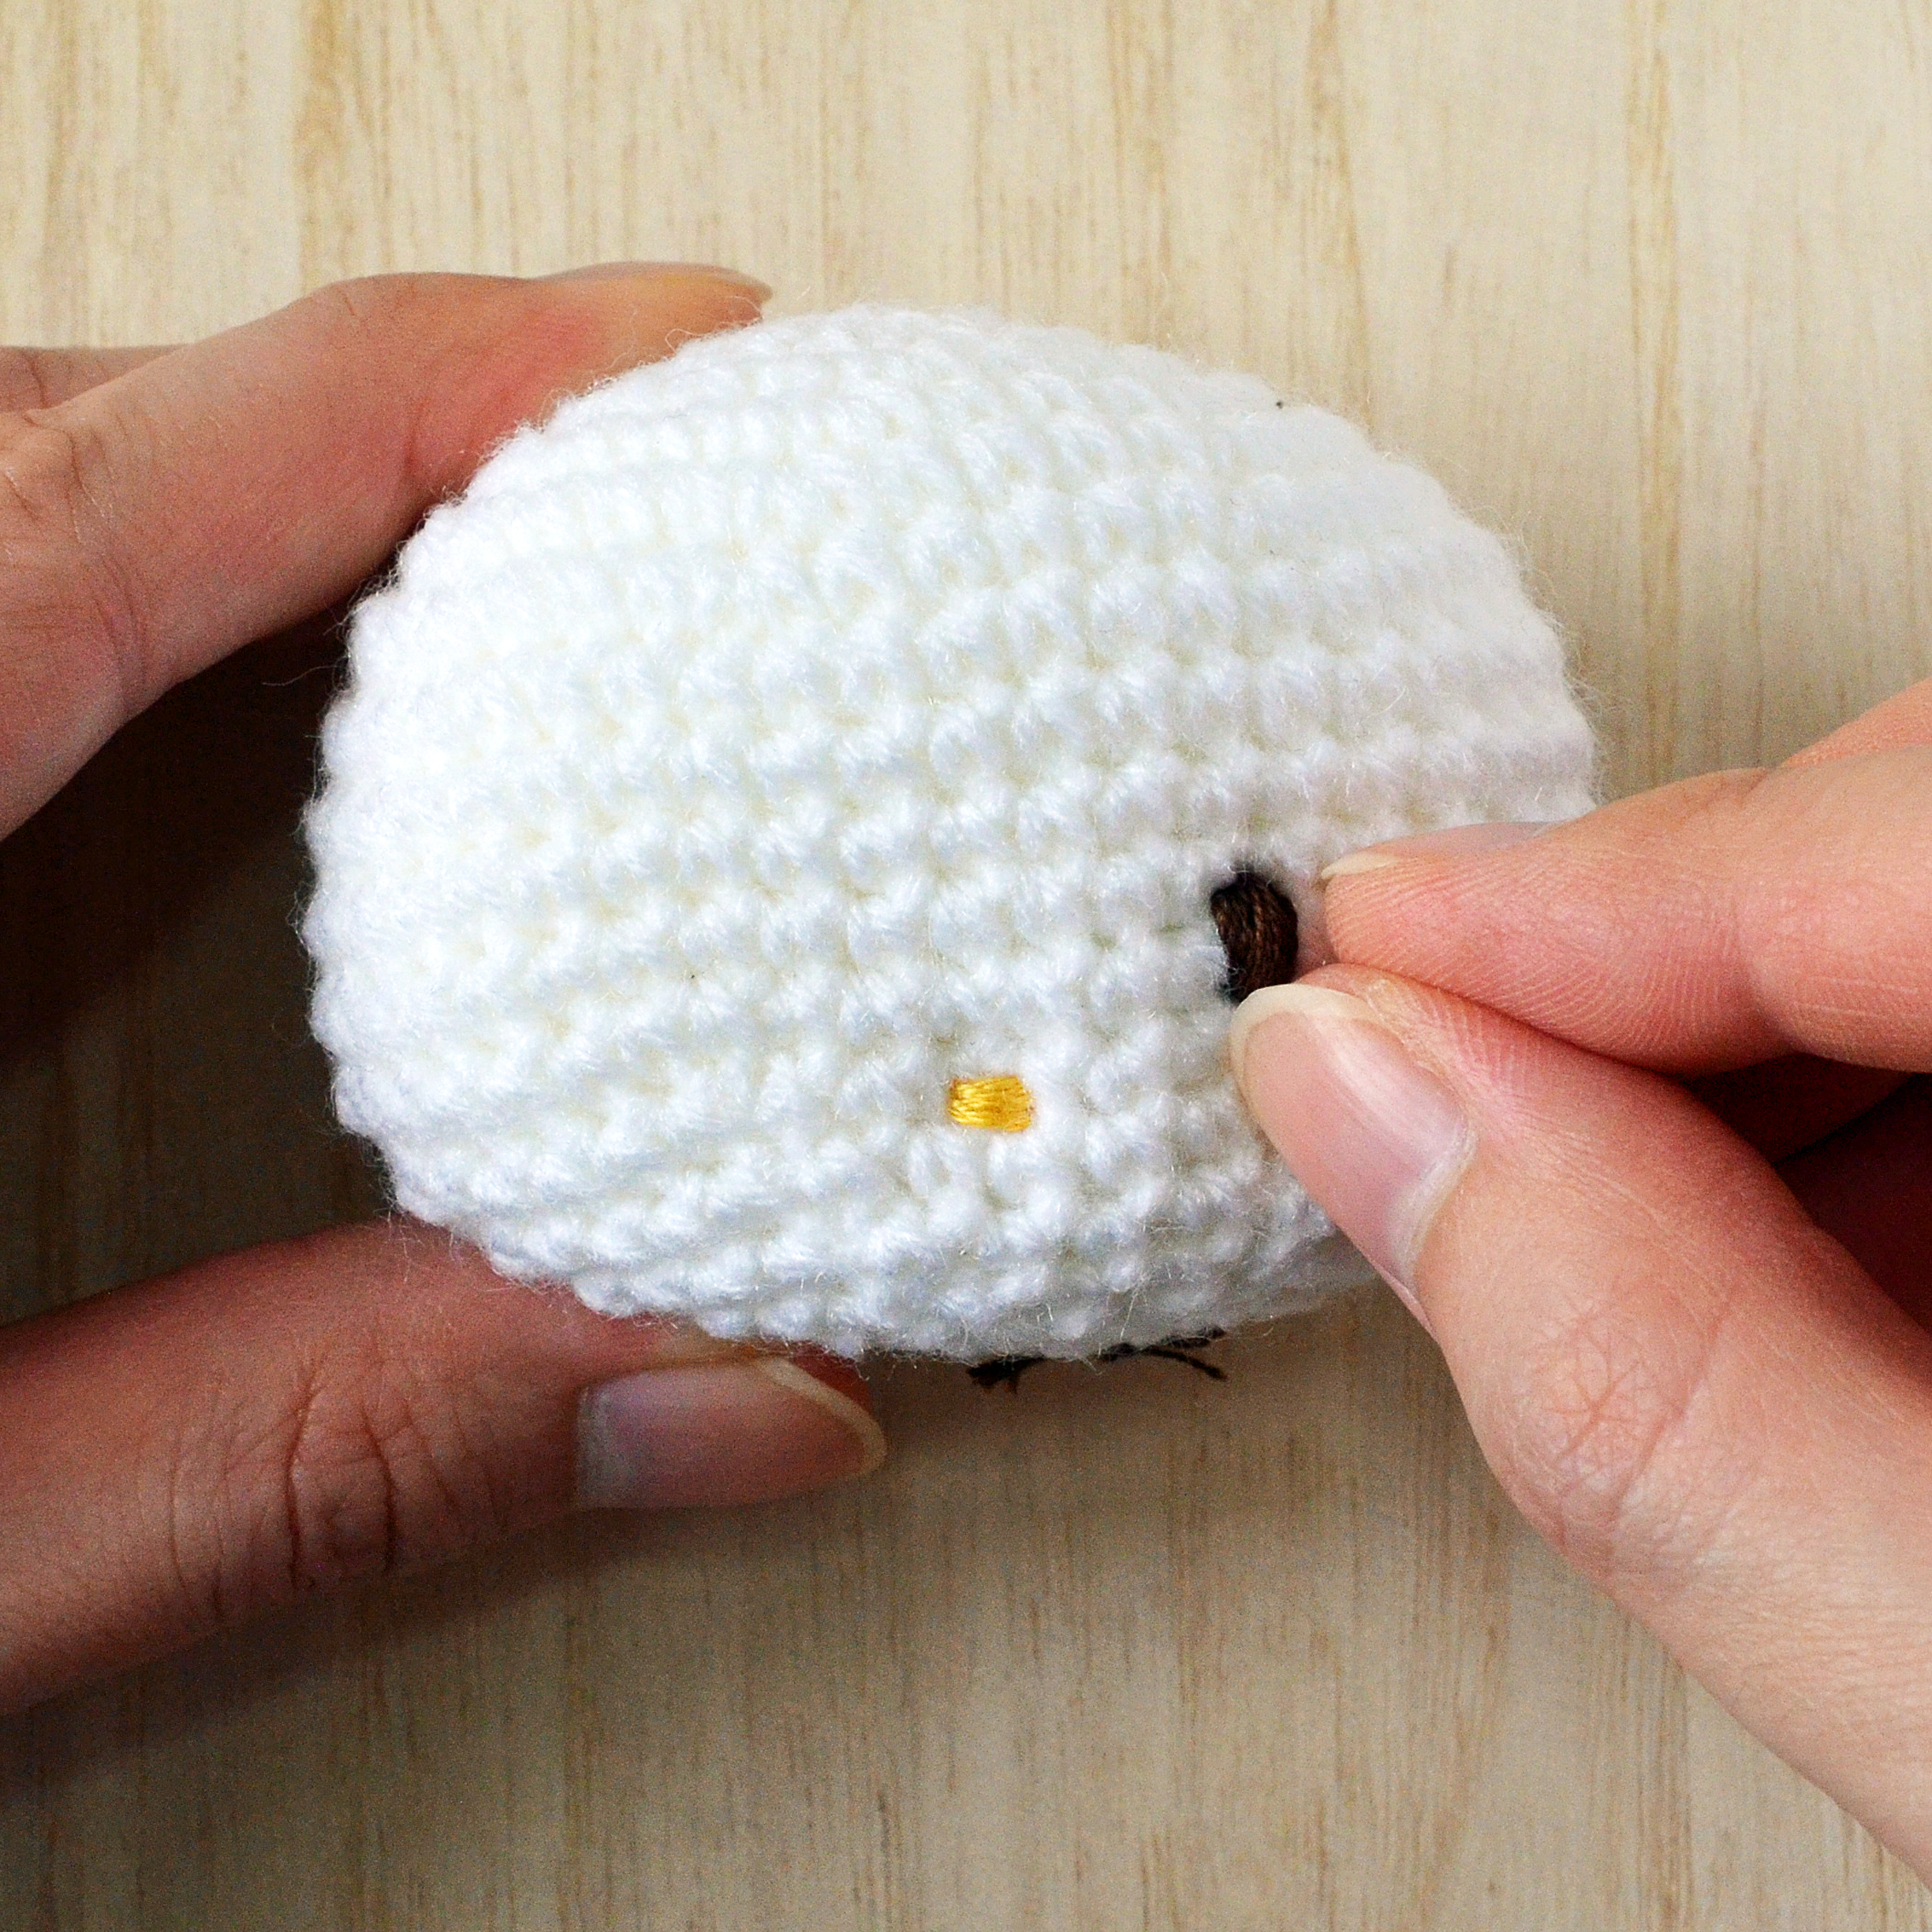
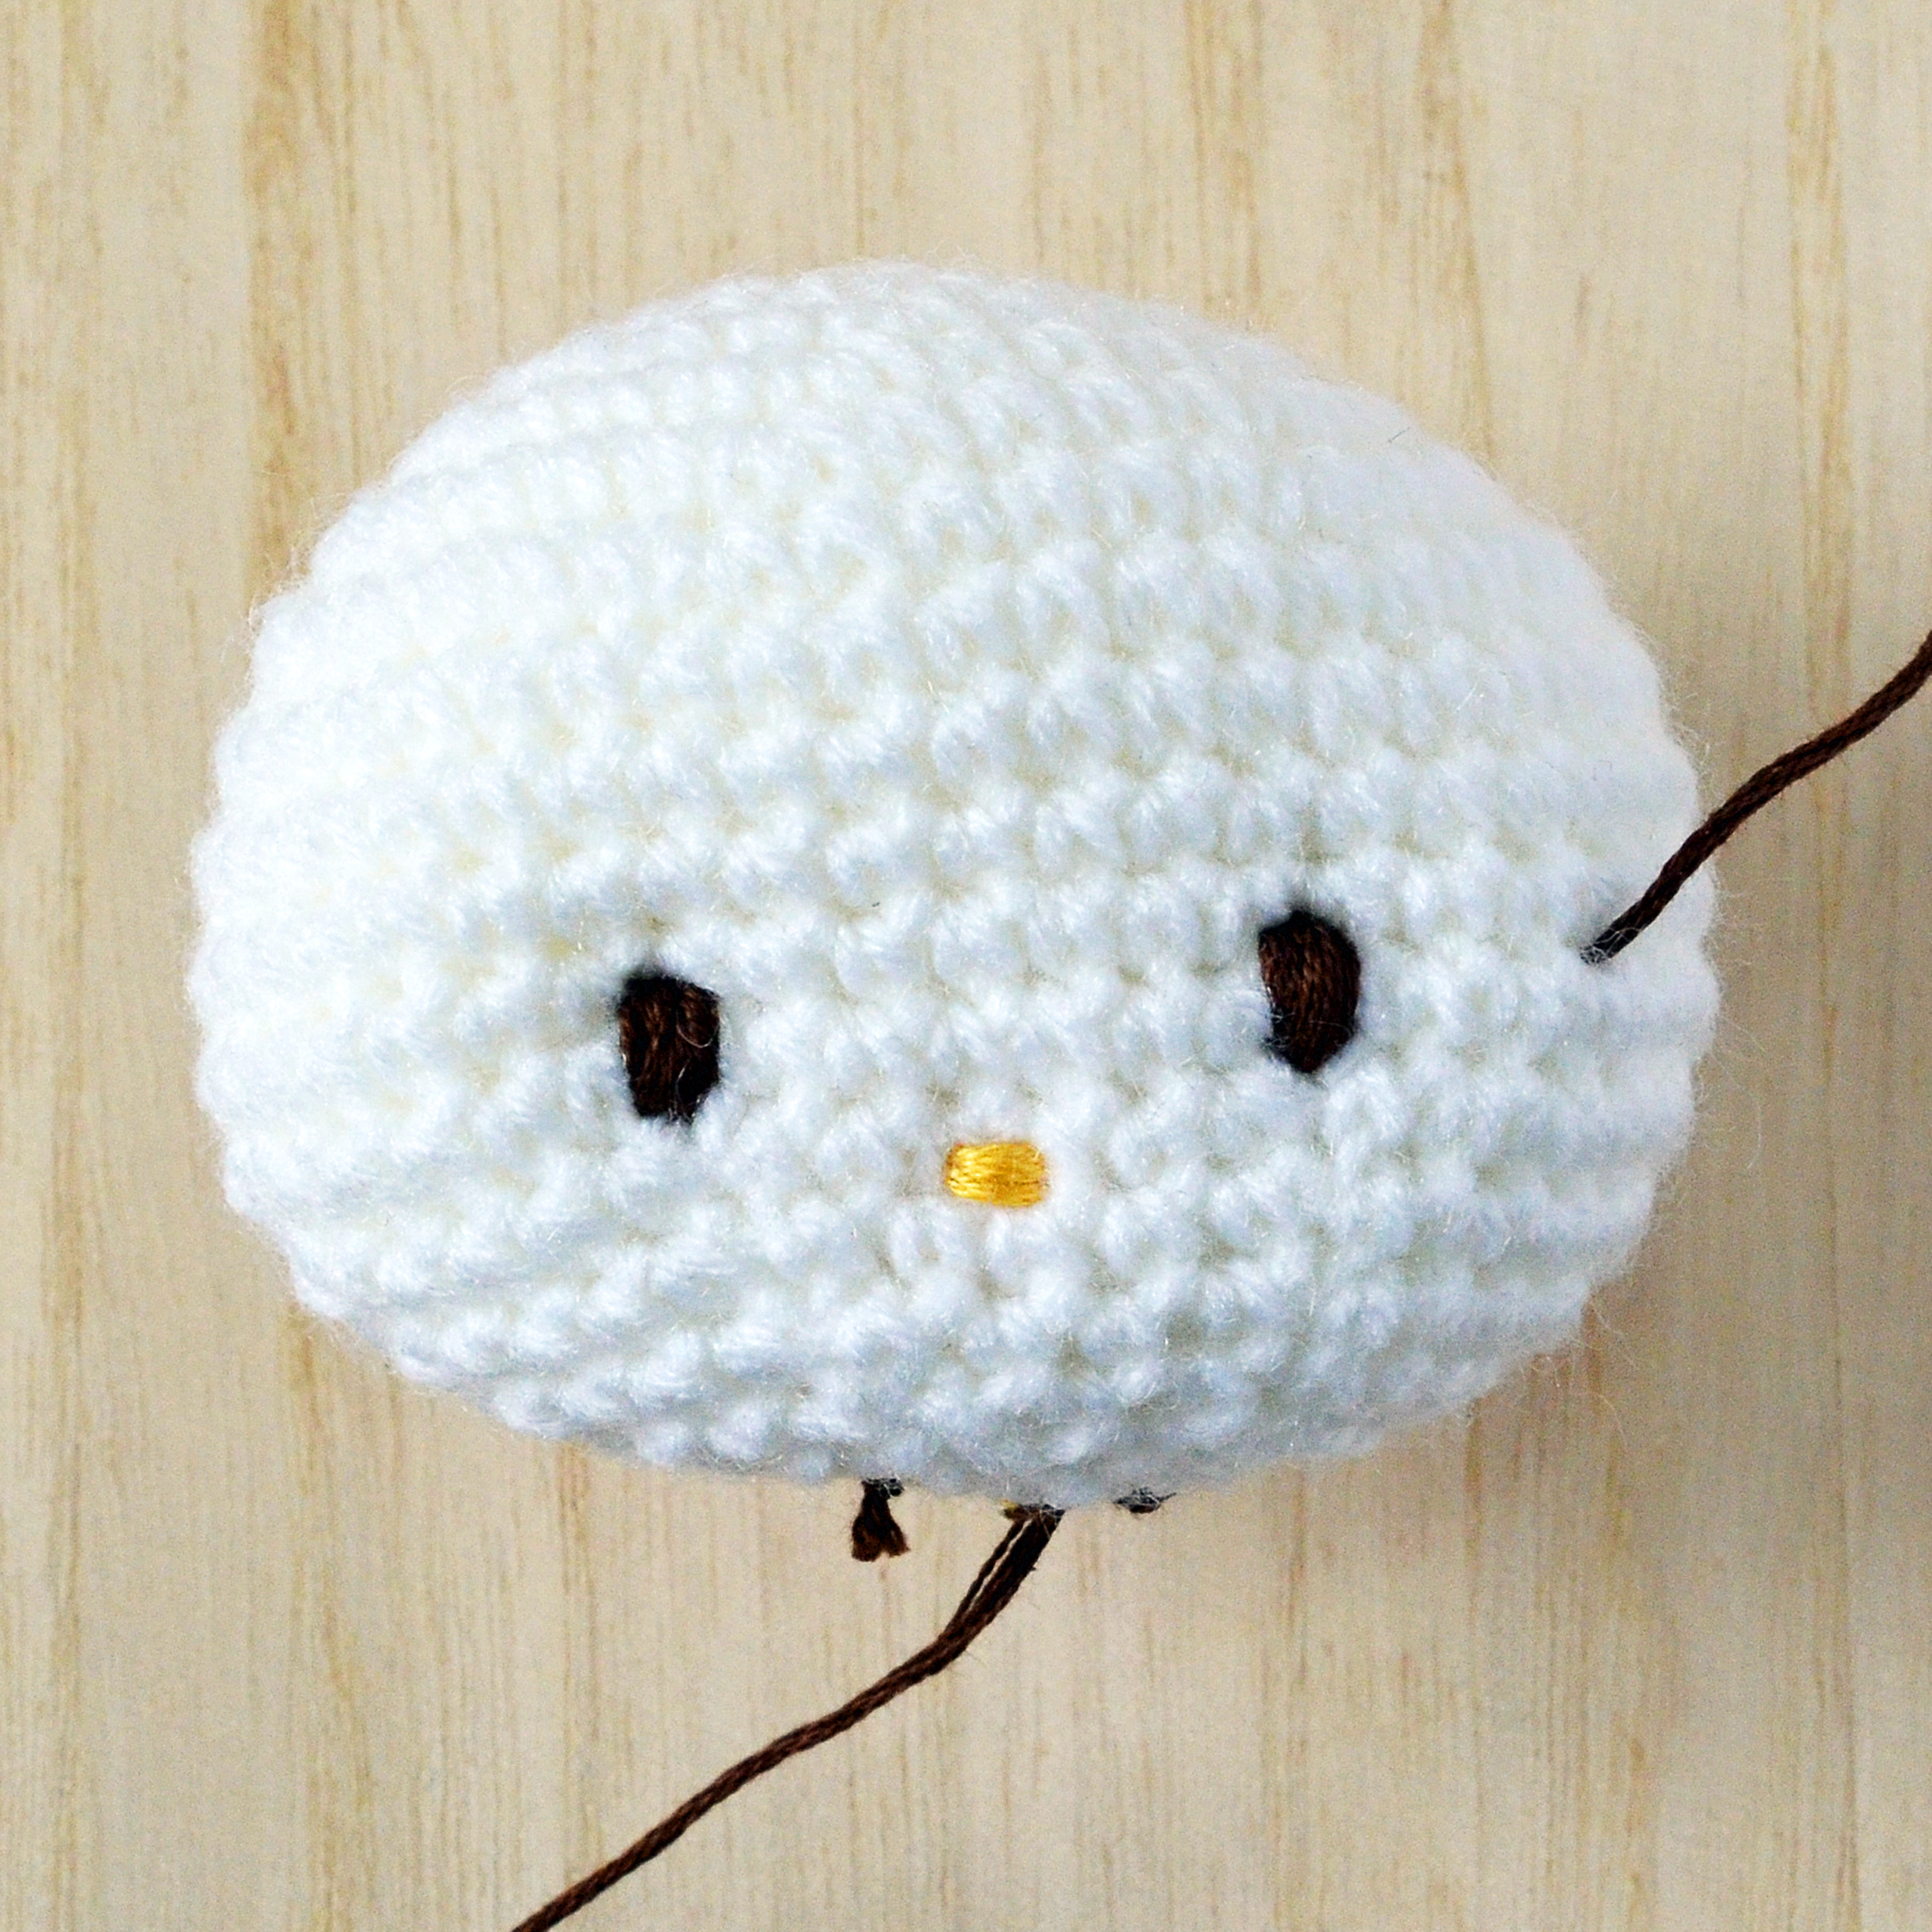
1. With black embroidery thread, sew eyes below Round 13. For each eye, you will be making a diagonal backstitch that is 3 sts long. There should be 6 sts in between each eye.
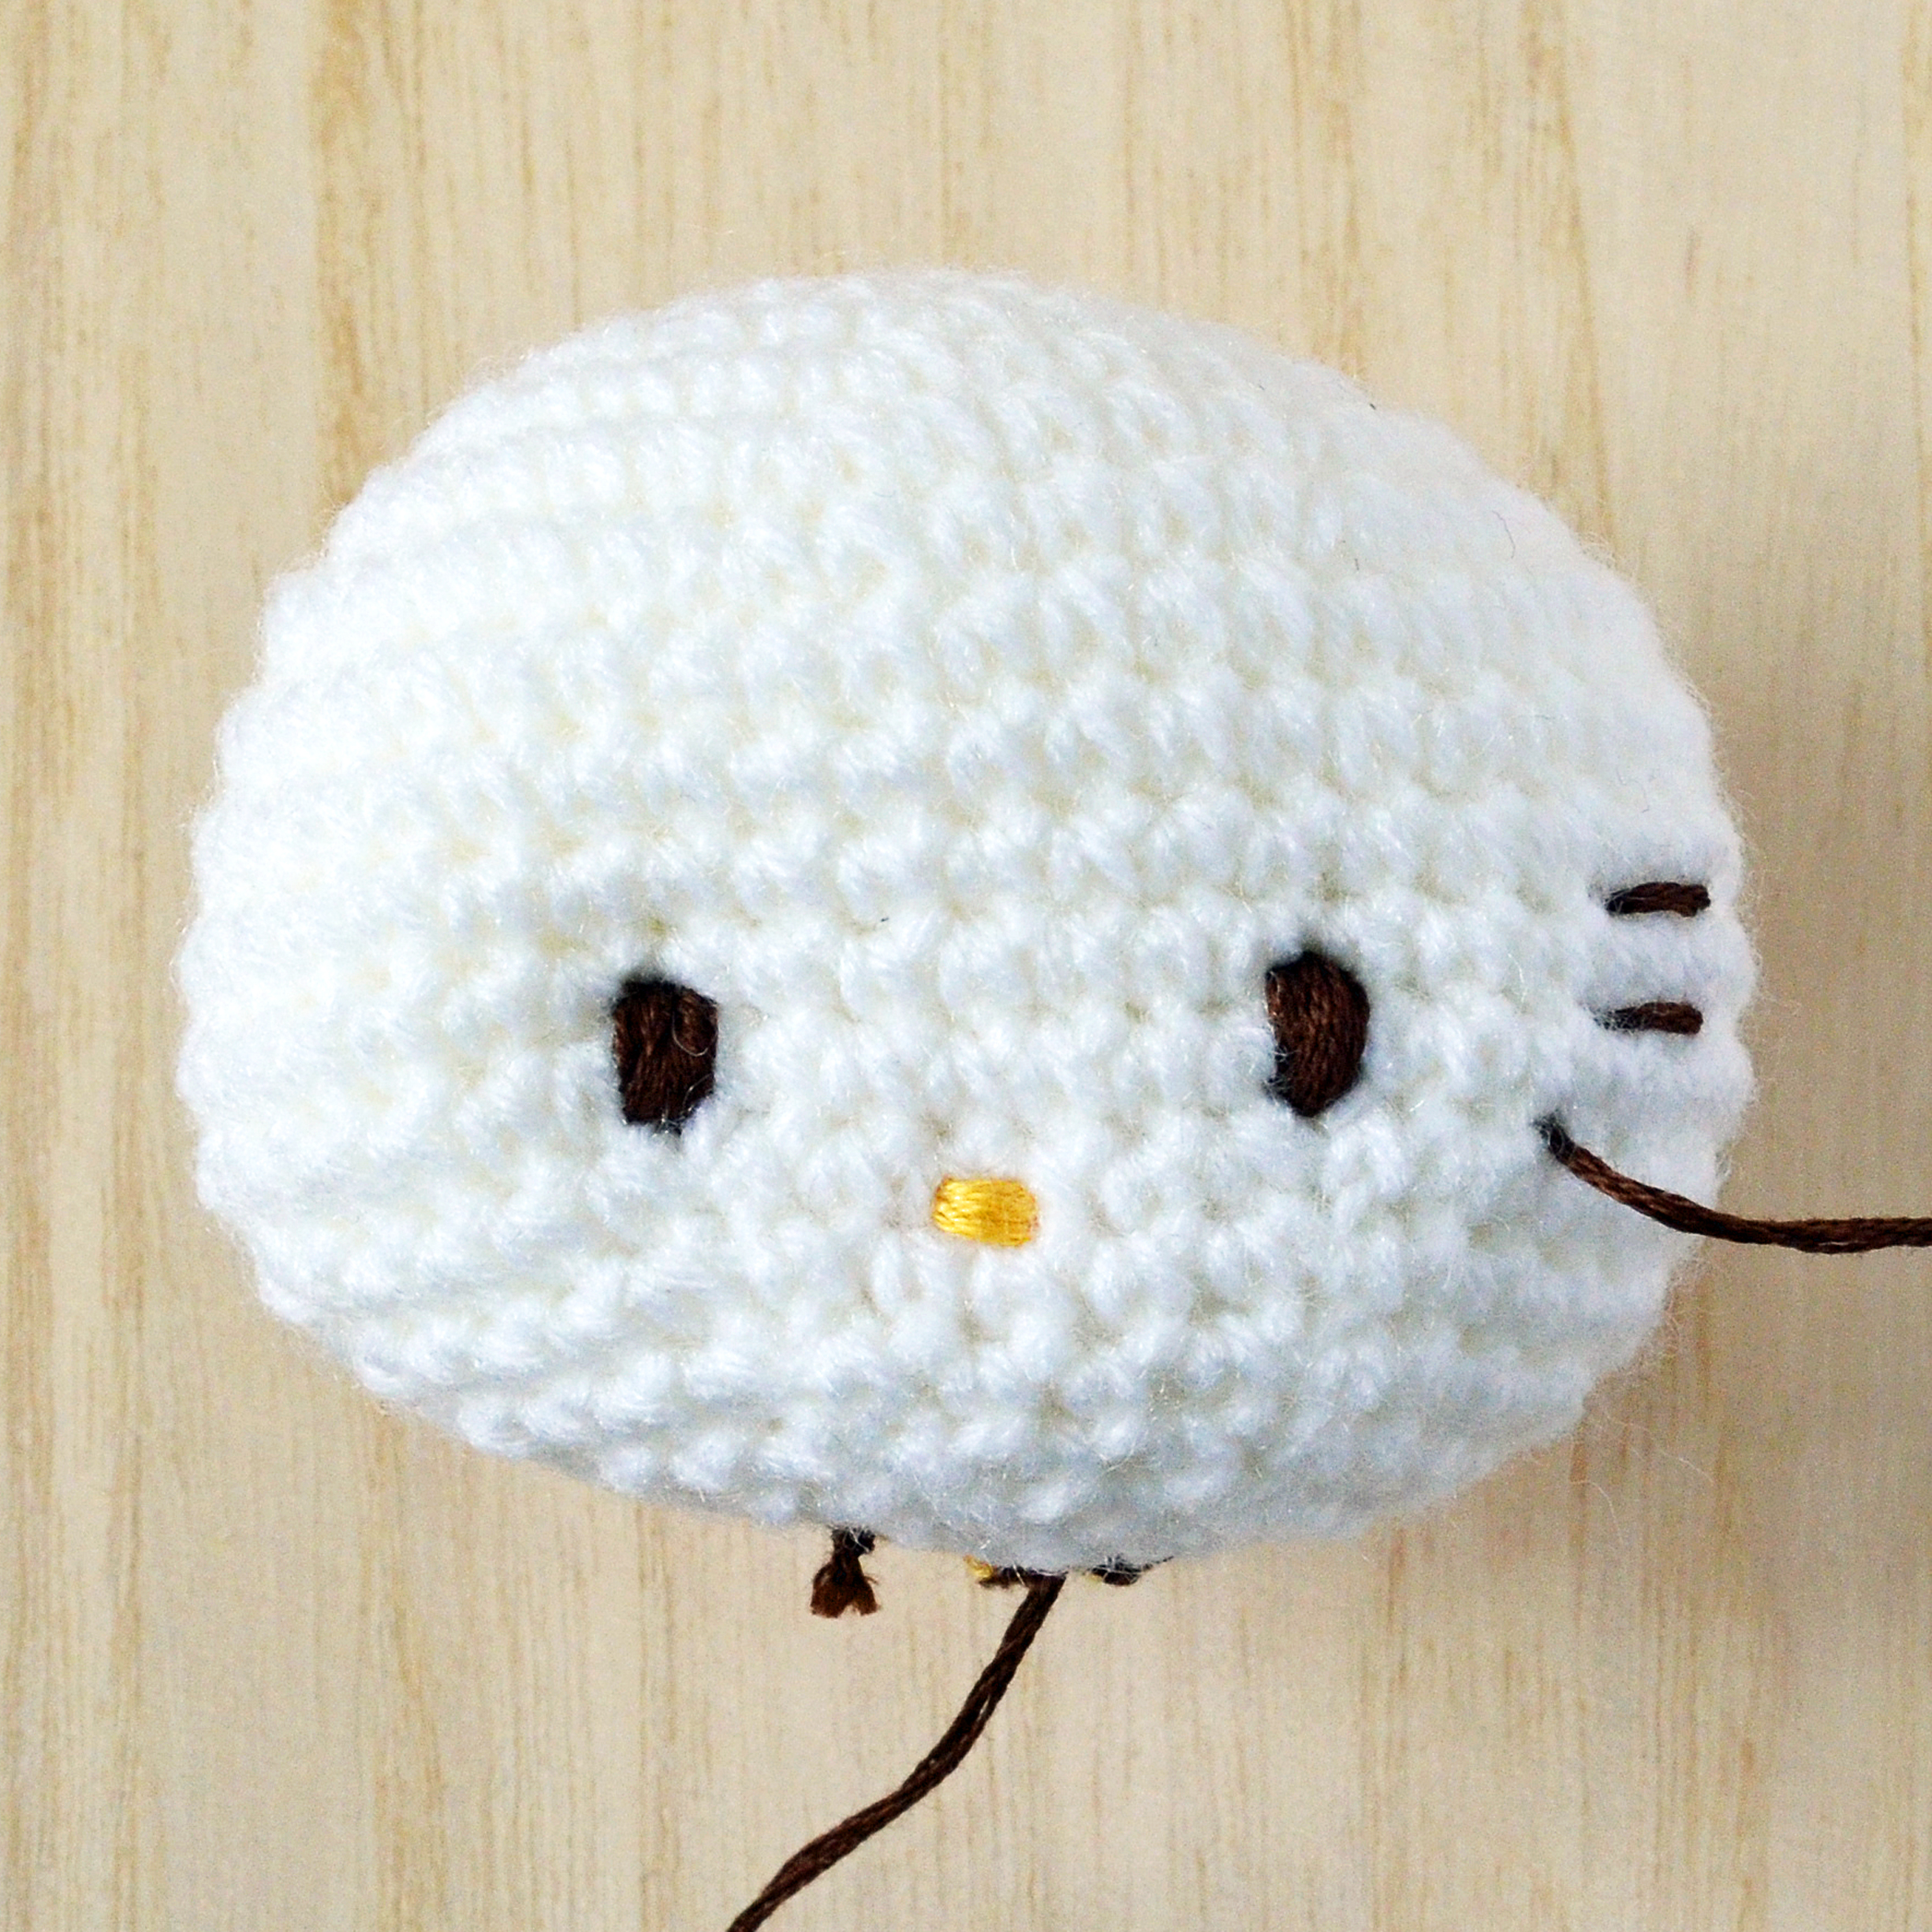
2. For the nose and lips, you will be sewing on an upside-down “Y”, starting from below Round 11 straight on till below Round 15 and branching out to two points below Round 16.
Assembly
1. Sew cheeks onto face.
2. Sew body onto head.
3. Sew on ears.
4. Sew on arms.
5. Sew on bow tie.
6. Sew an “X” on the belly.
As this is an original amiguruMEI pattern, kindly do not claim it as your own. You may place a link to this pattern from your site, but please do not repost it onto your page. Remember to share a picture of your own kawaii Risa-chan with us!