

Who doesn’t love Keroppi? (Or Kero kero keroppi, as I remember him being called?)
He brings back lots of childhood memories and the sight of him just makes me feel child-like all over again.
There used to be department stores that would dedicate an entire area to Sanrio merchandise and I remember how it felt like being there, and also the sweet candy scent that came with all things kawaii.
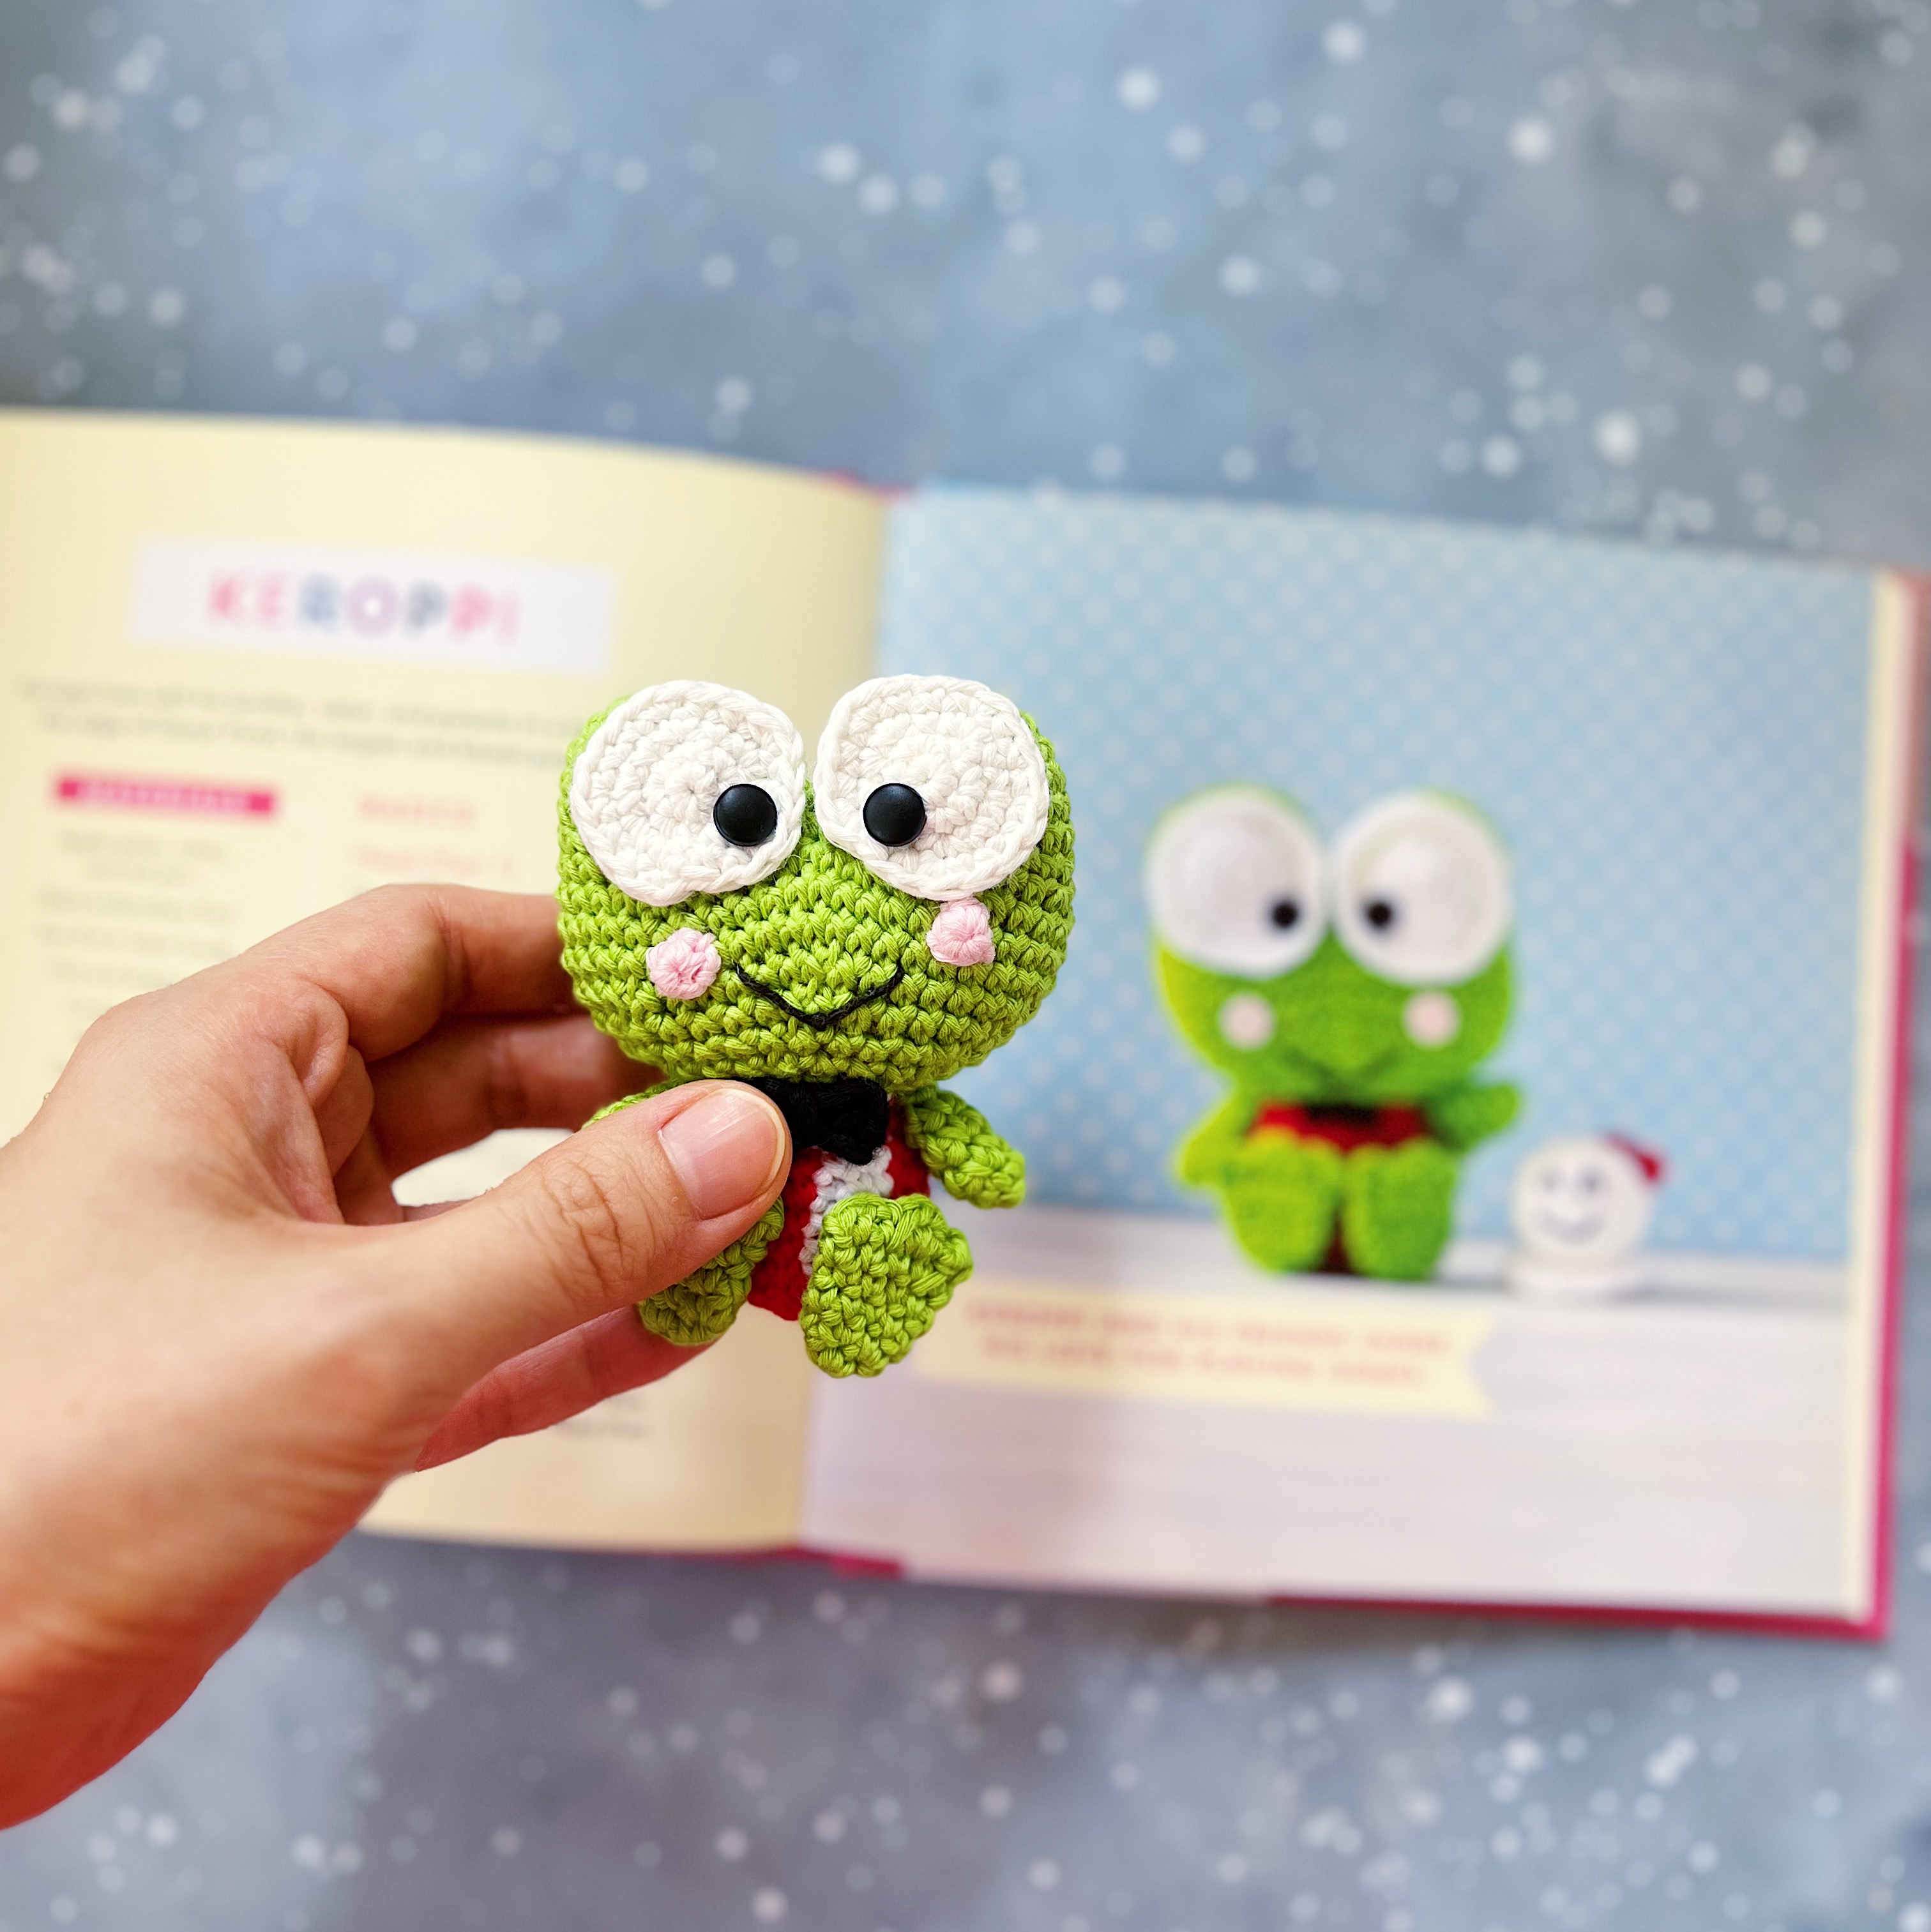
And so as promised, here is the FREE PATTERN for Keroppi. I have given him new clothes and added on a crochet bowtie and cheeks. I hope you’ll enjoy him!
Tag me on instagram @amigurumei when you do make Keroppi! Also, check out my Reels on Keroppi!
Materials
Dk-weight yarn in apple-green, white, red, black and light pink.
3mm crochet hook
2 x black brads (8mm) or doll’s eyes
Black crochet thread or embroidery floss
Darning needle
Stuffing
Craft glue
Head (Part 1)
With apple-green yarn:
R1: Make a magic ring, 6sc in ring (6).
R2: Inc in each st around (12).
R3: [Sc in next st, inc in next st] 6 times (18).
R4-6 (3 rounds): Sc in each st around (18).
Fasten off and leave a long end for sewing.
Head (Part 2)
With apple-green yarn:
R1: Make a magic ring, 6sc in ring (6).
R2: Inc in each st around (12).
R3: [Sc in next st, inc in next st] 6 times (18).
R4-6 (3 rounds): Sc in each st around (18).
R7: Sc in the next 9 sts. Join to Head Part 1 by making the next sc in the Head Part 1 piece (any stitch). Continue to make one sc each in the next 17 sts. Now you’ll be joining back to Head Part 2: make the next 9 sts in the Head Part 2 piece (36).
R8: [Sc in next 5 sts, inc in next st] 6 times (42).
R8: [Sc in next 6 sts, inc in next st] 6 times (48).
R10-11 (2 rounds): Sc in each st around (48).
R12: [Sc in next 6 sts, inv dec] 6 times (42).
R13: [Sc in next 5 sts, inv dec] 6 times (36).
R14: [Sc in next 4 sts, inv dec] 6 times (30).
R15: [Sc in next 3 sts, inv dec] 6 times (24).
R16: [Sc in next 2 sts, inv dec] 6 times (18).
Start stuffing the head.
R17: [Sc in next st, inv dec] 6 times (12).
R18: Inv dec all around (6).
Fasten off and weave in ends. Use any long tail end left to close the gaps (if you have any) between the two head-joins.

Eyes (Make 2)
With white yarn:
R1: Make a magic ring, 5sc in ring (5).
R2: Inc in each st around (10).
R3: [Sc in next st, inc in next st] 6 times (15).
R4: [Sc in next 2 sts, inc in next st] 6 times (20).
Clean fasten off and leave a long end for sewing.
Cheeks (Make 2)
With light pink yarn:
Make a magic ring, 4sc in ring (4).
Fasten off and leave a long tail for sewing.
Body
With red yarn:
R1: Make a magic ring, 6sc in ring (6).
R2: Inc in each st around (12).
R3: [Sc in next st, inc in next st] 6 times (18).
R4: [Sc in next 2 sts, inc in next st] 6 times (24).
In the next round, you will be alternating between red and white yarn.
R5-9 (5 rounds): [In red, sc in each of the next 3sts, change to white yarn, sc in the each of the next 3 sts] repeat 3 more times (24).
R10: In red, sc in each of the next 2sts, inv dec. Change to white yarn, sc in each of the next 2 sts, inv dec. Change to red yarn, sc in each of the next 2 sts. Change to white yarn, inv dec, sc in the next st. Change to red yarn, sc in the next st, inv dec. Change to white yarn, sc in the next 2 sts. Change to red yarn, inv dec, sc in the next st. Change to white yarn, sc in the next st, inv dec. (18).
Fasten off and leave a long end for sewing.
Stuff body.
**Remember to start changing the yarn colour before you complete the final stitch of the previous colour.
**Instead of cutting or carrying the different yarn colours along, I just dropped each yarn and picked it up again whenever the colour changes happened. This works for small body pieces and shouldn’t cause any puckering. I hope this works for you too!
Arms (Make 2)
With apple-green yarn:
R1: Make a magic ring, 7sc in ring (7).
R2-5 (4 rounds): Sc in each st around (7).
Fasten off and leave a long end for sewing.
No stuffing is required for the arms.
Webbed feet (Make 2) (Please head to my YouTube to see a video tutorial on how to crochet the webbed foot — I have also included the video below. Just scroll down all the way!)
With apple-green yarn
R1: Make a magic ring, 5sc in ring (5).
R2: Inc in each st around (10).
R3-5 (3 rounds): Sc in each st around (10).
Flatten piece.
The following will be made by working across both sides of the piece.
R6: Start with sc 1 in the same st where your hook is attached now. Ch 2, sl st to the next st, 3hdc in the next st, sl st to the next st, sc in the next st, ch 2, sc in the same st.
Fasten off and thread the tail end through to the center of the piece. Leave a long end for sewing.

Bowtie
With black yarn, ch 6.
R1: Sc across (5).
R2: Ch 1, turn. Sc across (5).
Fasten off and leave a long end for sewing.
Thread the tail end through to the center and use it to loop around the center of the bowtie about 4 times. It should start looking like a bowtie 🙂
Knot the ends at the back to secure the shape.
Leave a long yarn end for sewing.
Getting the face ready
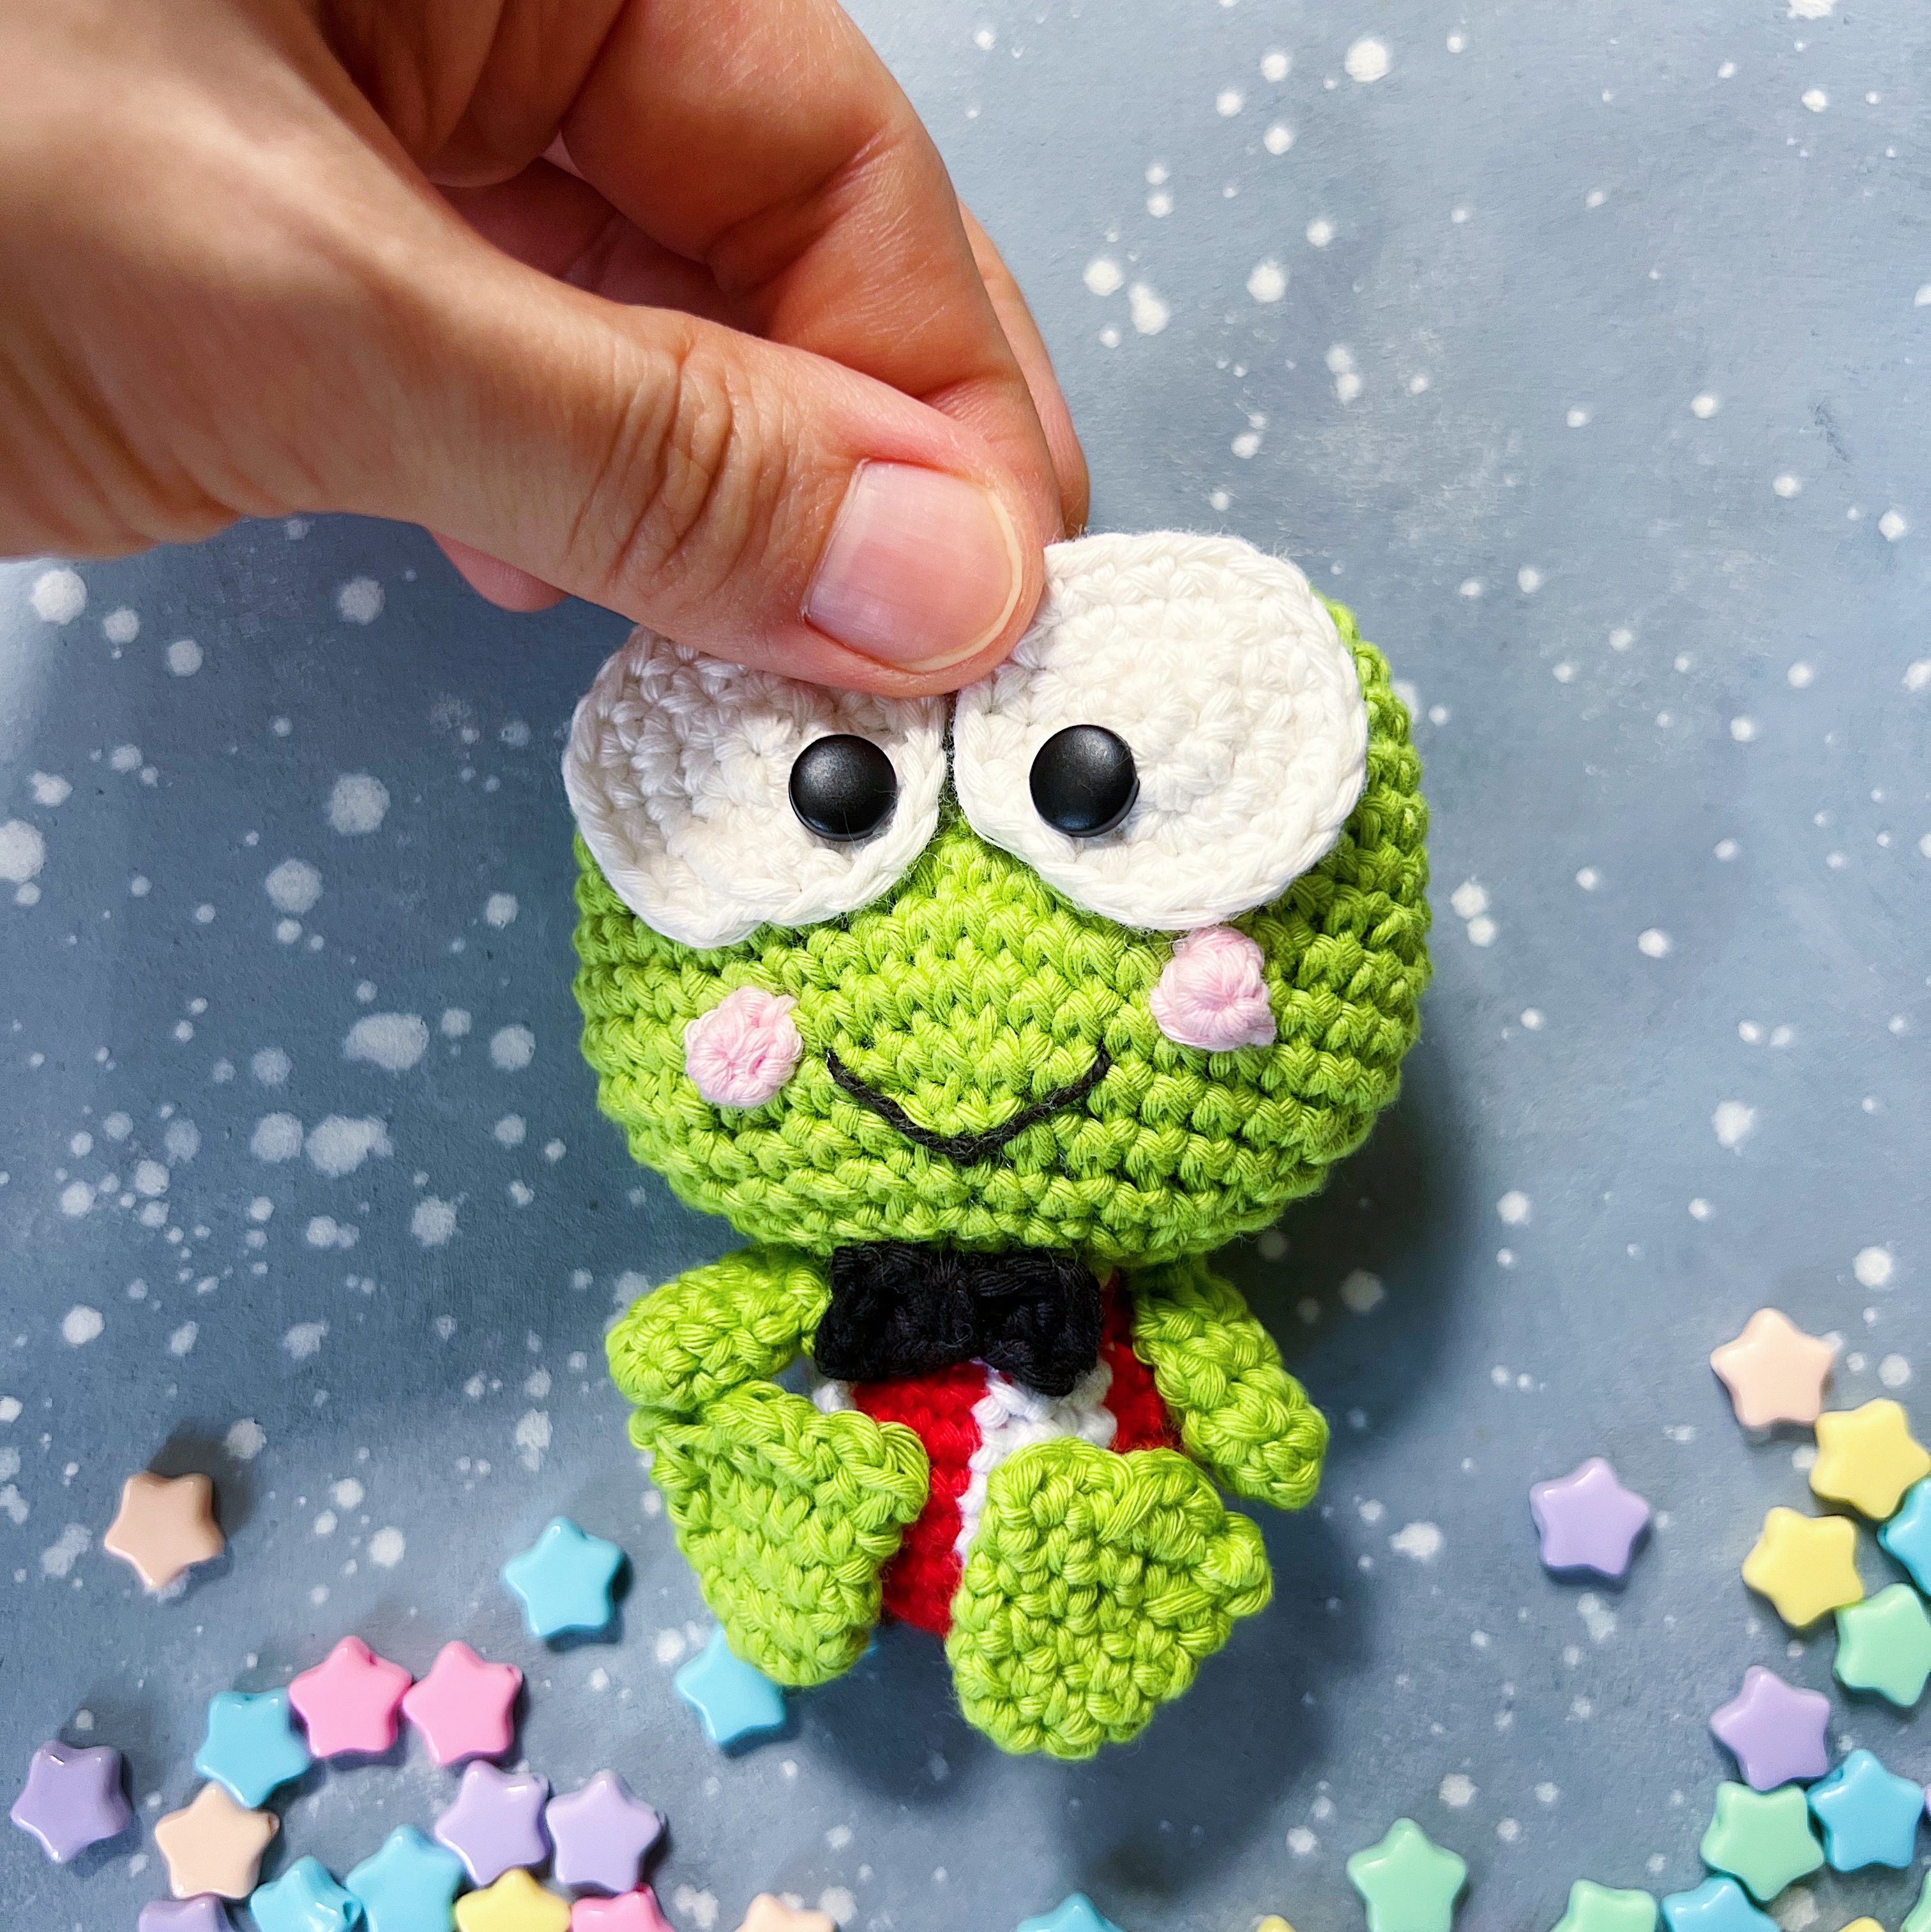
1. Position the eye pieces one on each mound of the head piece. Try to keep them as close to each other as possible, almost touching.
2. Glue on the eyes — position them towards the lower left and right hand side of each eye.
3. For the lips, sew on a V with black crochet thread between R12 & 13 (centred beneath the eyes), approximately 6 sts in length.
4. Sew on the cheeks.
Final Assembly
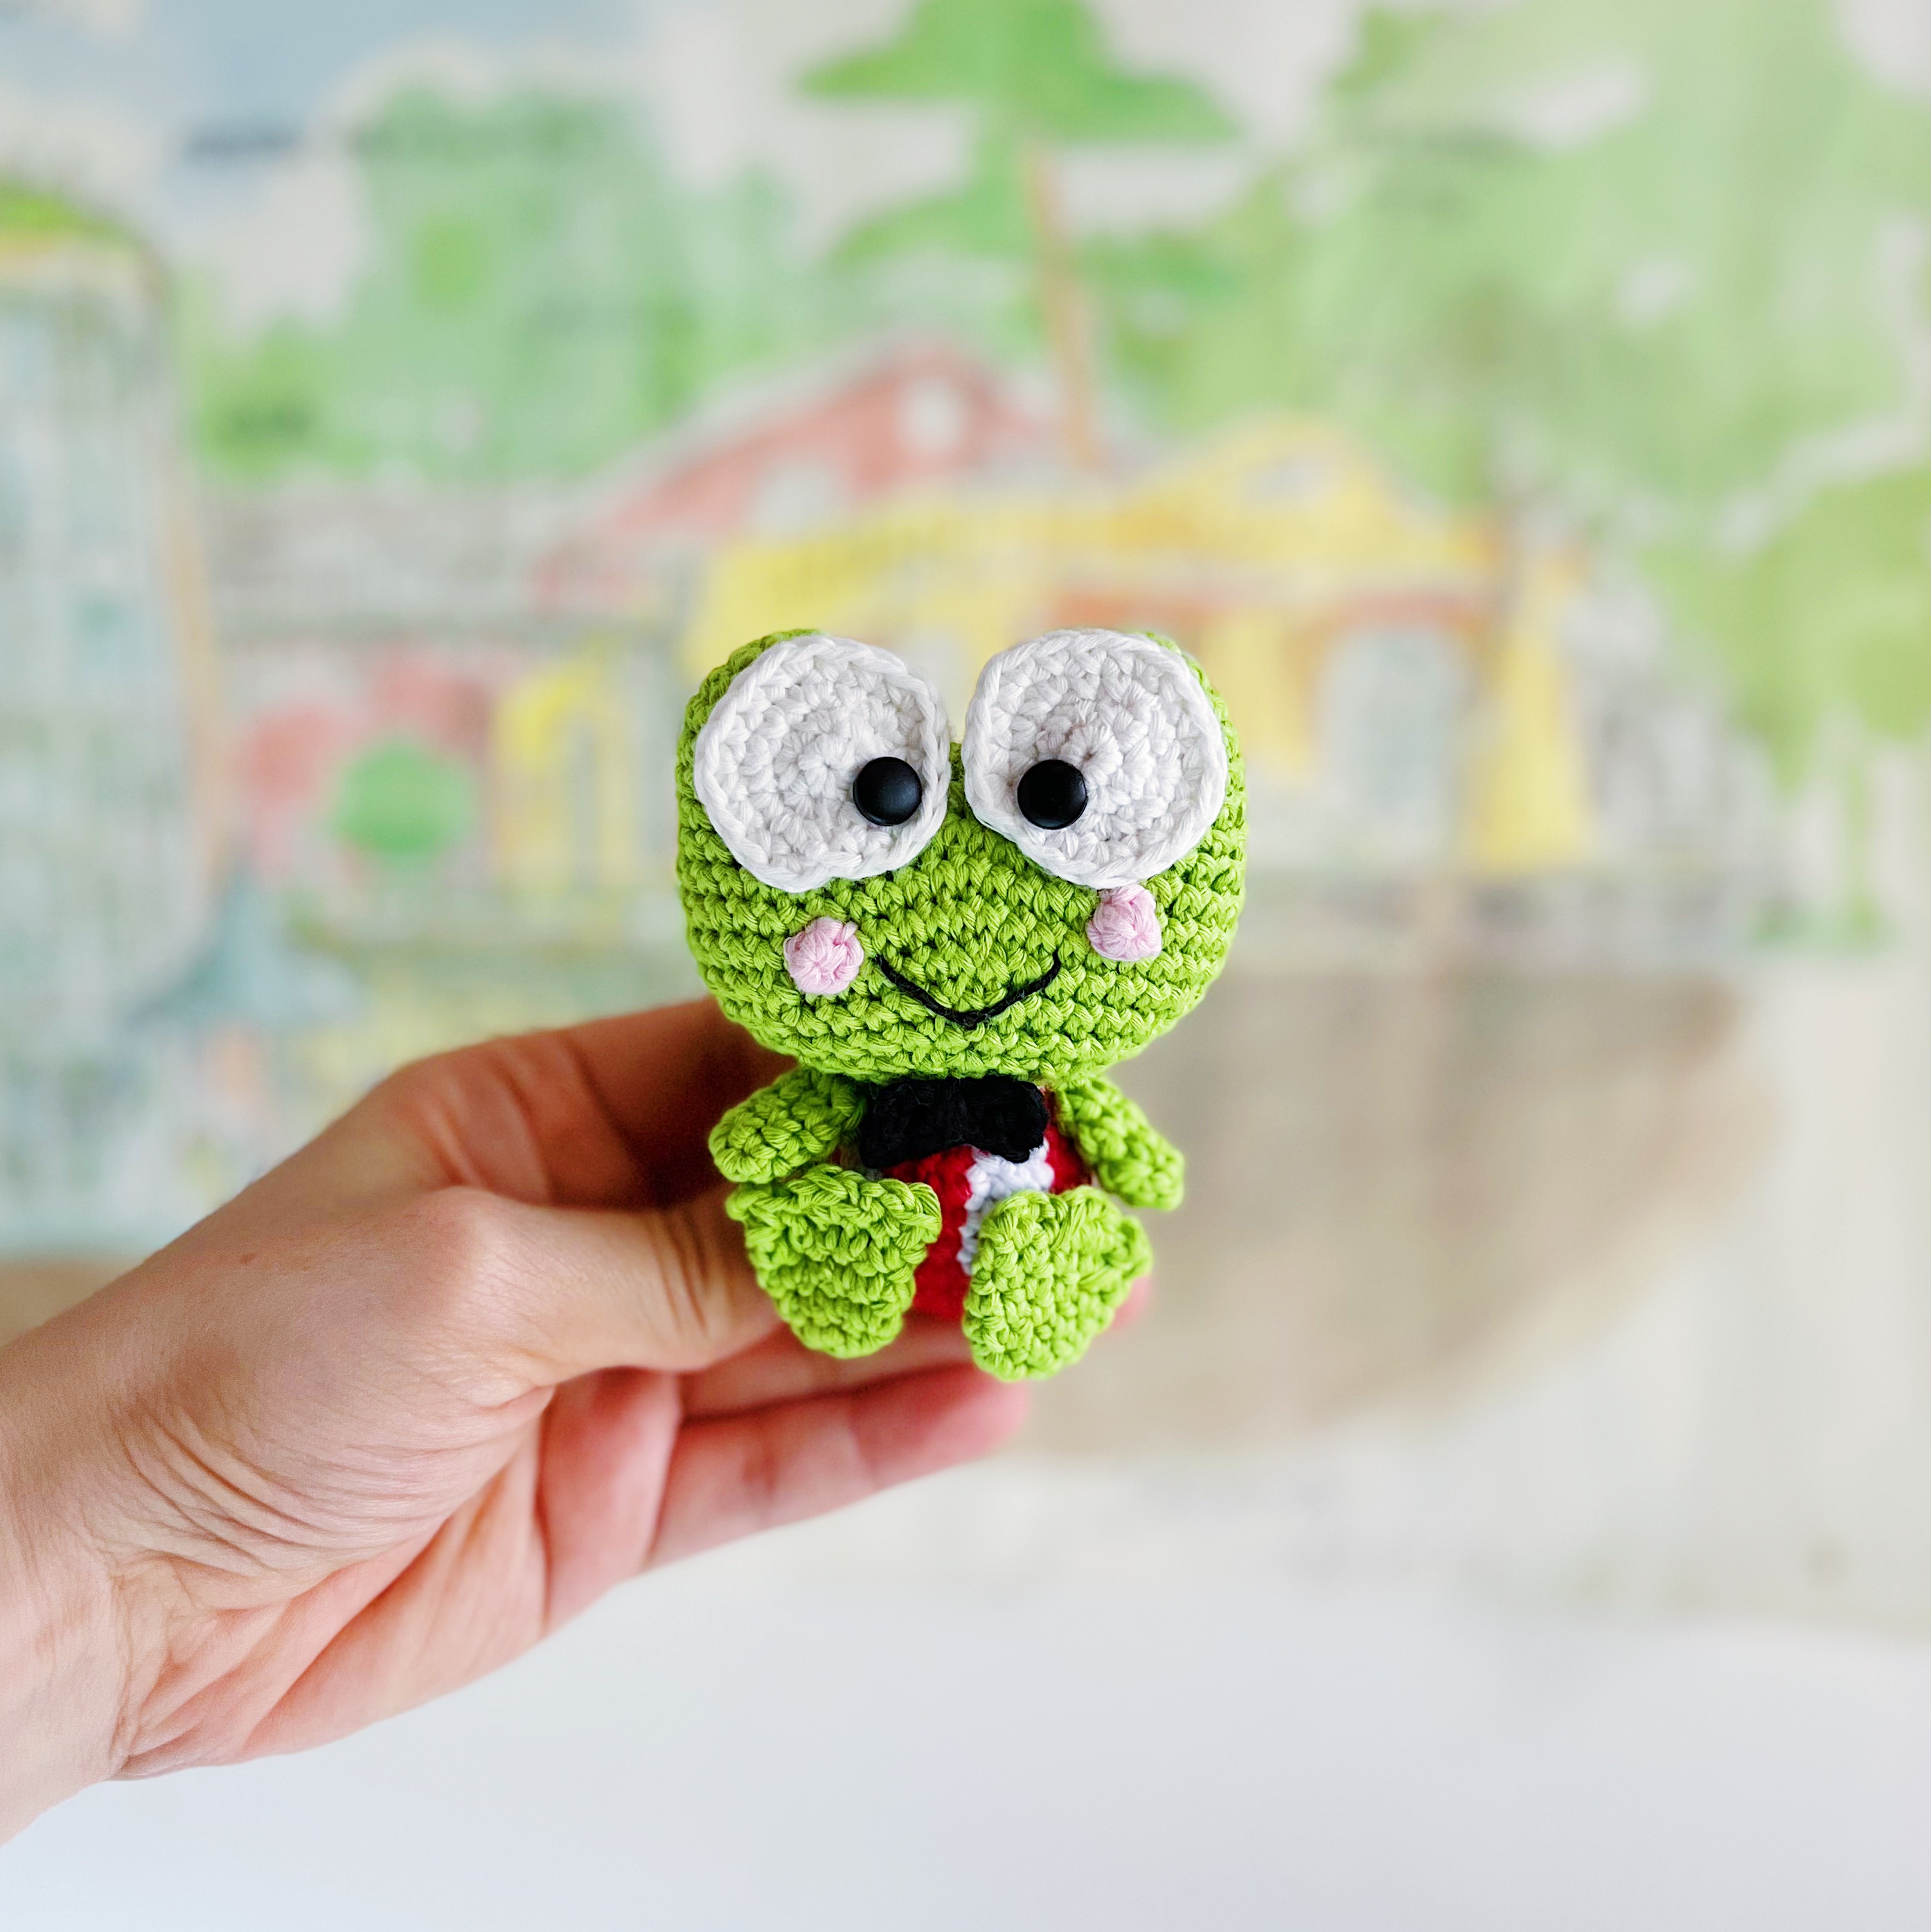
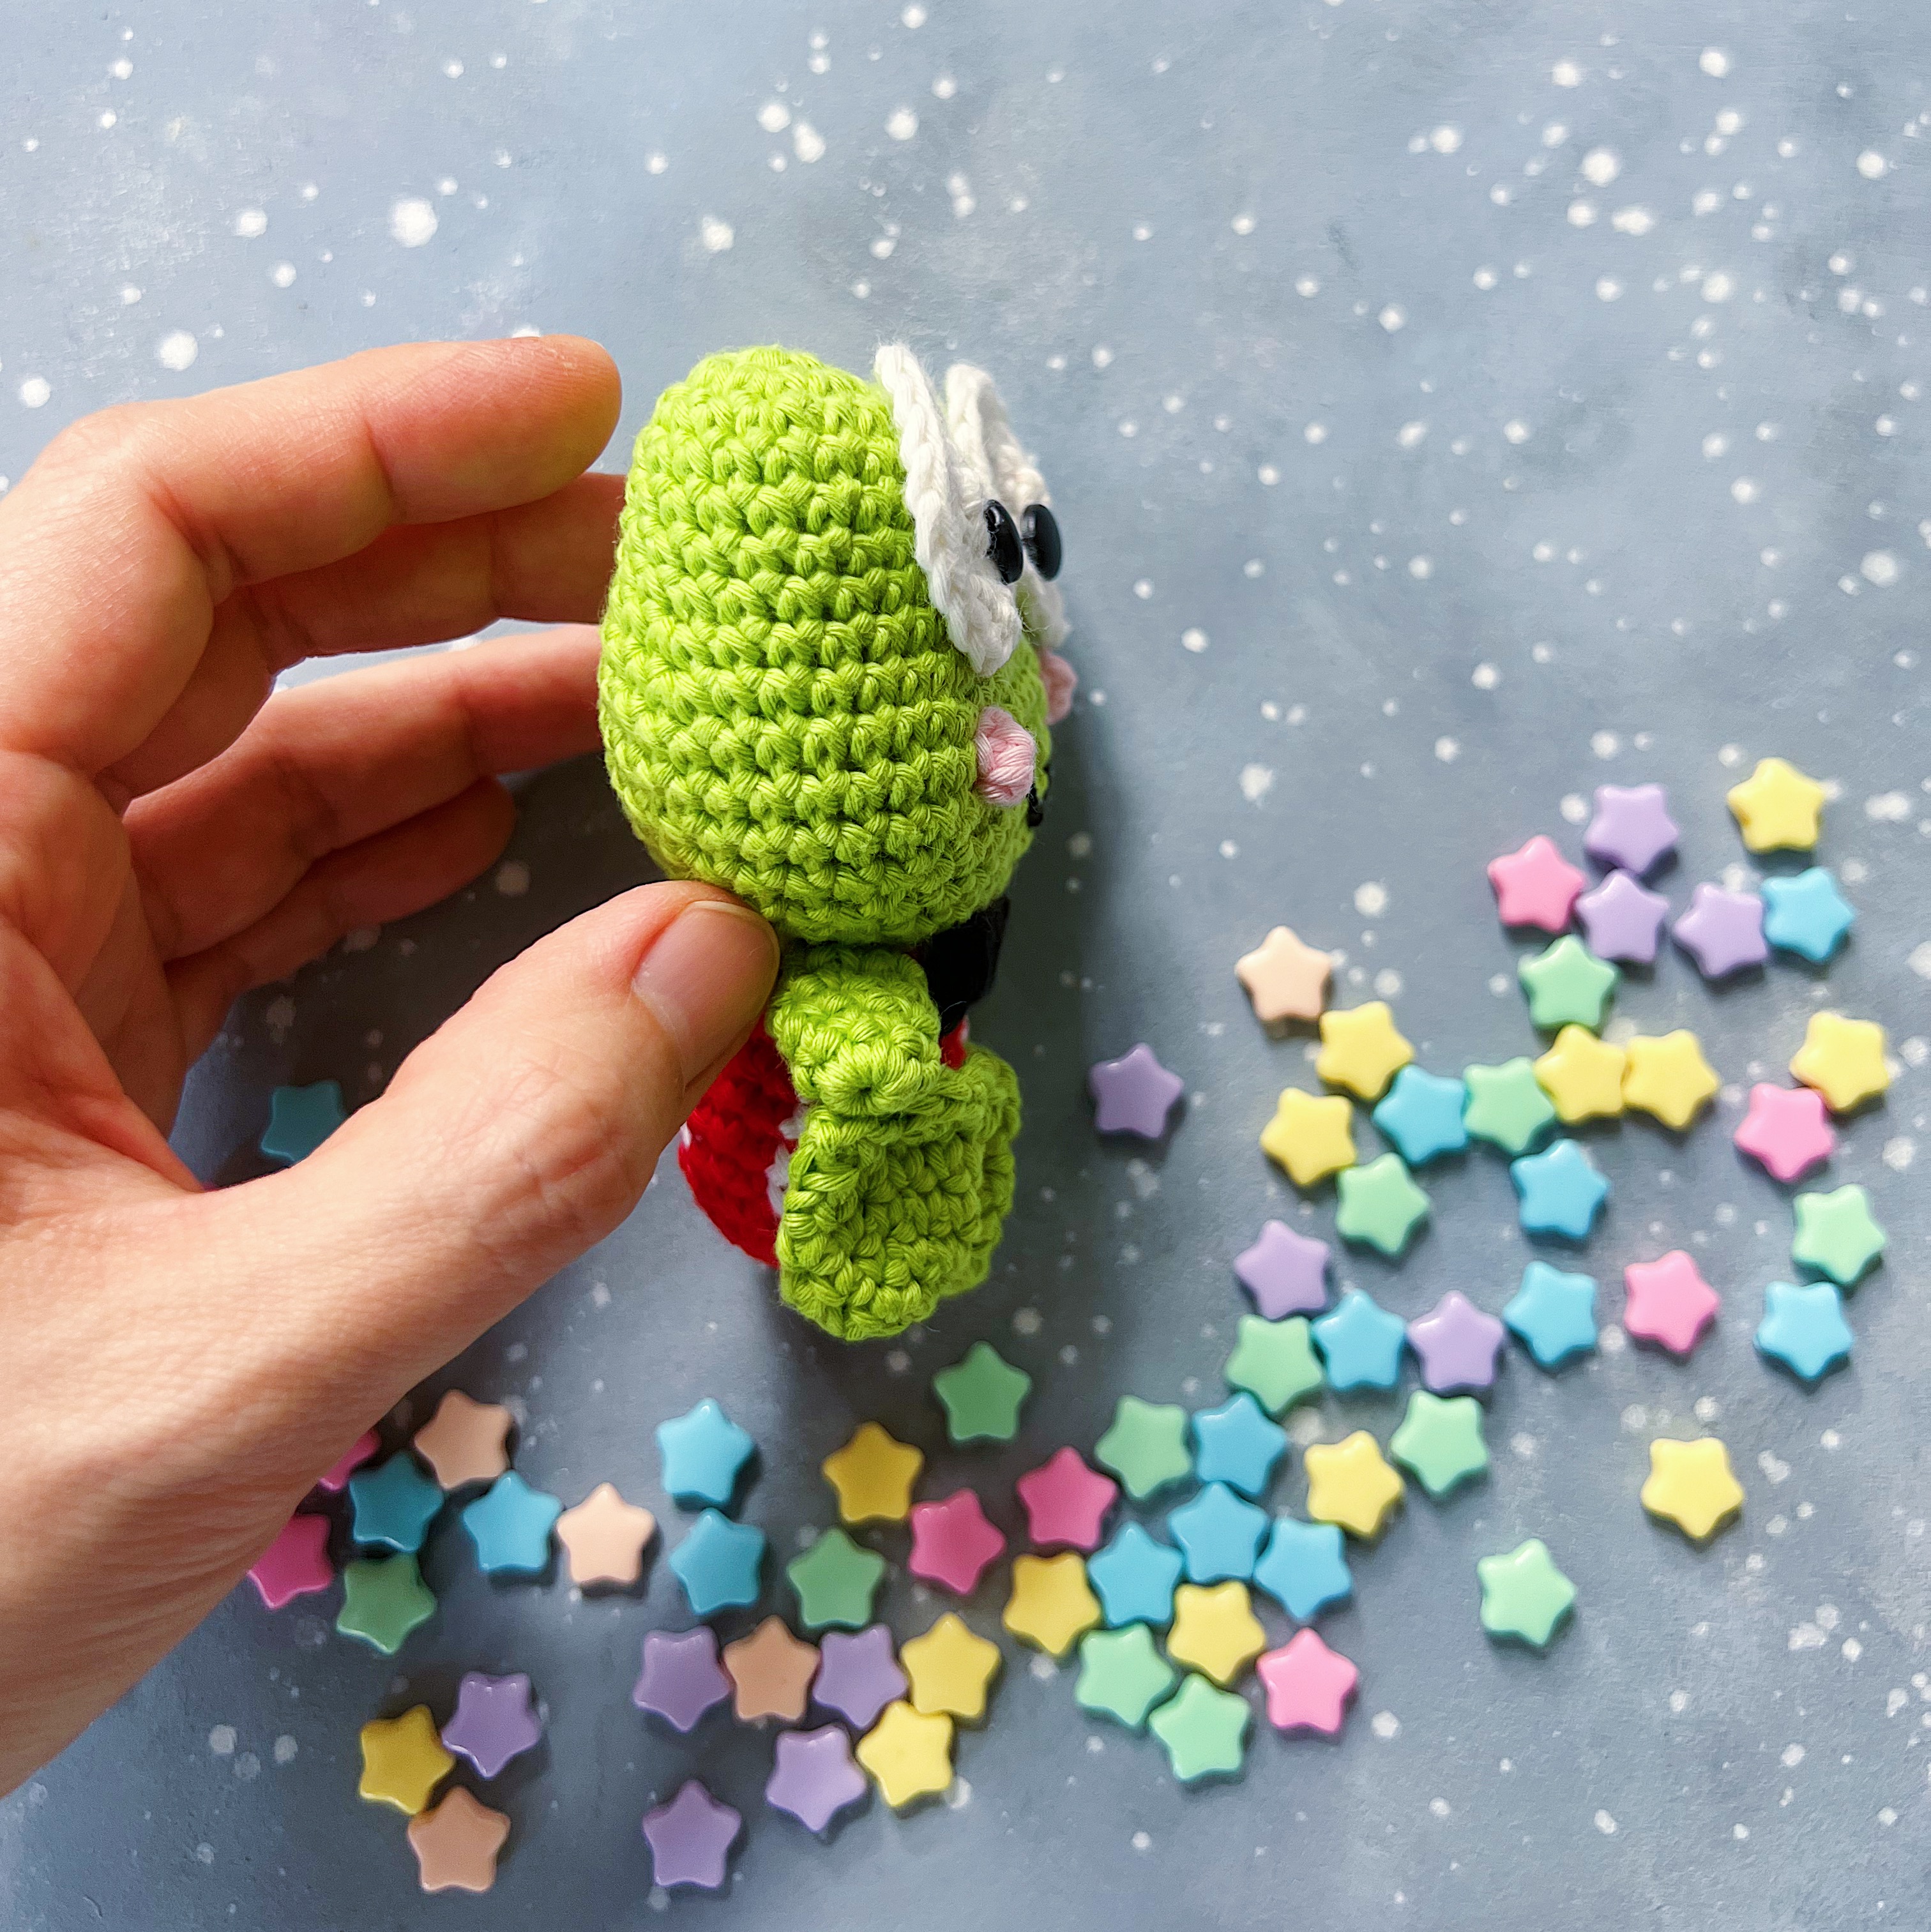
- Sew body onto the head. Keep in mind that your Keroppi will look more amazing if the stripes on the body can be seen from the front. Adjust accordingly before sewing in place.
- Sew on bowtie.
- Sew arms to the sides of the body.
- Sew webbed feet onto the front of the body (making sure that your stitches are only on the back part of the feet so that it isn’t noticeable in front).
P/S The original pattern for Keroppi appeared in Hello Kitty Crochet. The book is currently all sold out and there are no reprints at the moment.

Love him ❣️he is so cute