It has taken me 10 years to finally share this, but here we are!
Chiyo-chan’s pattern for FREE, just scroll down below!
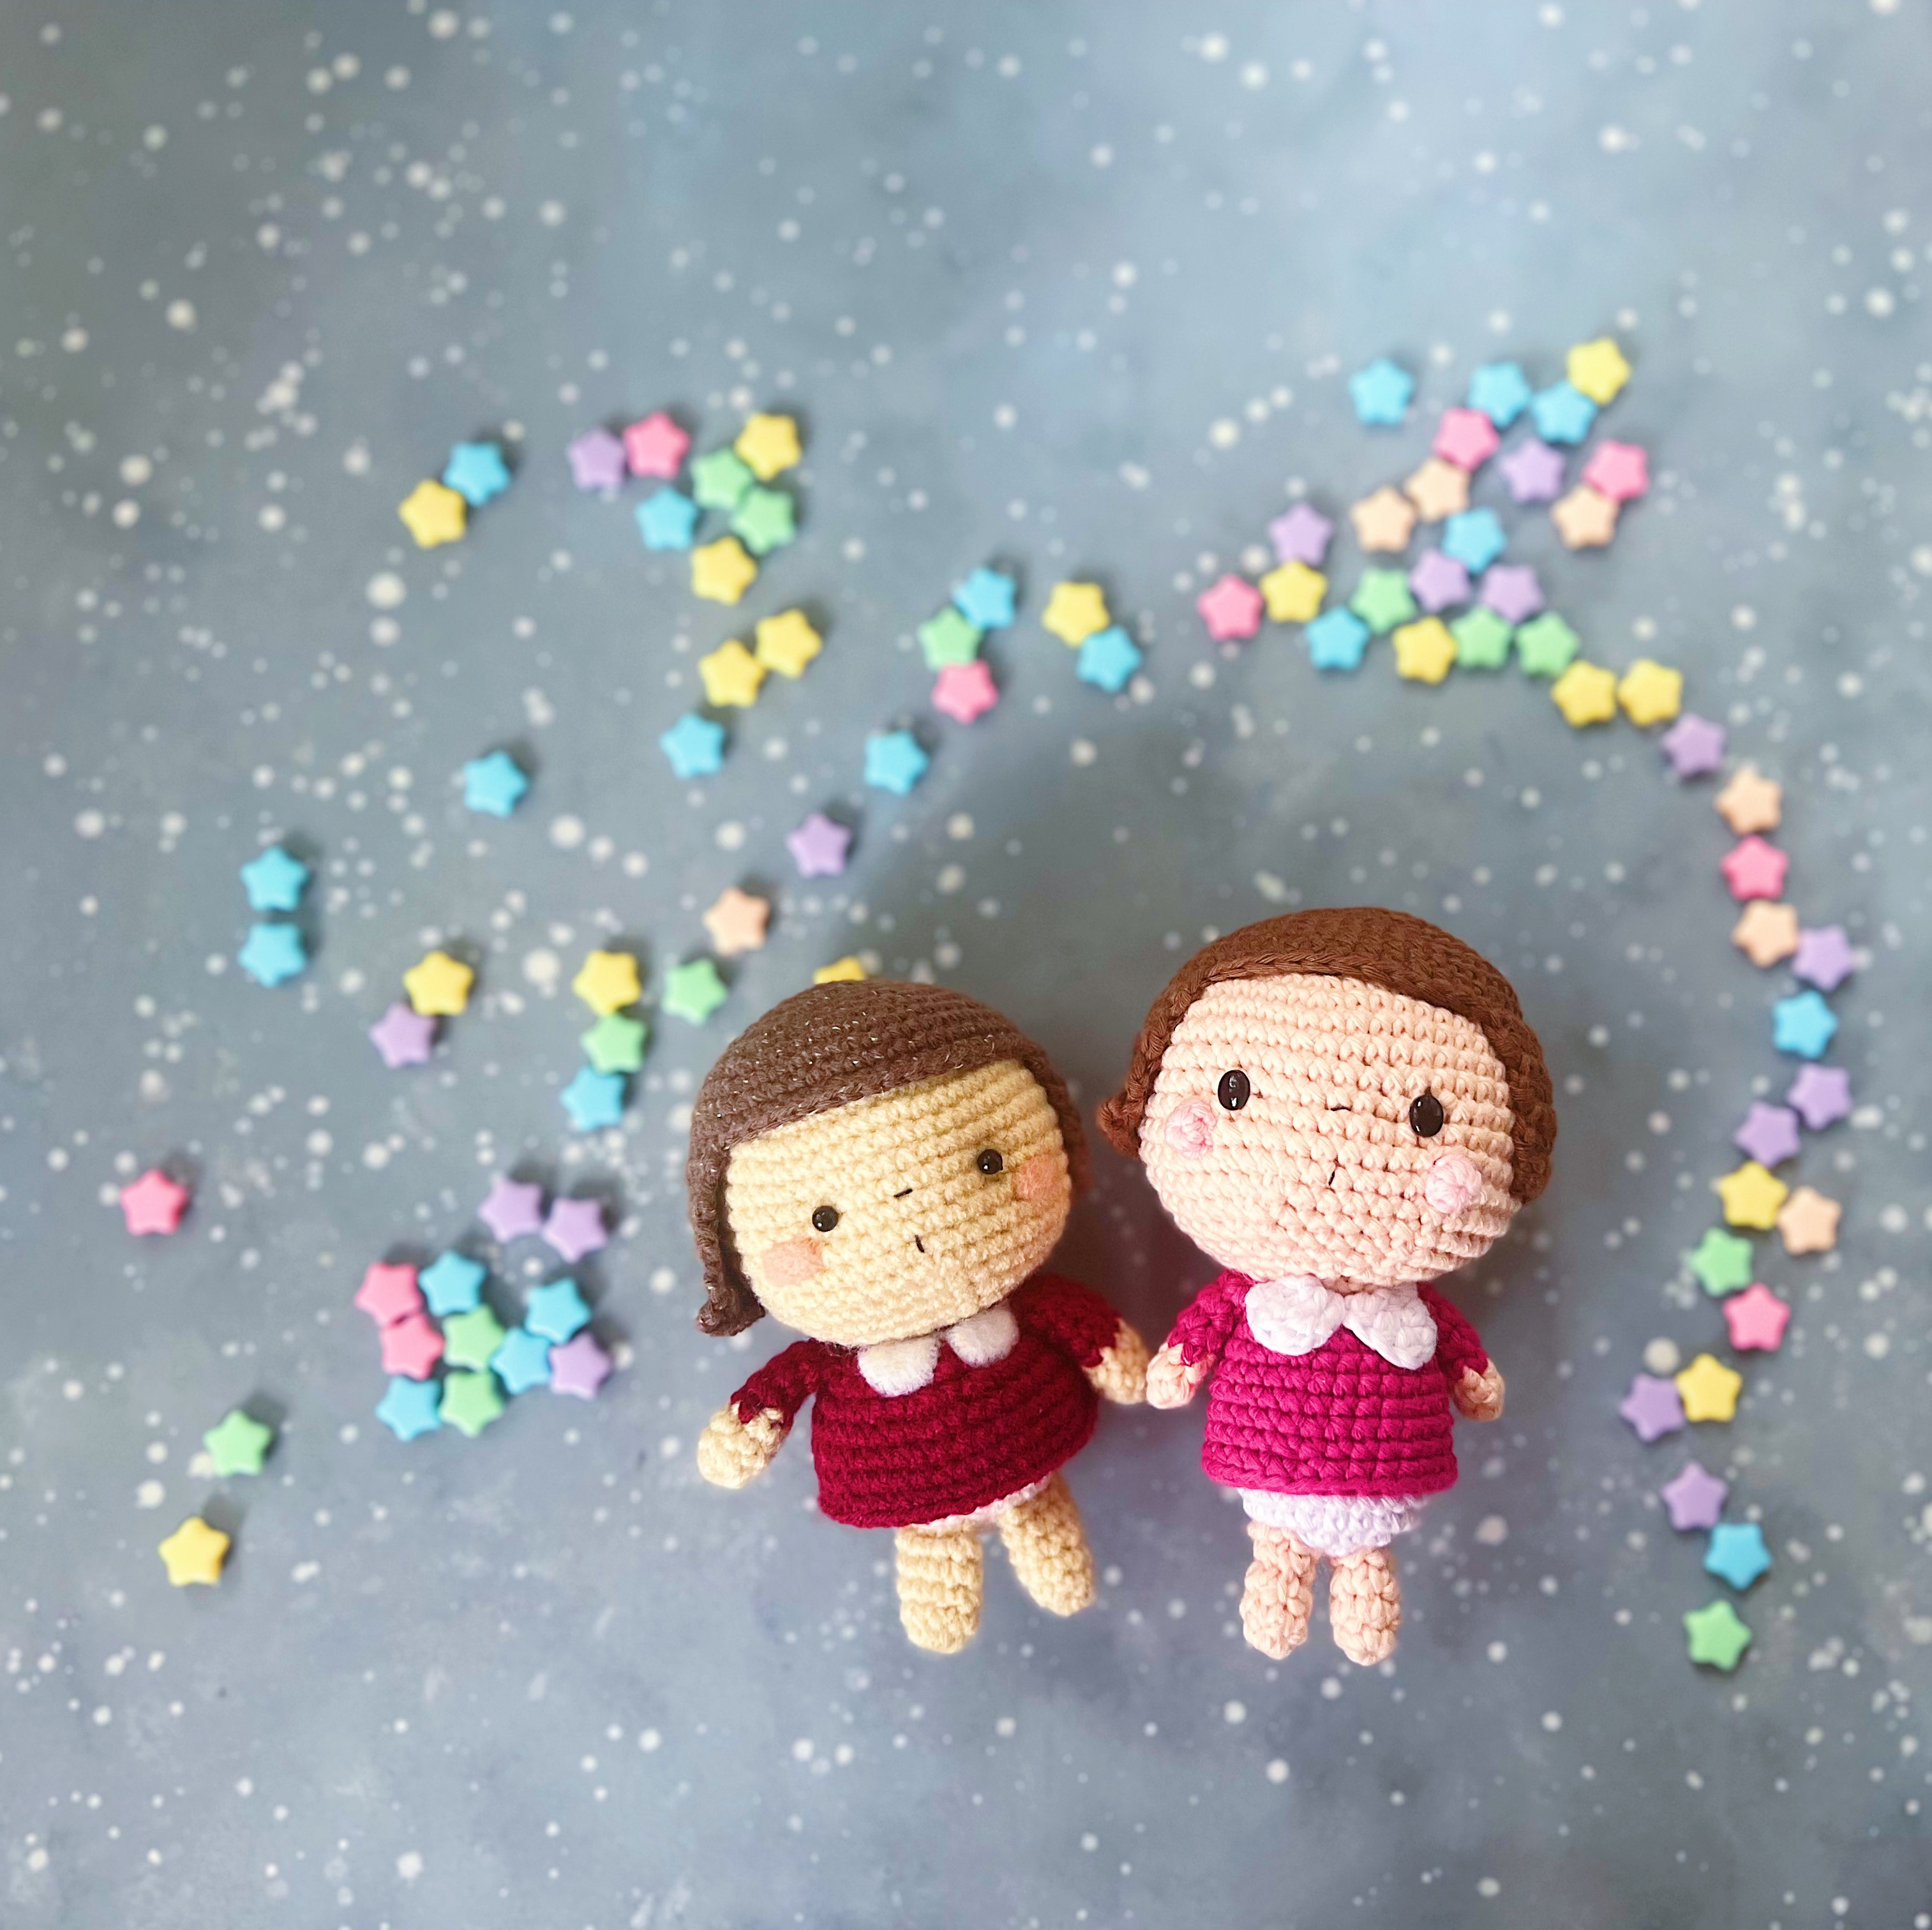
She isn’t the first amigurumi doll I’ve made, but she might be for you! This pattern is perfect for beginners who can already read crochet patterns, and are looking for more challenging patterns to try out. Perhaps you are making customised gifts for your friends or a little girl — you can use this pattern and model it after the person you are making the gift for! Simply change the hair colour/length and dress her up any way you like 🙂
Originally featured in Issue Five of Simply Crochet Magazine, Chiyo-chan is the supercute fun girl you need to have in your life. You can read more about her debut HERE.
The pattern was published in UK terms but I will share it in US terms here, with some updates. I hope you’ll enjoy making little Chiyo-chan!
FREE PATTERN FOR CHIYO-CHAN
Materials:
Dk yarn in skin, dark brown, burgundy, white and light pink.
2.5mm crochet hook
Black sewing thread
Sewing needle
Tapestry needle
Stuffing
2 x oval doll’s eyes (I used a 5mm-wide pair)
Head
With yarn in a skin colour of your choice:
R1: Make a magic ring, 6sc in ring (6).
R2: Inc in each st around (12).
R3: [Sc in next st, inc in next st] 6 times (18).
R4: [Sc in next 2 sts, inc in next st] 6 times (24).
R5: [Sc in next 3 sts, inc in next st] 6 times (30).
R6: [Sc in next 4 sts, inc in next st] 6 times (36).
R7: [Sc in next 5 sts, inc in next st] 6 times (42).
R8: [Sc in next 6 sts, inc in next st] 6 times (48).
R9-15 (7 rounds): Sc in each st around (48).
R16: [Sc in next 6 sts, inv dec] 6 times (42).
You can lock in your safety eyes now. Position them at R12, about 7-8 sts apart.
R17: [Sc in next 5 sts, inv dec] 6 times (36).
R18: [Sc in next 4 sts, inv dec] 6 times (30).
R19: [Sc in next 3 sts, inv dec] 6 times (24).
R20: [Sc in next 2 sts, inv dec] 6 times (18).
Start stuffing the head.
R21: [Sc in next st, inv dec] 6 times (12).
R22: Inv dec all around (6).
Fasten off, leaving a long tail to close the opening (and to make Eye Indentations).
Using the tail and a tapestry needle, close the opening securely. Do not trim yarn tail.
Making Eye Indentations (video tutorial below and also on my Instagram Reels and Youtube channel)
1. With the remaining yarn tail from the head, (threaded into a needle), bring the yarn back up to the stitch right next to the left safety eye on R12.
2. Insert the needle back into the Head in the next stitch, bringing it out at the bottom of the Head. Gently tug on the yarn to create a slight indentation.
3. Repeat for the right side of the Head. Secure the yarn tail with a knot at the base of the Head and trim excess yarn.
Adding a nose + lips
1. With sewing thread and needle, make a small horizontal stitch for the nose, positioning it at the centre of the face between the eyes on R12.
2. For the mouth, bring the thread down to R15 and make a small vertical stitch, aligning it with the position of the nose.
3. Bring remaining thread down to the bottom of the Head. Secure with a knot and trim ends.
Cheeks (Make 2)
With light pink yarn:
Make a magic ring, 4sc in ring (4).
Fasten off and leave a long tail for sewing.
Sew onto the Head, to the bottom-side of each eye.
Hair
With dark brown yarn:
R1: Make a magic ring, 6sc in ring (6).
R2: Inc in each st around (12).
R3: [Sc in next st, inc in next st] 6 times (18).
R4: [Sc in next 2 sts, inc in next st] 6 times (24).
R5: [Sc in next 3 sts, inc in next st] 6 times (30).
R6: [Sc in next 4 sts, inc in next st] 6 times (36).
R7: [Sc in next 5 sts, inc in next st] 6 times (42).
R8: [Sc in next 6 sts, inc in next st] 6 times (48).
R9-11 (3 rounds): Sc in each st around (48).
Now you will be working back and forth in Rows to give the hair length.
Row 12: Sc in the next 33 sts. Leave remaining sts unworked (33).
Rows 13-19 (7 rows): Ch 1, turn. Sc in the next 33 sts (33).
Fasten off and leave a long end for sewing.
Place hair piece on top of head, with the bangs facing forward, and sew in place with backstitches. (You don’t have to sew all around the hair, just spaced-out gaps will do).
Body
With white yarn:
R1: Make a magic ring, 6sc in ring (6).
R2: Inc in each st around (12).
R3: [Sc in next st, inc in next st] 6 times (18).
R4: [Sc in next 2 sts, inc in next st] 6 times (24).
R5-6: Sc in each st around (24).
R7: Sc in the front loop only of each st around (24). ** Please see note.
Change yarn colour to skin.
R8: Sc in the back loop only of each st around (24).
R9-10: Sc in each st around (24).
R11: [Sc in next 2 sts, inv dec] 6 times (18).
Fasten off and leave a long tail for sewing.
**Not sure if the front loop only crochet is required, but this was in the original pattern 🙂
Dress (find the video tutorial below and also on Instagram and Youtube)
To start, turn the body piece upside down.
With burgundy yarn, make a slip knot on your hook. You will surface crochet the first round of the dress directly on to the Body.
Surface crochet tip: Insert the hook between two stitches and bring it out in the next gap between the two stitches, from right to left. Yarn over and draw the loop through to the first stitch. Yarn over again and bring the yarn through both loops on the hook to complete the stitch.
R1: Sc in each st of R11 of the Body, plus one extra stitch to connect the round. Sl st to join. (19sc + 1sl st).
R2: Ch 1, sc in each st around. Sl st to join (19sc + 1sl st).
R3: Ch 1, [sc in next st, inc in next st] around. Sl st to join (29sc + 1sl st).
R4-8 (5 rounds): Ch 1, sc in each st around. Sl st to join (29sc + 1sl st).
Fasten off and weave in ends.
You may stuff the body now 🙂
Collar (Make 2)
With white yarn, ch 4.
R1: Hdc in the next 3 sts.
R2: Ch 1, turn. Hdc in the next 3 sts.
Fasten off and leave a long end for sewing.
Arms (Make 2)
With yarn in a skin colour of your choice:
R1: Make a magic ring, 6sc in ring (6).
R2: Sc in each st around (6).
Change to burgundy yarn.
R3-6 (4 rounds): Sc in each st around (6).
Fasten off and leave a long end for sewing.
No stuffing is required for the arms.
Legs (Make 2)
With yarn in a skin colour of your choice:
R1: Make a magic ring, 6sc in ring (6).
R2-4 (3 rounds): Sc in each st around (6).
Fasten off and leave a long end for sewing.
No stuffing is required for the legs.
Assembly Time! (You can see me assembling the doll on my Instagram Reels and also on Youtube)
1) By now, you should have your cheeks and hair sewn onto the head piece.
2) Attach body piece onto the bottom of the head with whipstitches.
3) Sew collar onto the front of the dress.
4) Sew on the arms.
5) Sew on the legs.
And you’re done! You can see in the picture below how the old and new Chiyo-chan look.
Please tag me on Instagram @amigurumei when you’re done making your own Chiyo-chan and I’ll reshare it on my feed! I have some Reel tutorials on Instagram for this pattern too, so be sure to check those out! You can see some of them below! There are more on my Youtube channel xoxox
P/S You may sell anything you make from this pattern but it would be awesome if you can mention that it’s a pattern from @amigurumei 🙂 It would be amazing if we could keep the pattern here because I really appreciate all your visits to my blog! Please do not copy and paste and share it in other groups – instead, please bring them here for the full pattern 🙂
Enjoy!