Konnichiwa my dearest friends!
If you’ve been following me on instagram @amigurumei, you’d remember that I made some shark bags for my boys using this amazing pattern by The Cookie Snob. My boys loved it to bits and would wear it whenever we took them out. Which also meant it got worn out very quickly because they would sometimes step on it and grab it with their grease-filled hands after a meal :> I also used acrylic yarn, so it fuzzed up quite a bit.
And so I decided to make them new bags and I thought, oh wow, why not bags in the shape of a car since they loved cars so much. And I came across this amazing amigurumi car pattern by Nephithyrion!
And here are the results!

I absolutely love how cute these turned out — almost like a child’s drawing!
I made some modifications to the pattern to turn them into bags. And I know you’d maybe want to make one too for a car-crazy kid you know, so here’s a pattern reference for you!
xxxxxxxxxxxxxxxxxxxxxxxxxx
CROCHET CAR BAG PATTERN (based on the Crochet Toy Car pattern by Nephithyrion)
Materials:
1.5 skeins of main colour yarn for one toddler-sized bag (I used Paintbox cotton aran in grass green and kingfisher blue)
White, black and yellow yarn
3.5mm crochet hook (I used Clover Amour)
Darning needle
Scissors
Car body (Make 2)
Kindly refer to Nephithyrion’s pattern here for the main car body.
**Do note that there are certain rows that do not require a CH 1 before turning so watch out for those. I’m not sure if it was a mistake but I chained 29 at the start.
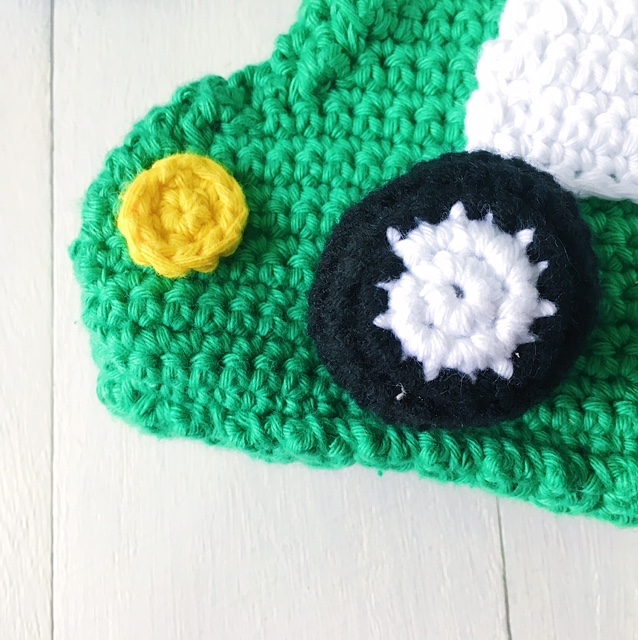
Windows (Make 4)
With white yarn:
Ch 8.
Rows 1-2: Sc across, ch 1, turn {7}.
Row 3: Sc2together, sc in the next 5, ch 1, turn {6}.
Row 4: Sc across, ch 1, turn {6}.
Row 5: Sc2together, sc in the next 4, ch 1, turn {5}.
Row 6: Sc across, ch 1, turn {6}.
Row 7: Sc2together, sc in the next 3, ch 1, turn {4}.
Fasten off and leave a long end for sewing.
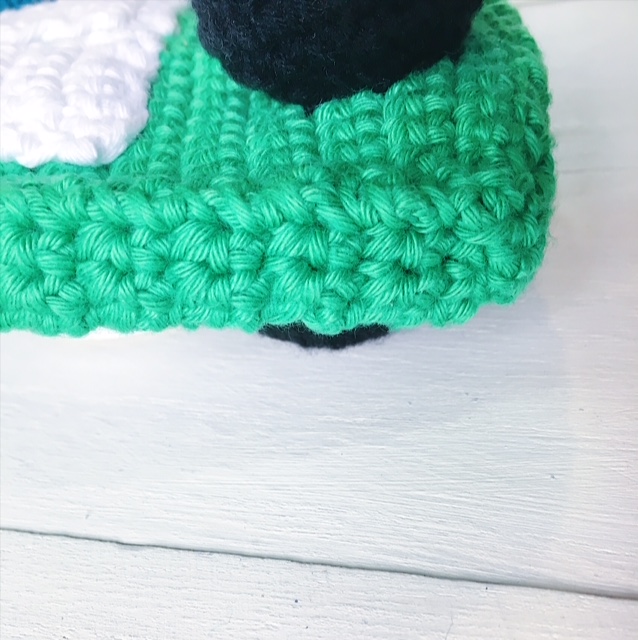
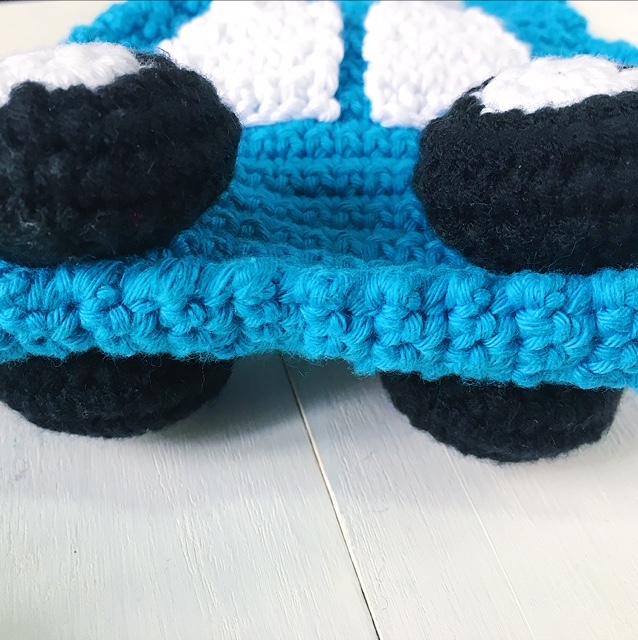
Bottom of the car
With main colour yarn:
Ch 4.
Rows 1-29: Sc across, ch 1, turn {3}.
Fasten off and leave a long end for sewing.
Side (back) of the car
With main colour yarn:
Ch 4.
Rows 1-18: Sc across, ch 1, turn {3}.
Fasten off and leave a long end for sewing.
Side (front) of the car
With main colour yarn:
Ch 4.
Rows 1-22: Sc across, ch 1, turn {3}.
Fasten off and leave a long end for sewing.
Wheels (slight modifications from Nephithyrion’s pattern)
Make 4 with white yarn:
Round 1: Sc 7 in magic ring {7}.
Round 2: [Inc] around {14}.
Change to black yarn.
Round 3: [Inc, sc 1] around {21}.
Round 4: [Inc, sc 2] around {28}.
Round 5: Sc around {28}.
Round 6: [Inv dec, sc 2] around {21}.
Round 7: [Inv dec, sc 1] around {14}.
Fasten off and leave a long end for sewing.
Stuff lightly.
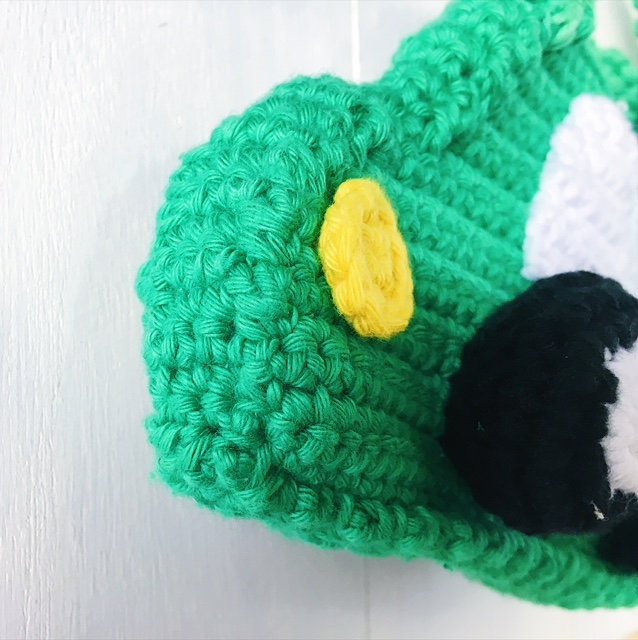
Lights
Make 2 with yellow yarn:
Round 1: Sc 5 in magic ring {5}.
Round 2: [Inc] around {10}.
Fasten off and leave a long end for sewing.
Strap
Ch 5.
Rows 1-122: Sc across, Ch 1, turn {4}.
Fasten off and leave a long end for sewing.
** You can definitely add more rows if you need the strap to be longer, or change the colour too.
Assembly
1. Sew on the windows and lights on the car body piece.
2. I had windows, lights and wheels on both sides of the bags, but you can choose to only do them on one side.
3. Start sewing on the bottom panel and the front side panel onto one of the car body pieces (with whipstitch).
4. Then connect the other car body piece to the panels. I found myself using different yarn ends to attach the pieces — if you find that the yarn ends are too short, you can definitely use a new strand of yarn and whipstitch them together.
5. Before sewing on the back side strip of the car, it would be easier to start attaching your wheels first onto the main body pieces.
6. Once that’s done you can attach on the back side strip of the car.
7. Then attach on the strap.
8. I knotted all my ends inside the bag so it can look a little messy.
9. I plan to sew on a zip and inner lining (but have yet found time to buy some zippers!) So definitely add those and the bags would look seamless 🙂
**Important: If you find that the bottom and side panels of the cars are a tad short/long, you can definitely adjust it or adjust it while you’re whipstitching it together, tug at it to make it fit etc 🙂 This pattern is quite forgiving!
Here are some tutorial photos for your reference:


And there you have it! I hope you’ll enjoy making this crochet car bag pattern for your little ones! My boys are absolutely in love with them and it doubles up as a toy as well.
Thank you Nephithyrion for inspiring me to make this cute little car bag!
Do tag me and let me see how your car bags turned out! @amigurumei #amigurumei
Have a lovely rest of the week ahead my dearest friends!
P/S I almost forgot! I also found this lovely crochet car bag picture on Pinterest while doing my research and it played a big part in inspiring the modifications! It seems like a pattern from a Japanese craft book (the pattern in chart is included in this page!) but since I’m just so bad with crochet charts I had to just forego the pattern and come up with my own! I had initially showed this picture to my boys and asked them if they wanted car bags like these and they want crayyyyzy :’)