Today is a good day. And I have good news for you. A FREE pattern finally!
It’s been a while. I hope everyone is safe at home!
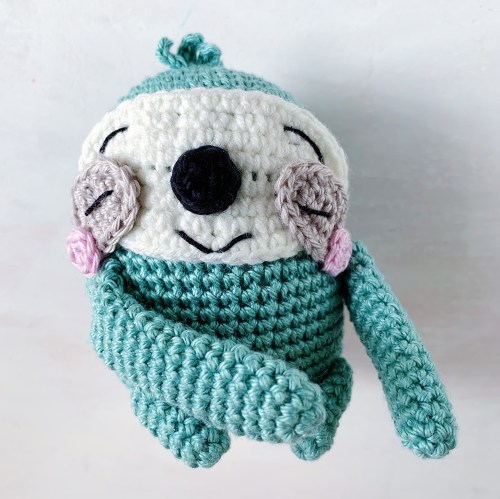
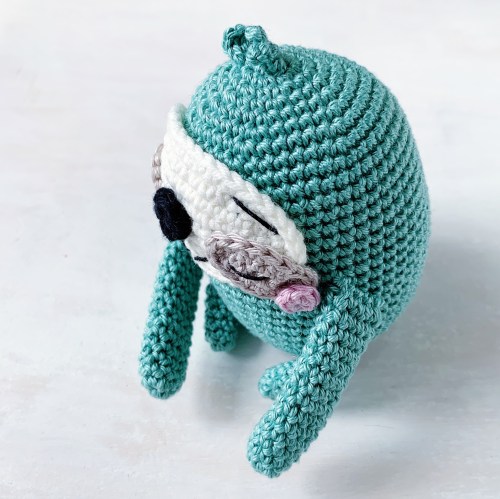
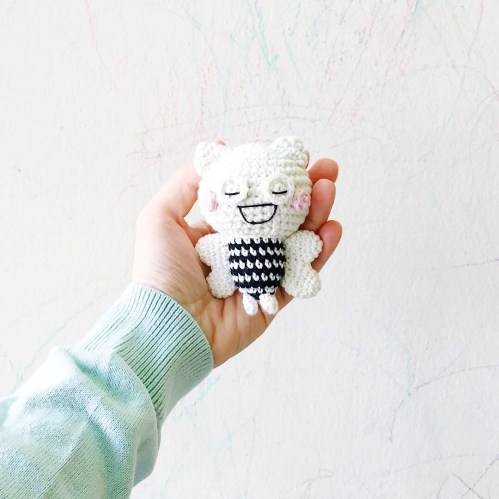
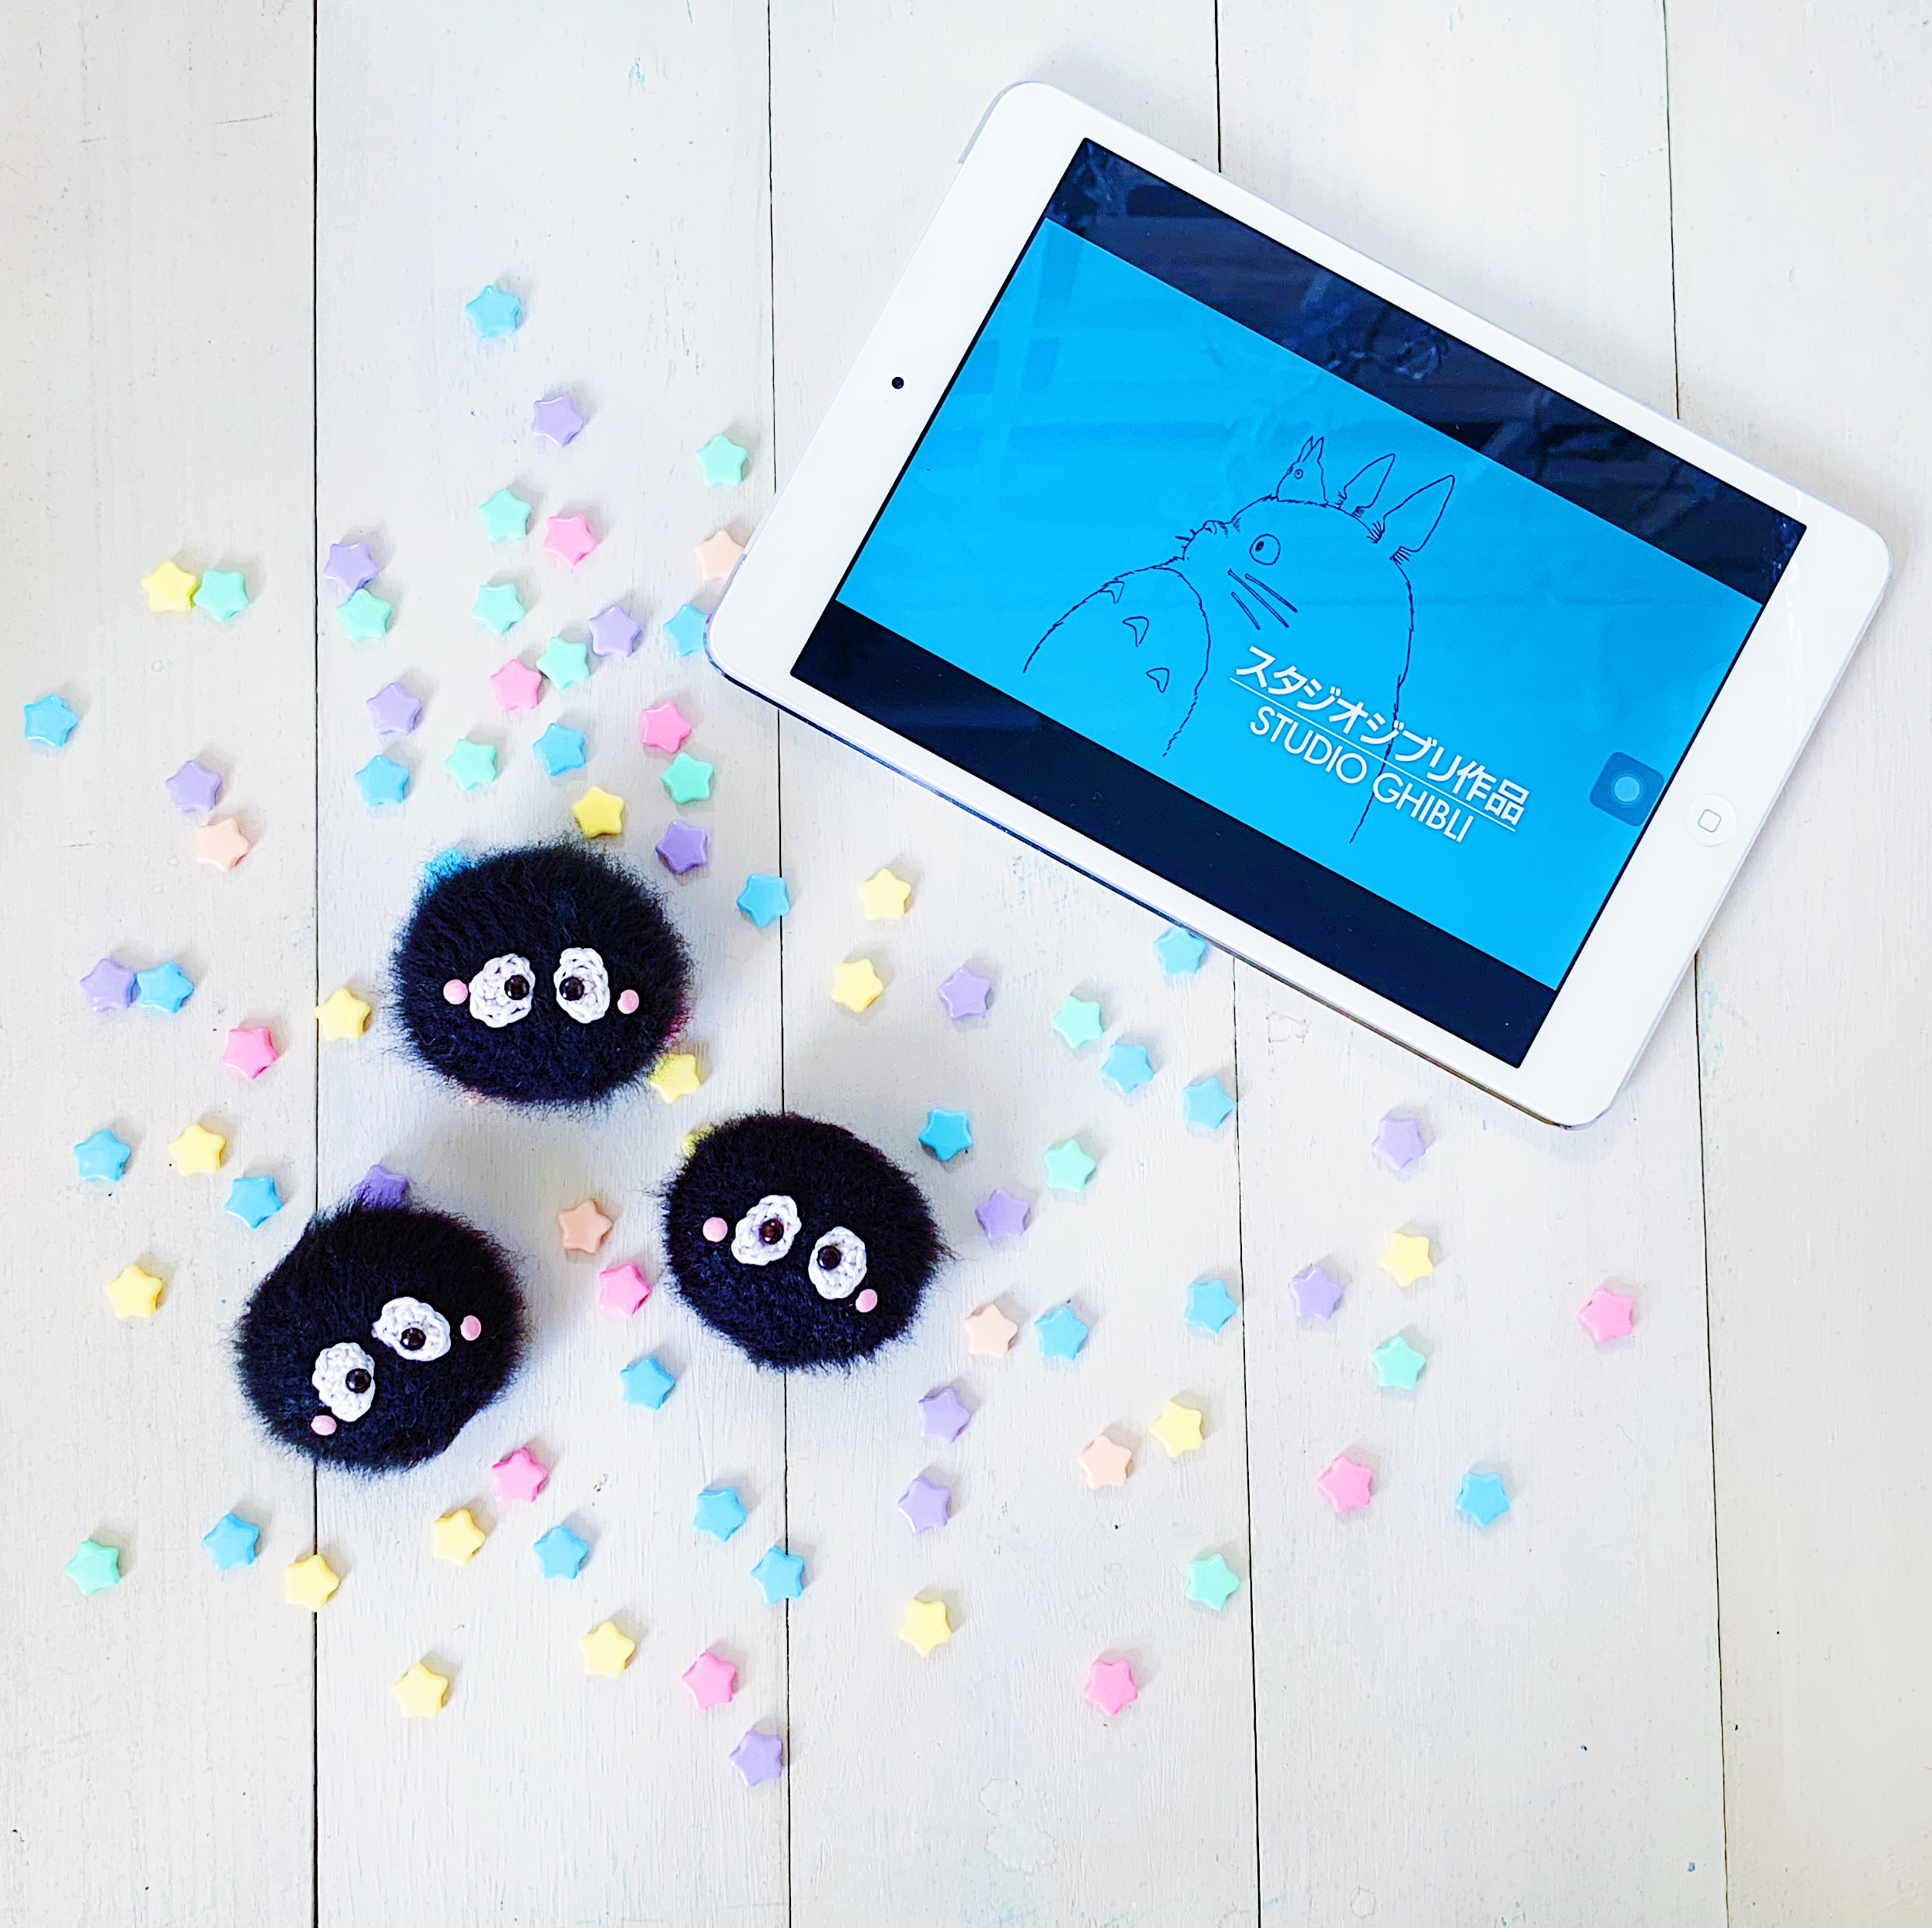
I’m gearing up to participate in @Airaligray’s #amigurumay (although I’m already a little late to the game), and I knew I just had to make some of these little guys to fit into the theme of “Crochet & Netflix”. Because yay! We now have Studio Ghibli shows on Netflix! I’m sorry if it’s not available in your region! I hope it will be soon.
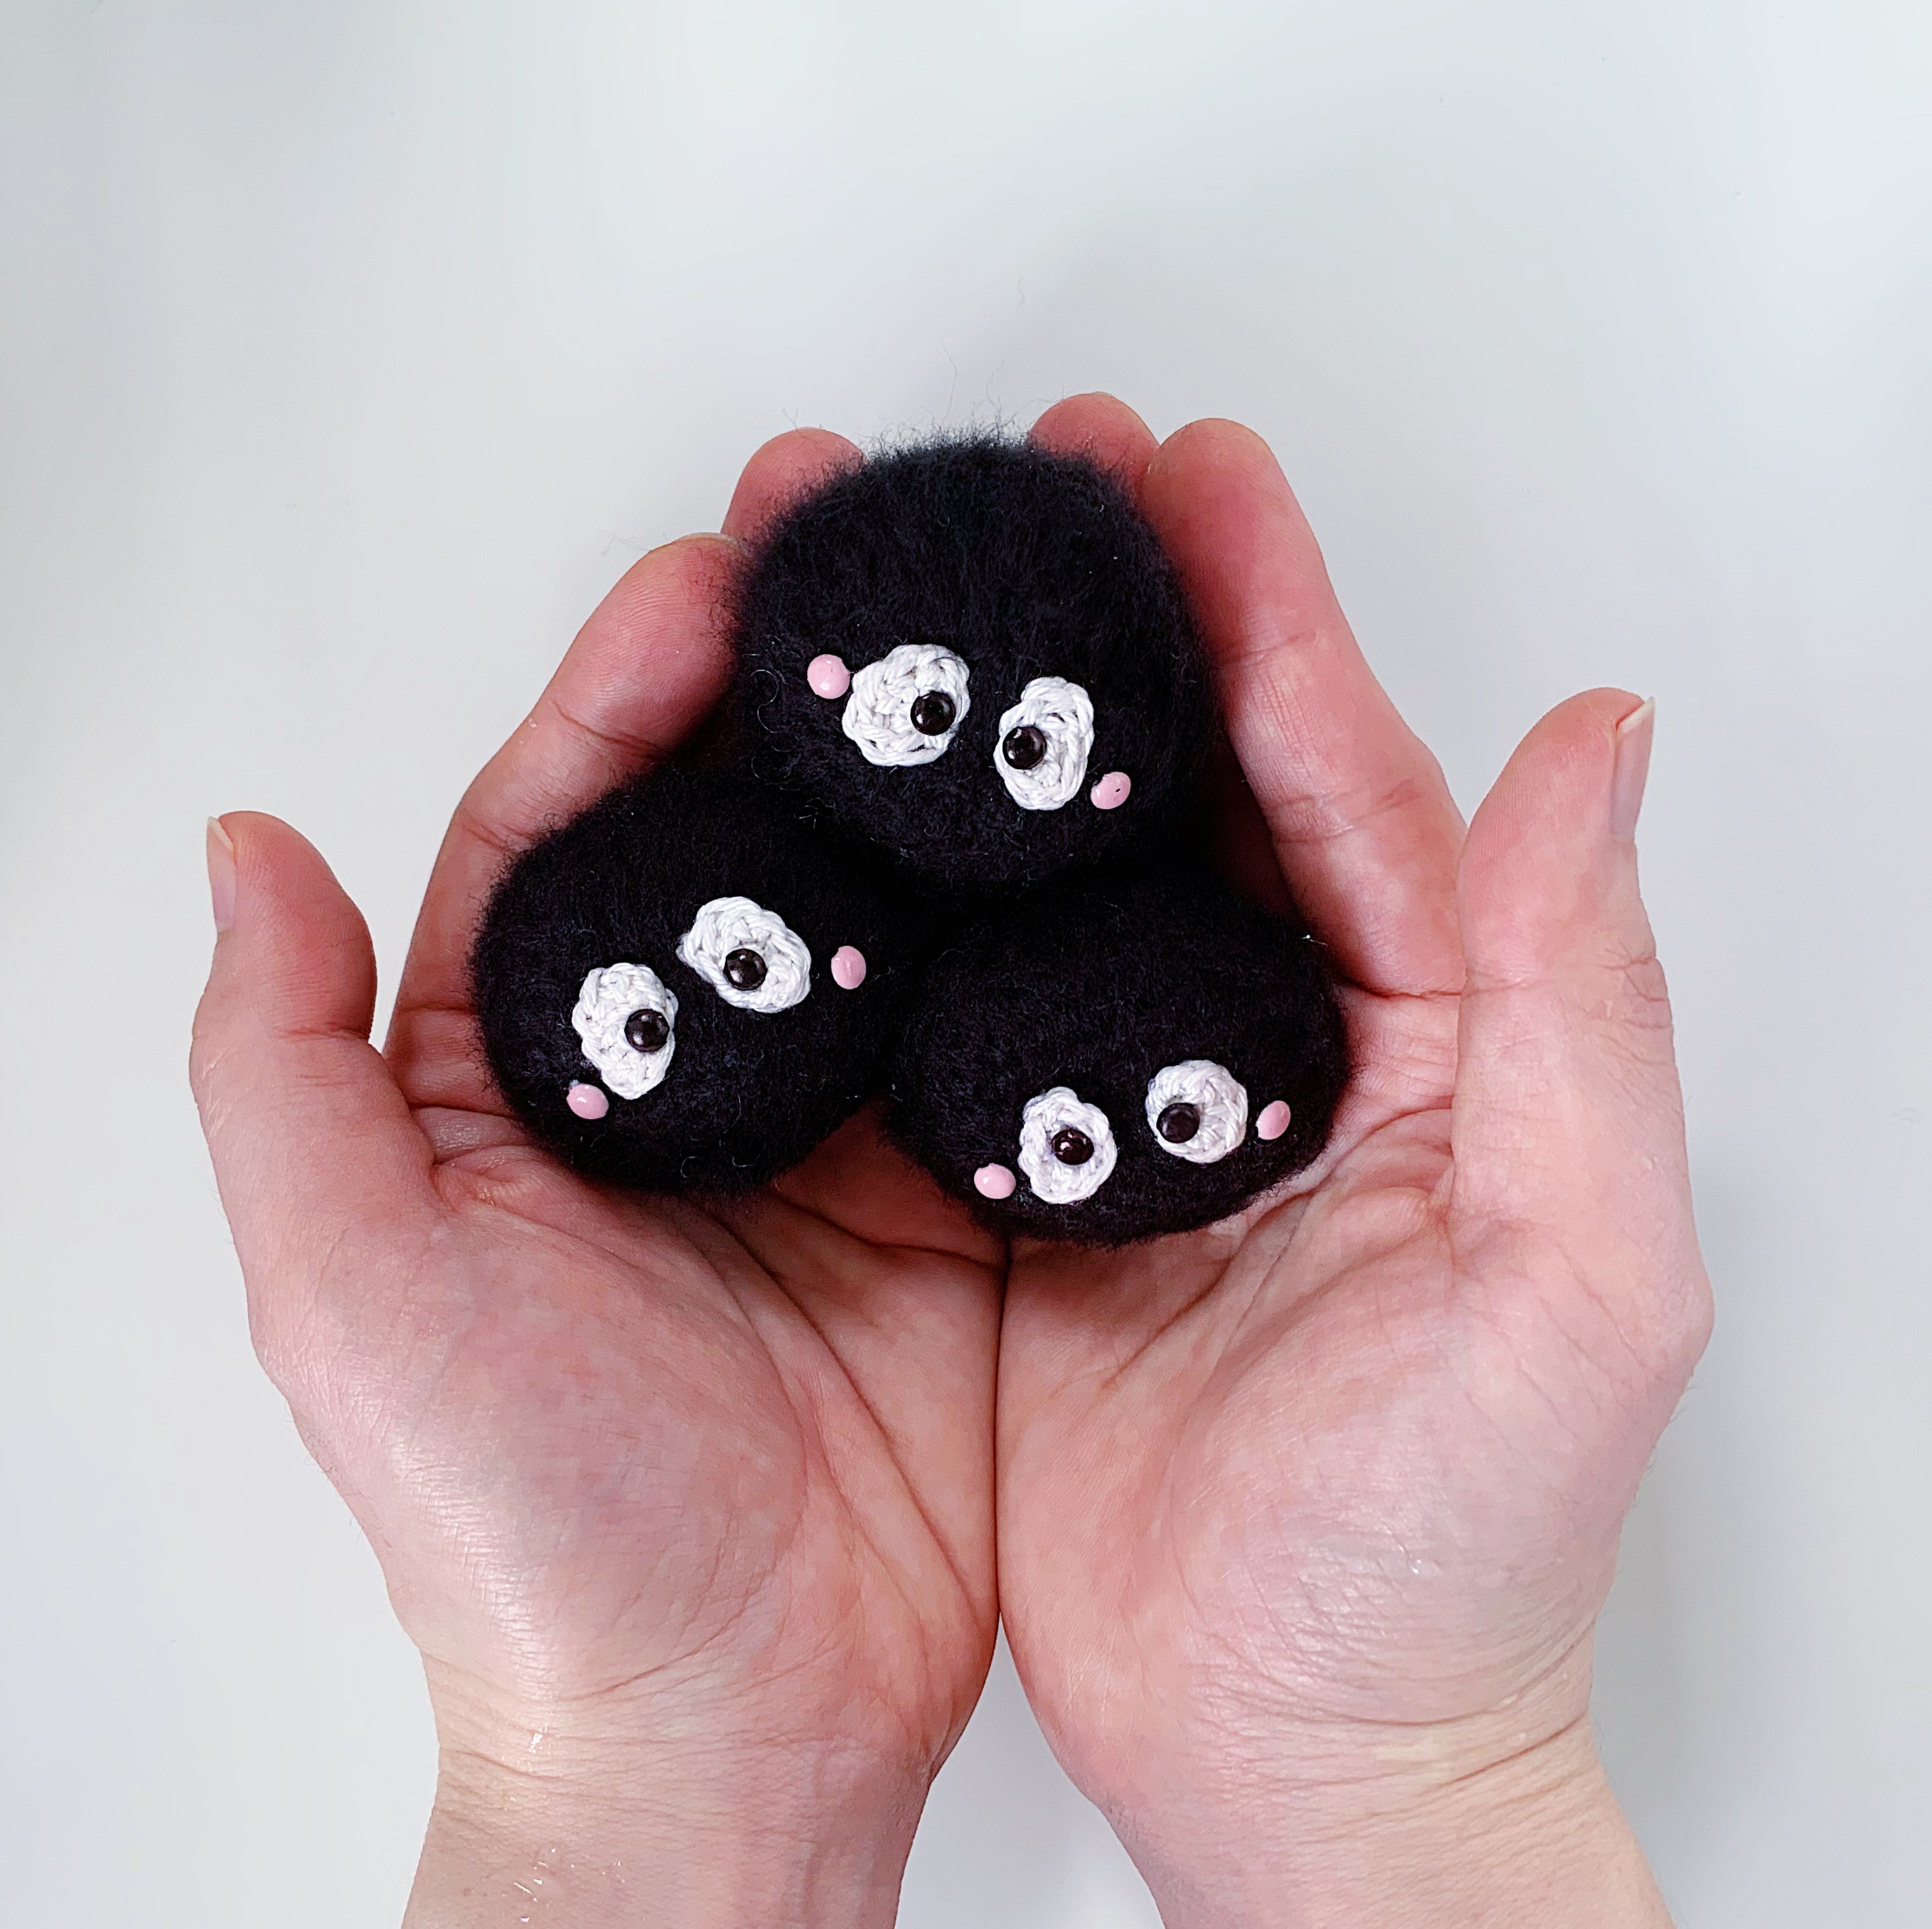
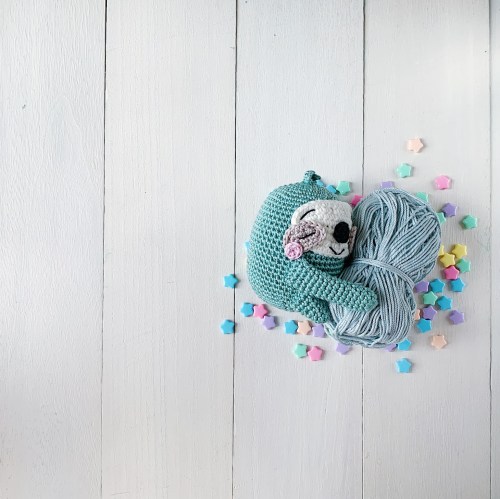
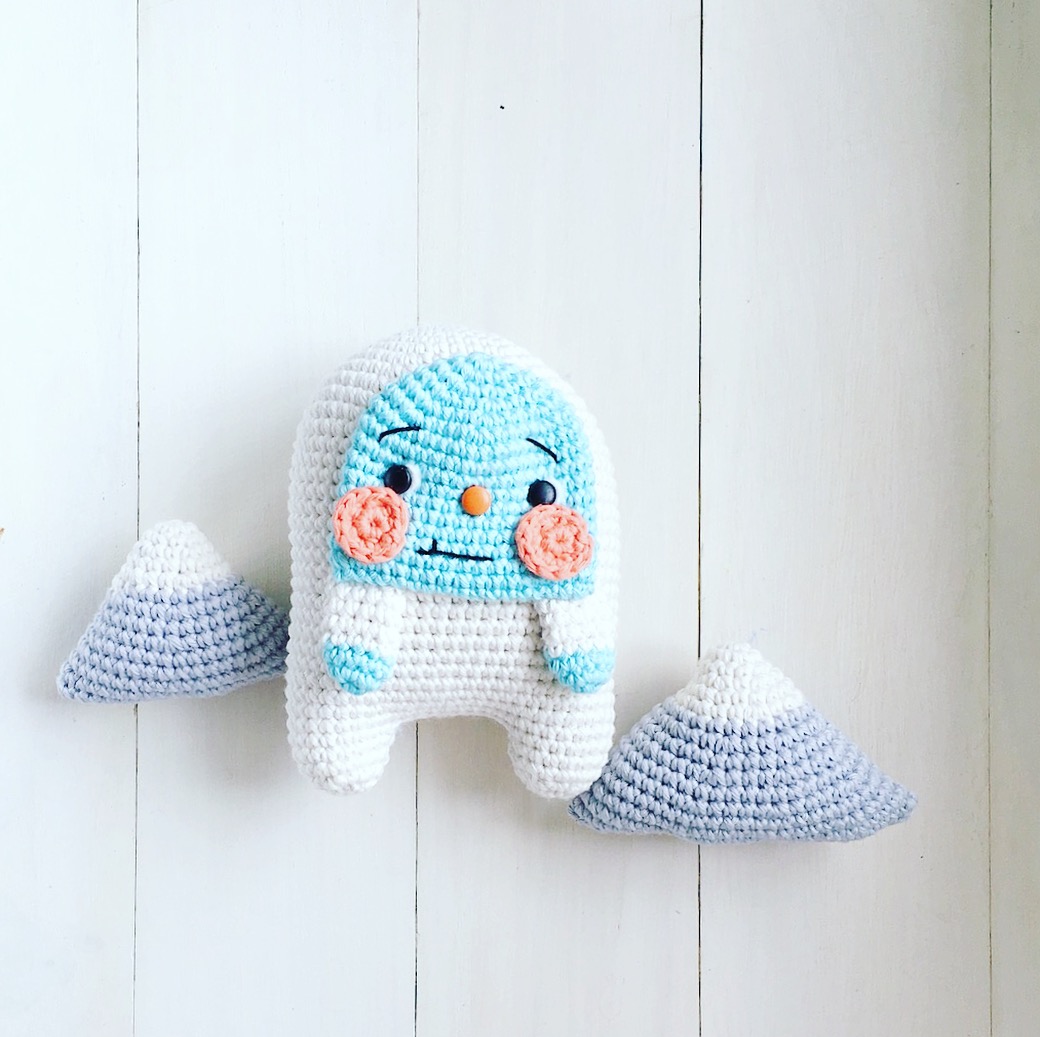
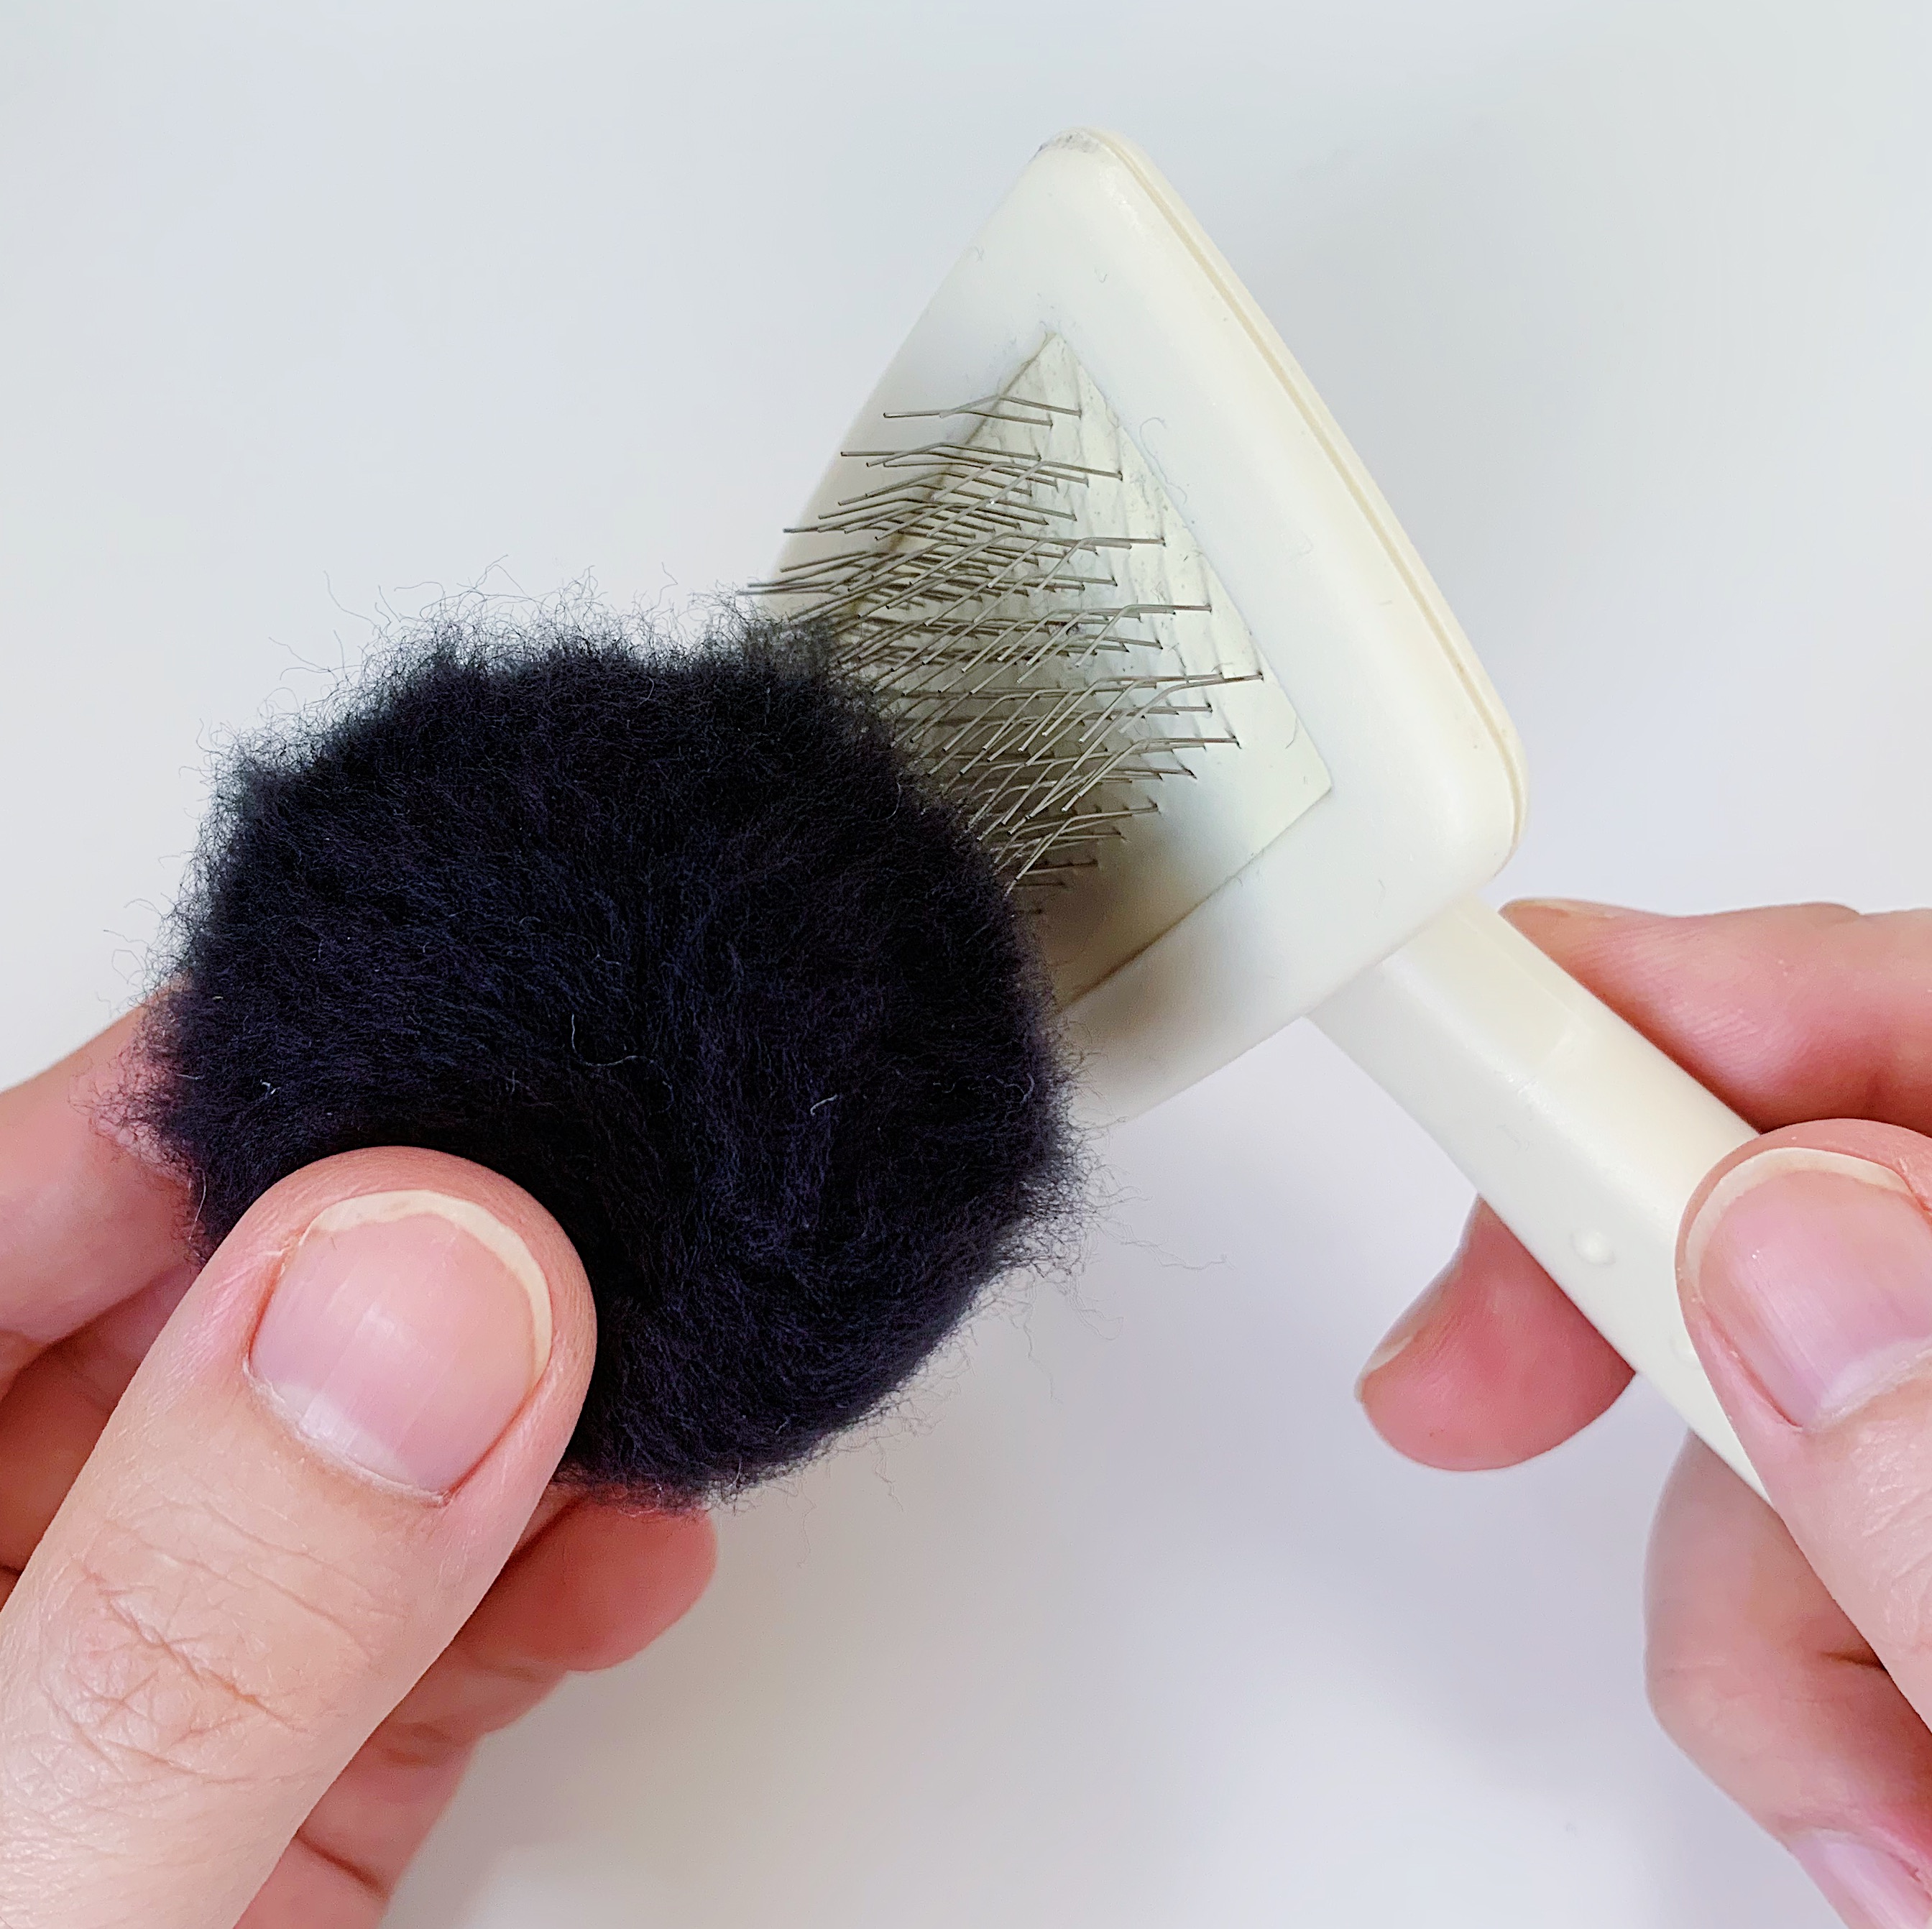
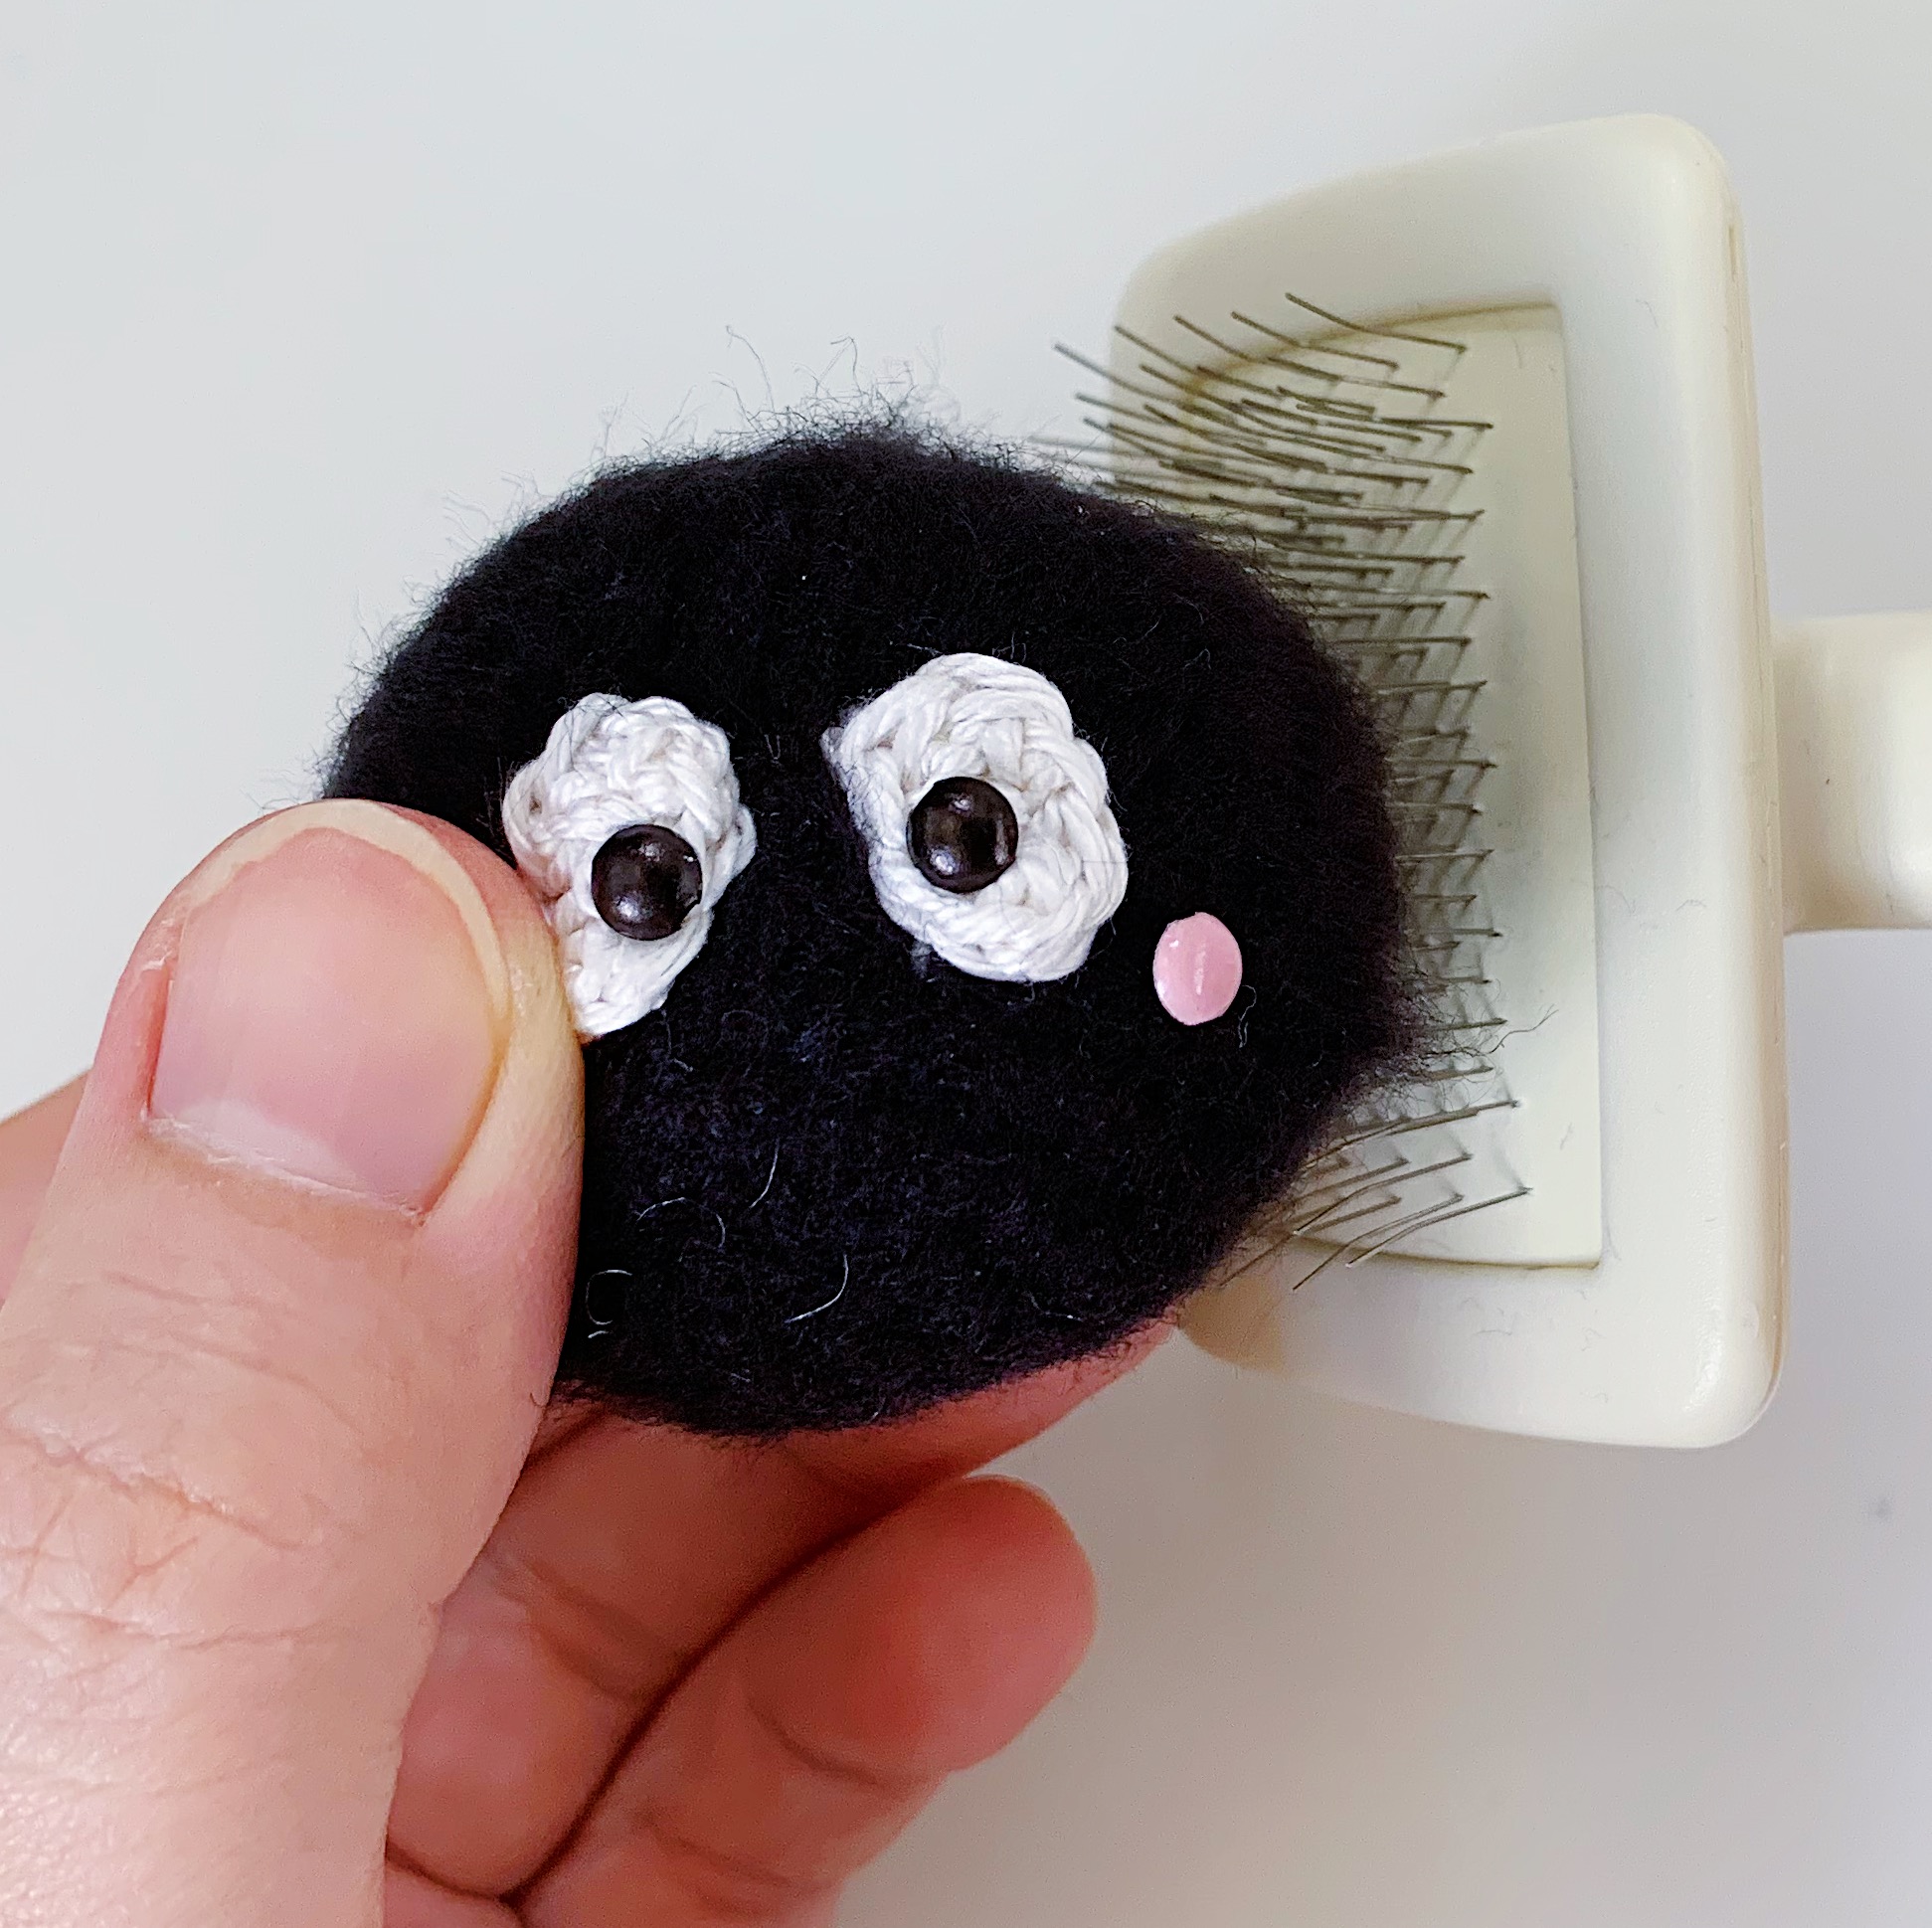
Have you ever tried using a pet slicker to fuzz up your amigurumi? These little soot sprites are made for the pet slicker. They are so quick to make, and so fun to fuzz up. Great stress-busters! And also if you’re stuck on designing your next amigurumi, you could take a little break to make these little soot soldiers.
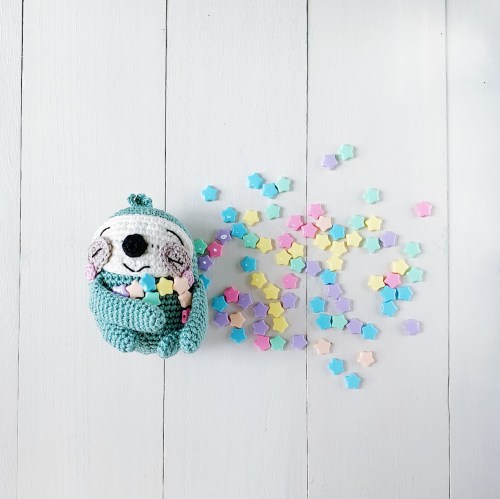
I’ve only had time to make 3 but please go ahead to make more!
Fuzzy amigurumi works best when you’re using acrylic yarn. I used Hobium Yarn’s La Mia Baby Cotton which is 50% cotton and 50% acrylic, and it still fuzzes up well. For the eyes, I chose to use something a little thinner and also with a thinner hook, for more definition.
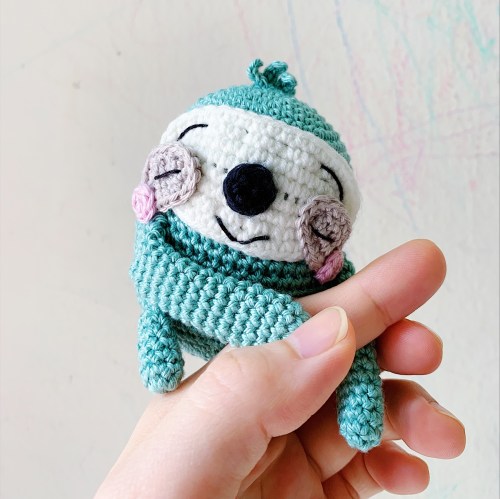
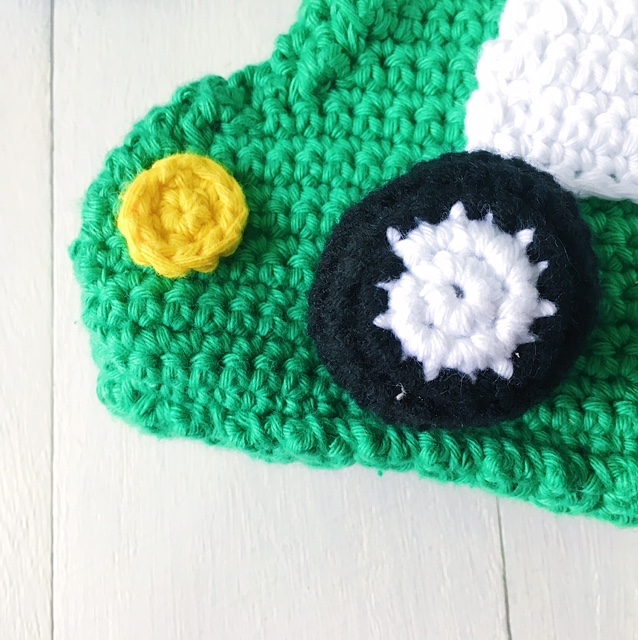
I like to use scrapbooking brads for eyes — I didn’t have any small black ones left, but I did have white ones, so I coloured over them with a black marker 🙂
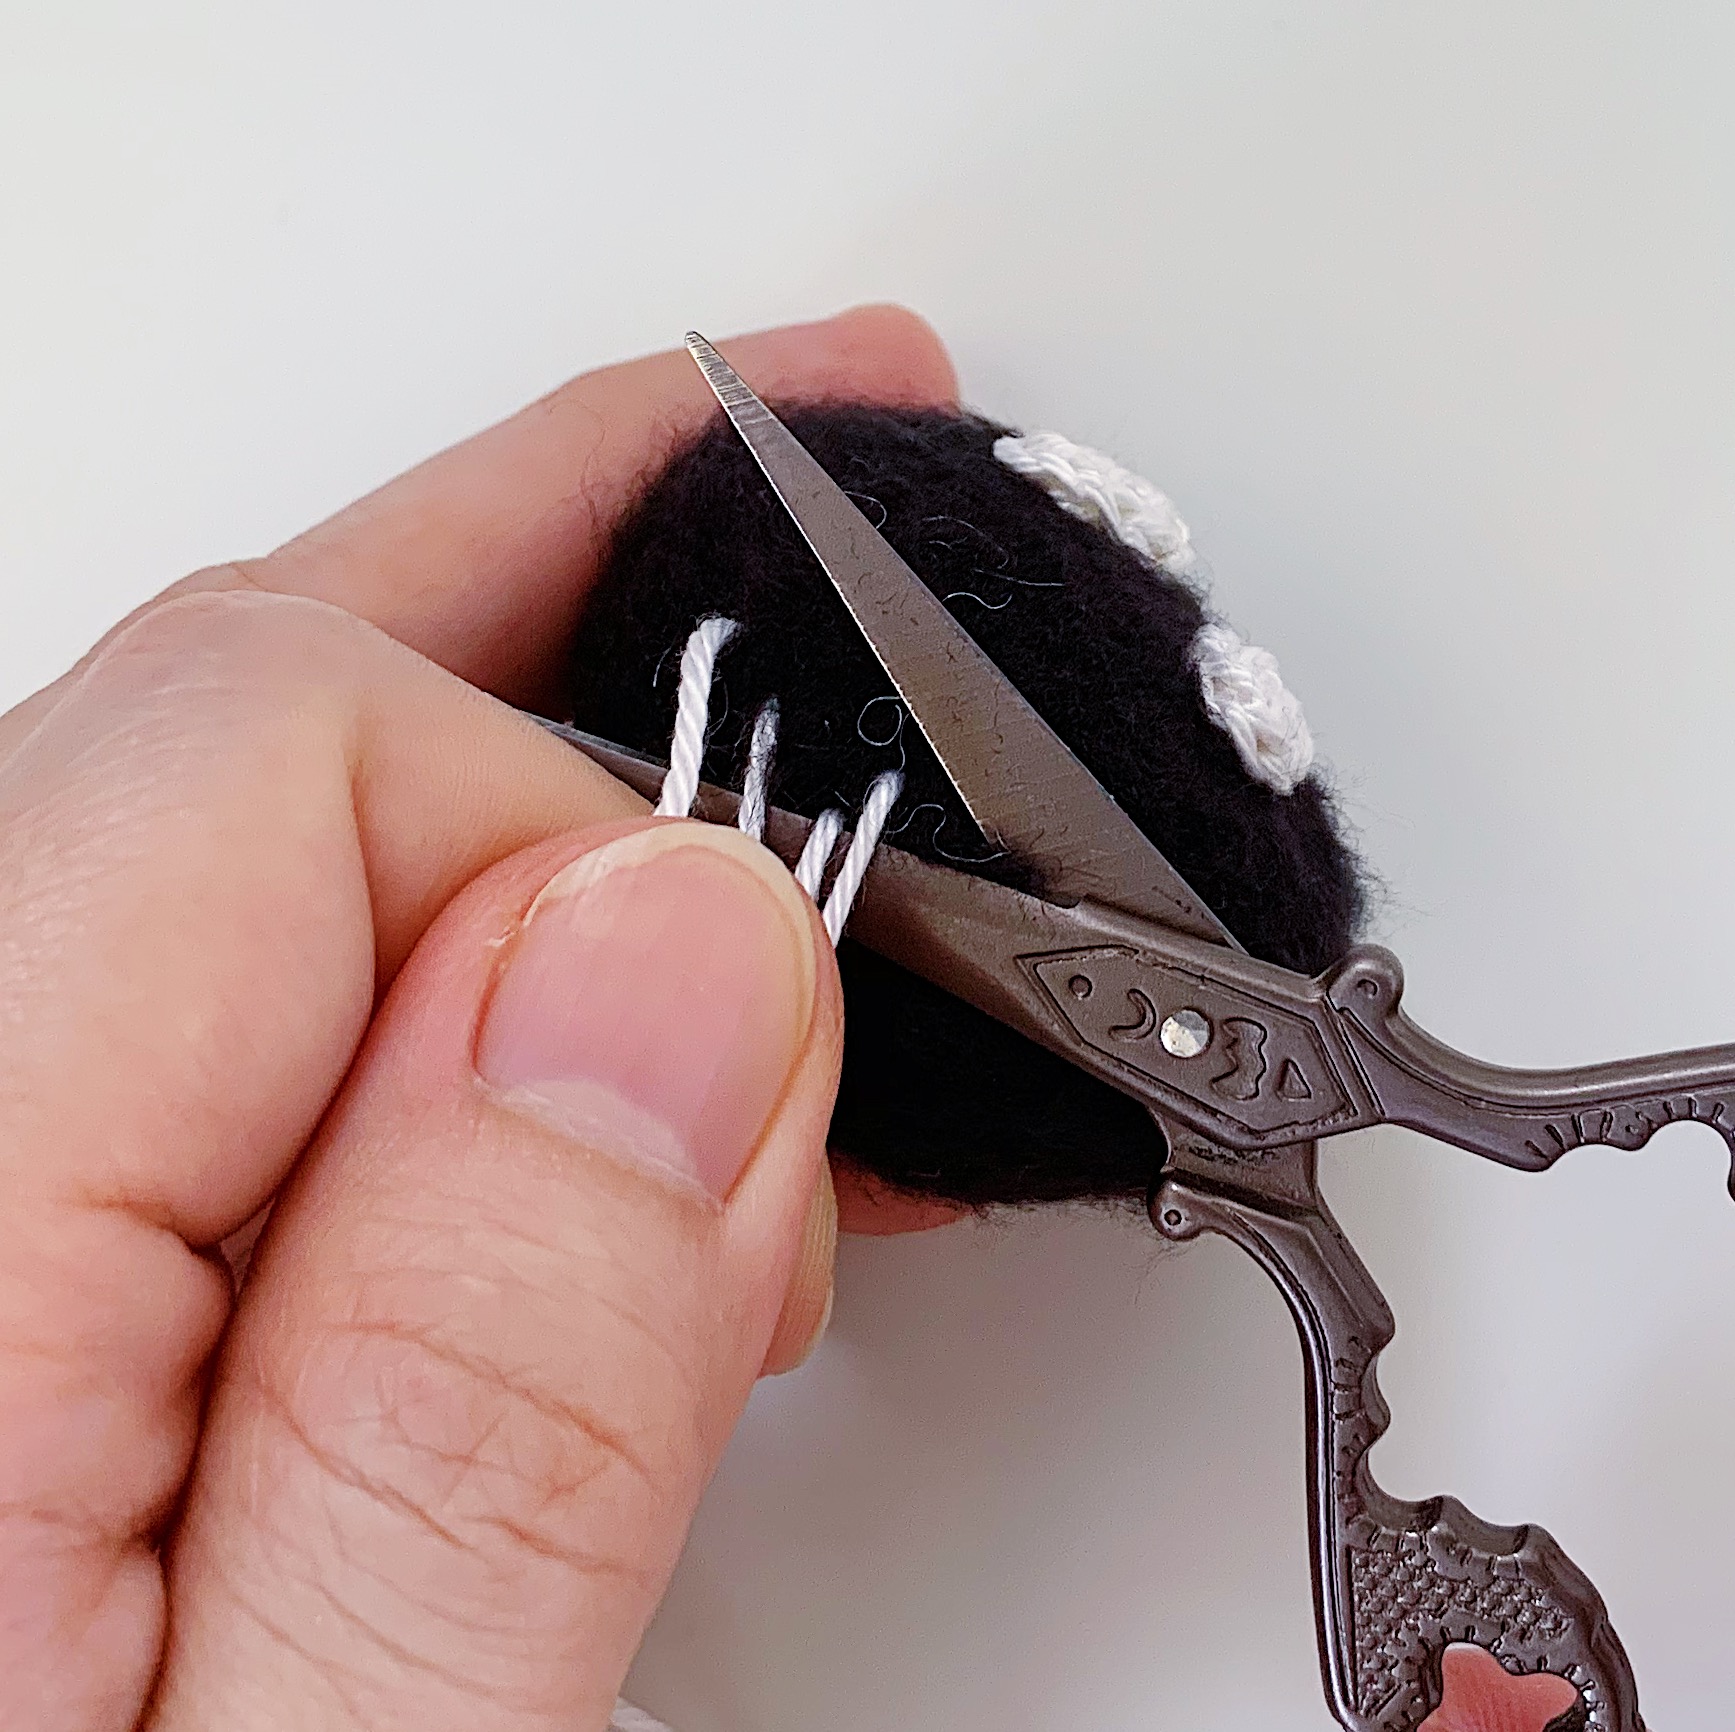
Important tip: Make sure to crochet tightly for this project, or your stuffing will show through when you start fuzzing up the soot sprite. Use a tweezer to remove any stray stuffing that peeks through.
See this video on how to use the pet slicker on your amigurumi!
FREE Pattern for Soot Sprites or Susuwatari/Makkuro Kurosuke ススワタリ/ まっくろくろすけ
Skill Level: Easy!
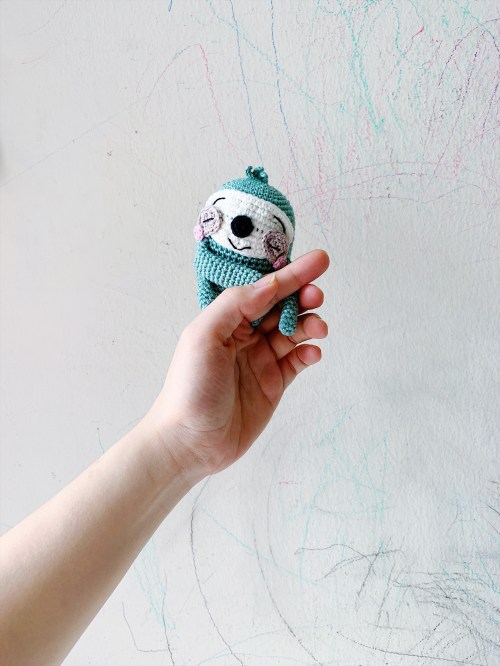
Size: 5-cm tall
Materials
3mm & 2.5mm crochet hook
Aran-weight yarn in black (I used La Mia Baby Cotton from Hobium)
DK-weight yarn in white (I used Kartopu Organic Cotton from Hobium)
2 x black brads (4mm)
2 x pink brads (4mm)
Craft glue
Darning needle
Scissors
Stitch markers
Polyester stuffing
Pet slicker
Abbreviations
Ch: chain
Sc: single crochet
Inc: increase
Inv dec: invisible decrease
Sts: stitches
*This pattern is written in US crochet terms.
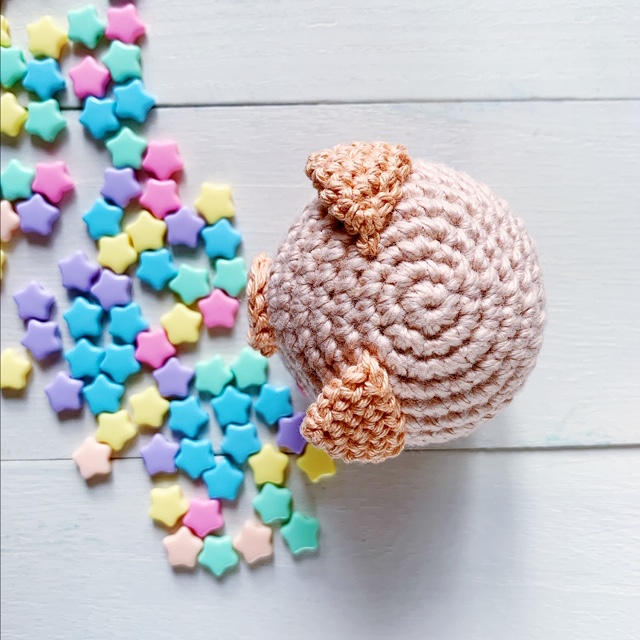
Body
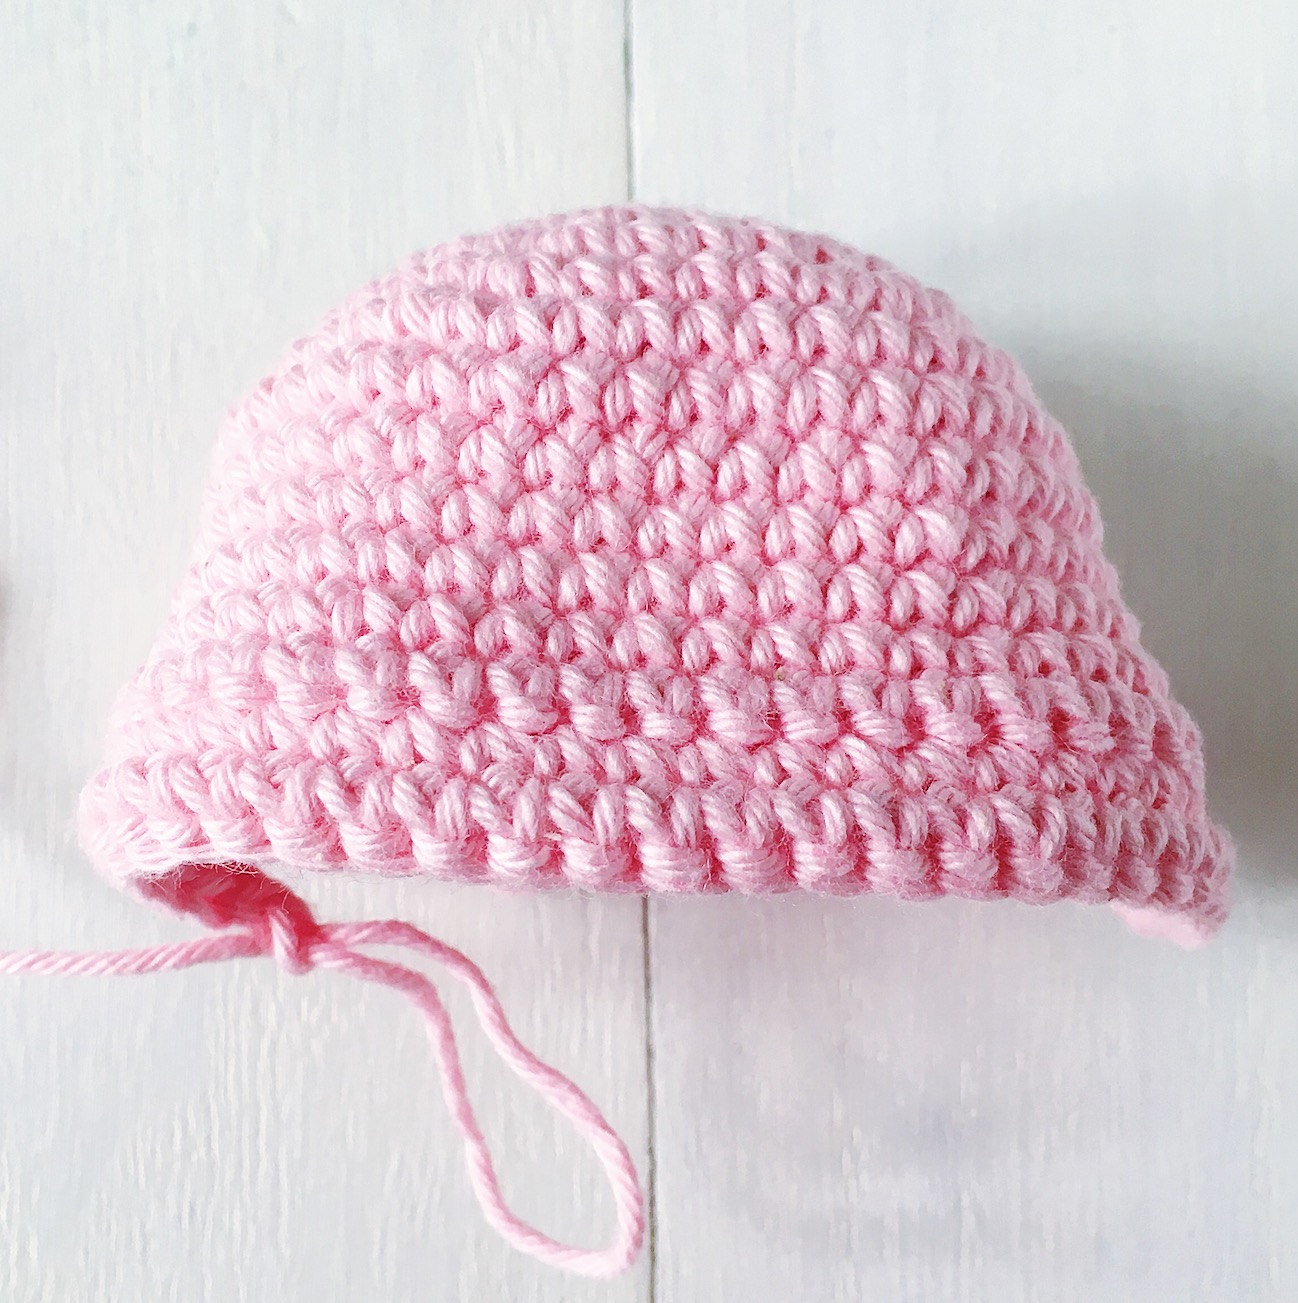
With aran-weight black yarn and 3mm hook:
Round 1: Sc 6 in magic ring {6}.
Round 2: [Inc] around {12}.
Round 3: [Inc, sc 1] around {18}.
Round 4: [Inc, sc 2] around {24}.
Round 5: [Inc, sc 3] around {30}.
Rounds 6-10 (5 rounds altogether): Sc around {30}.
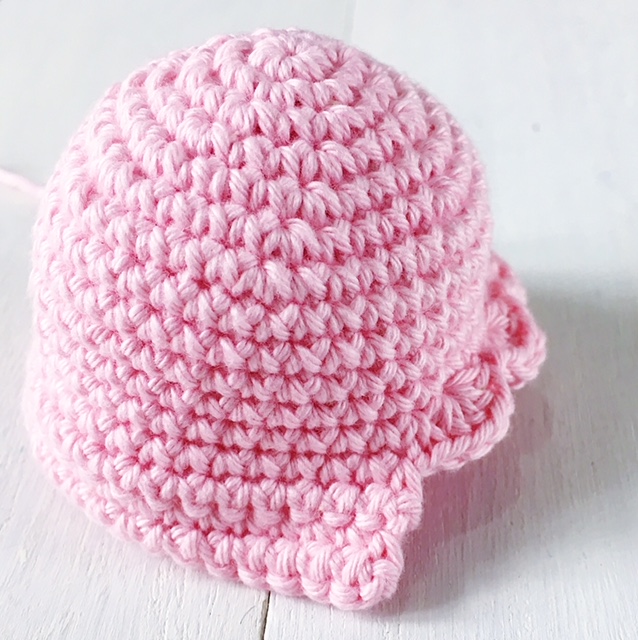
Round 11: [Inv dec, sc 3] around {24}.
Round 12: [Inv dec, sc 2] around {18}.
Stuff body firmly. Use your hands to gently squeeze and mould the head into an oval-like shape.
Round 13: [Inv dec, sc 1] around {12}.
Round 14: [Inv dec] around {6}.
Fasten off and weave in ends.
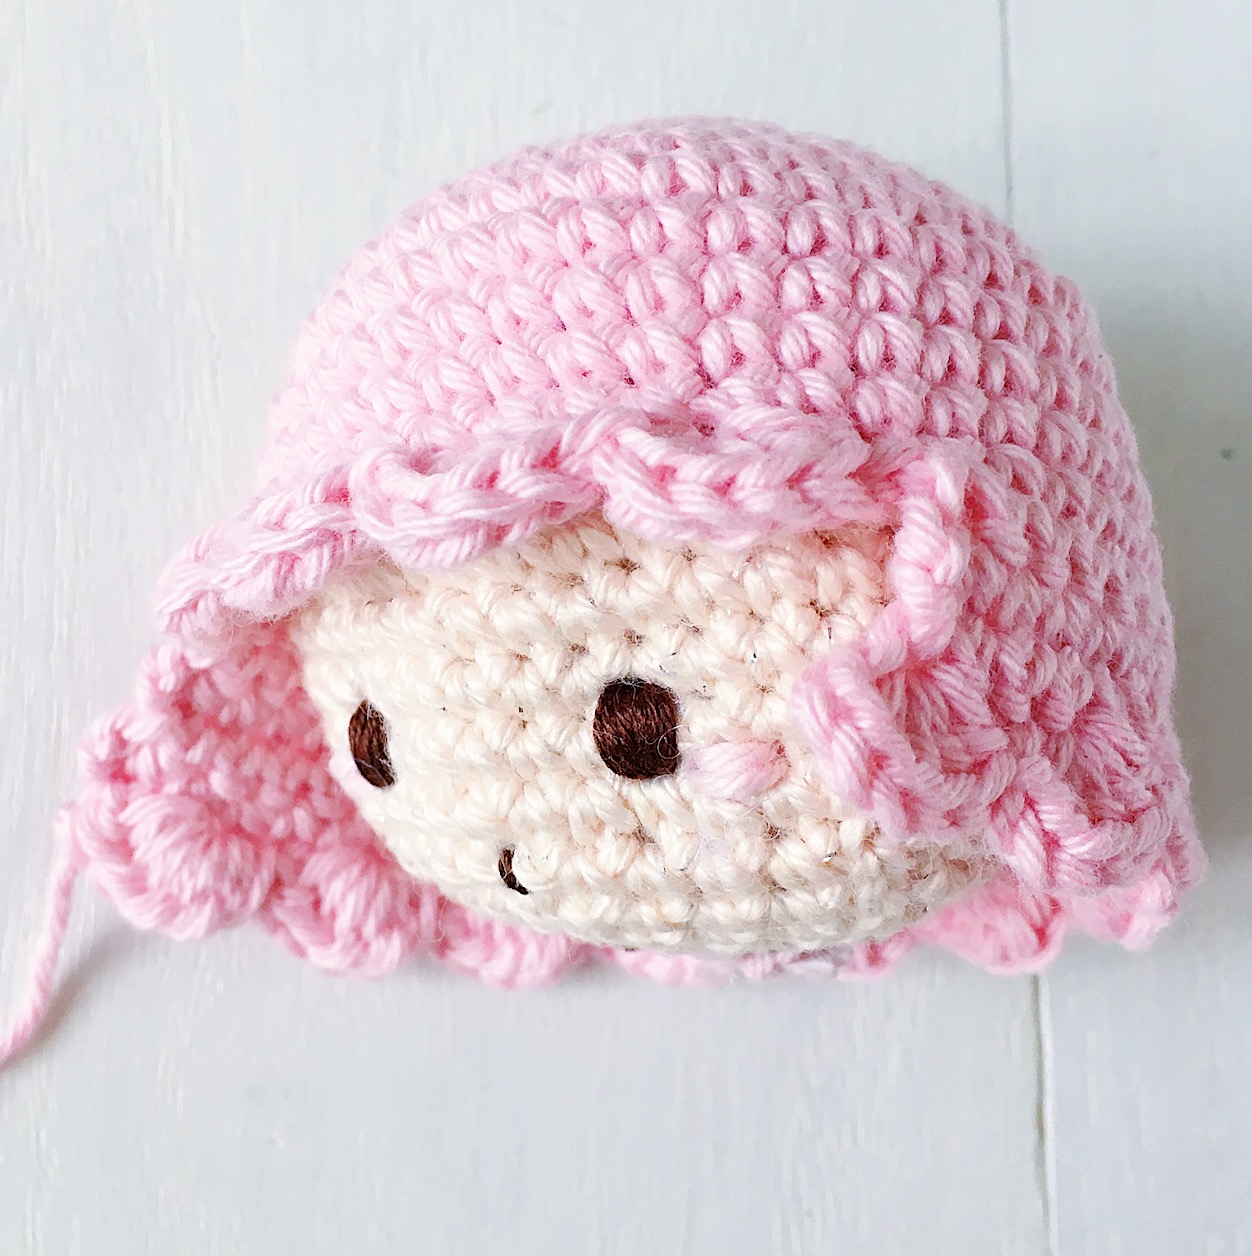
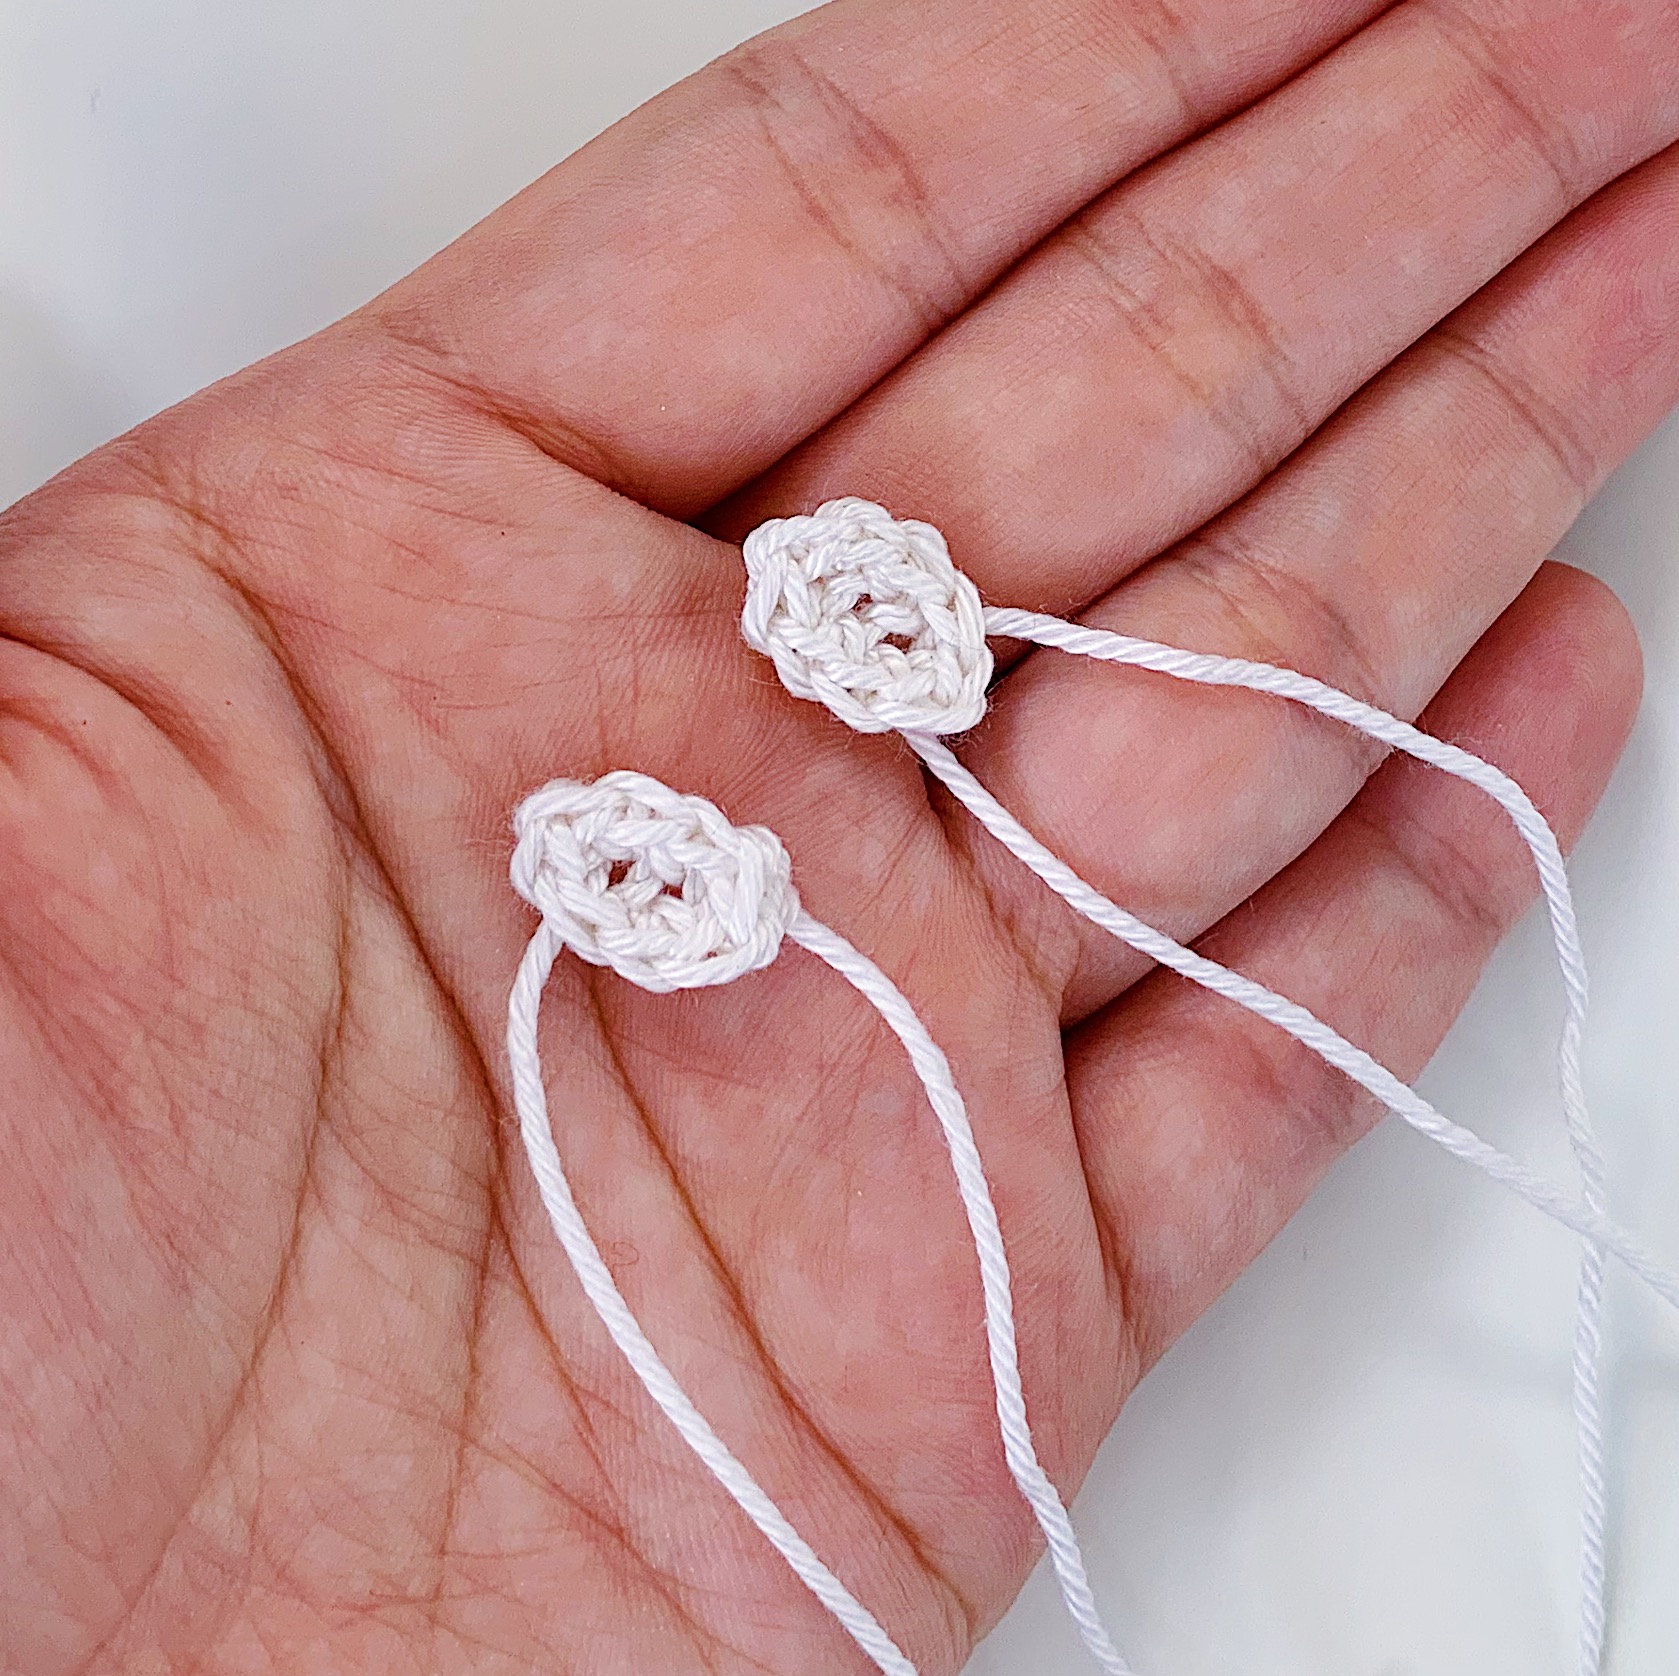
Eyes
For this, you will be crocheting in an oval around both sides of the foundation chain.
Make 2 with DK-weight white yarn & 2.5mm hook:
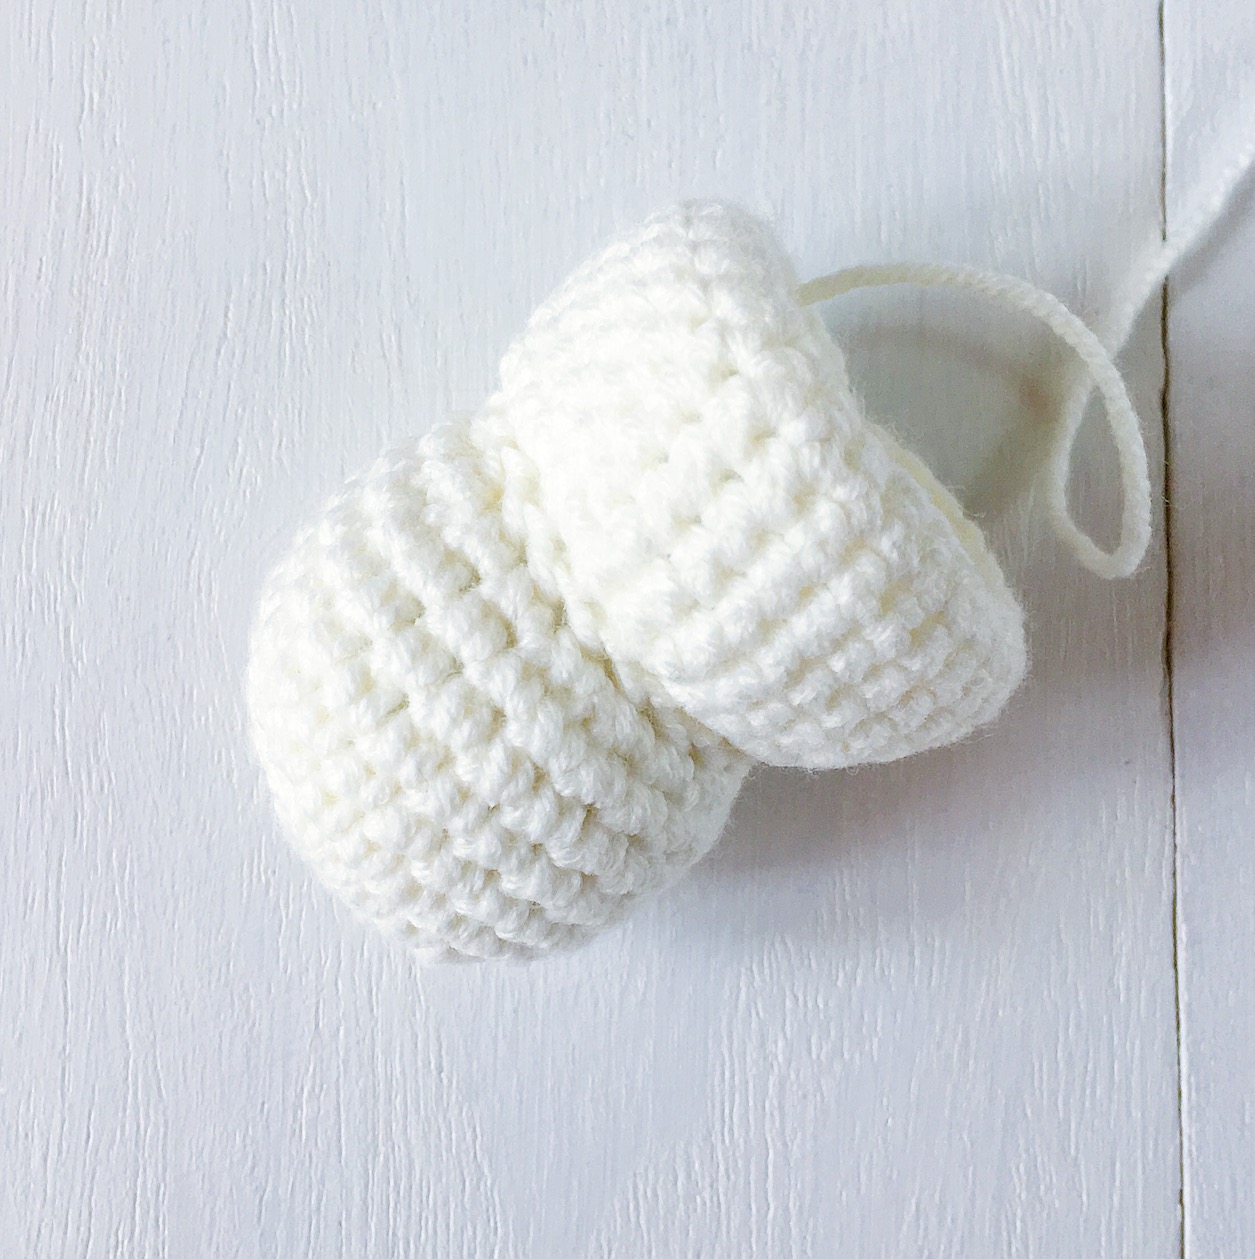
Row 1: Ch 4. Starting from the second ch from hook, sc in the
next 2 ch then make 3sc in the final ch {5}.
You will now be crocheting on the other side of the chain, and continuing till the end in an oval.
Sc in the next ch, then inc in the final ch {5+3=8}.
Clean fasten off and leave a long end for sewing.

Assembly
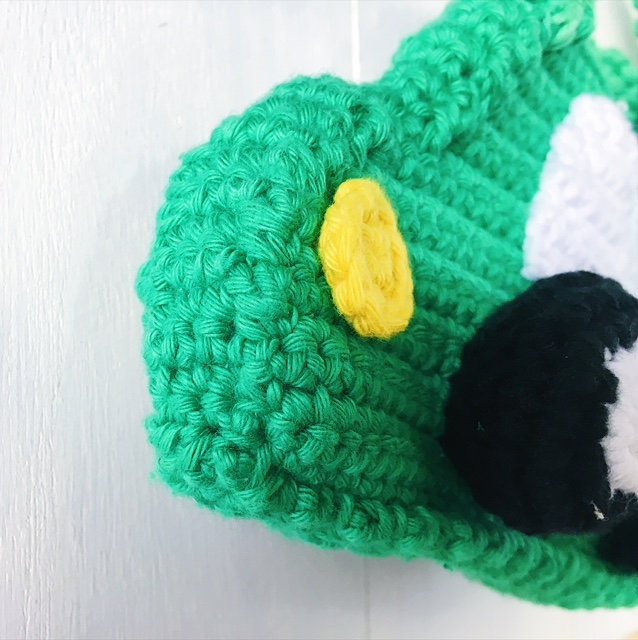
- Start fuzzing up your soot sprite – use your pet slicker to brush all over the main black body. Remember to do this before you attach the eyes (so you won’t fuzz up the eyes too!)
- I find that it is easier to brush only in one direction for the sides. For the center of the soot sprite (where you will be sewing on the eyes later), you can try scrubbing back and forth with your pet slicker.
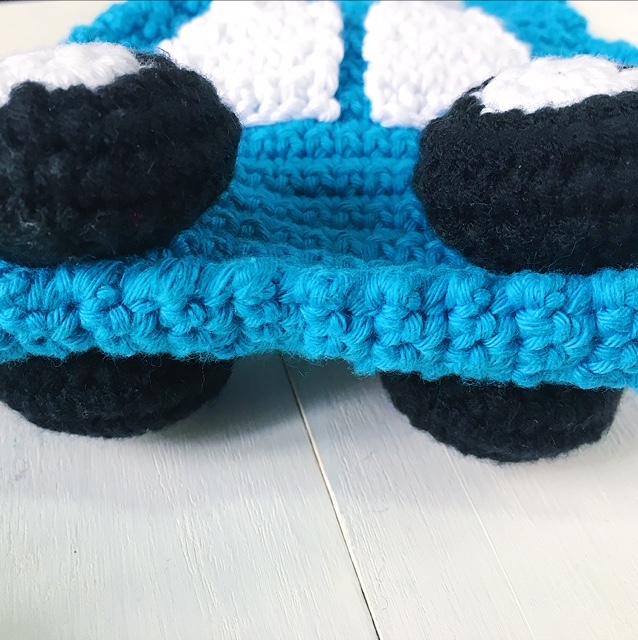
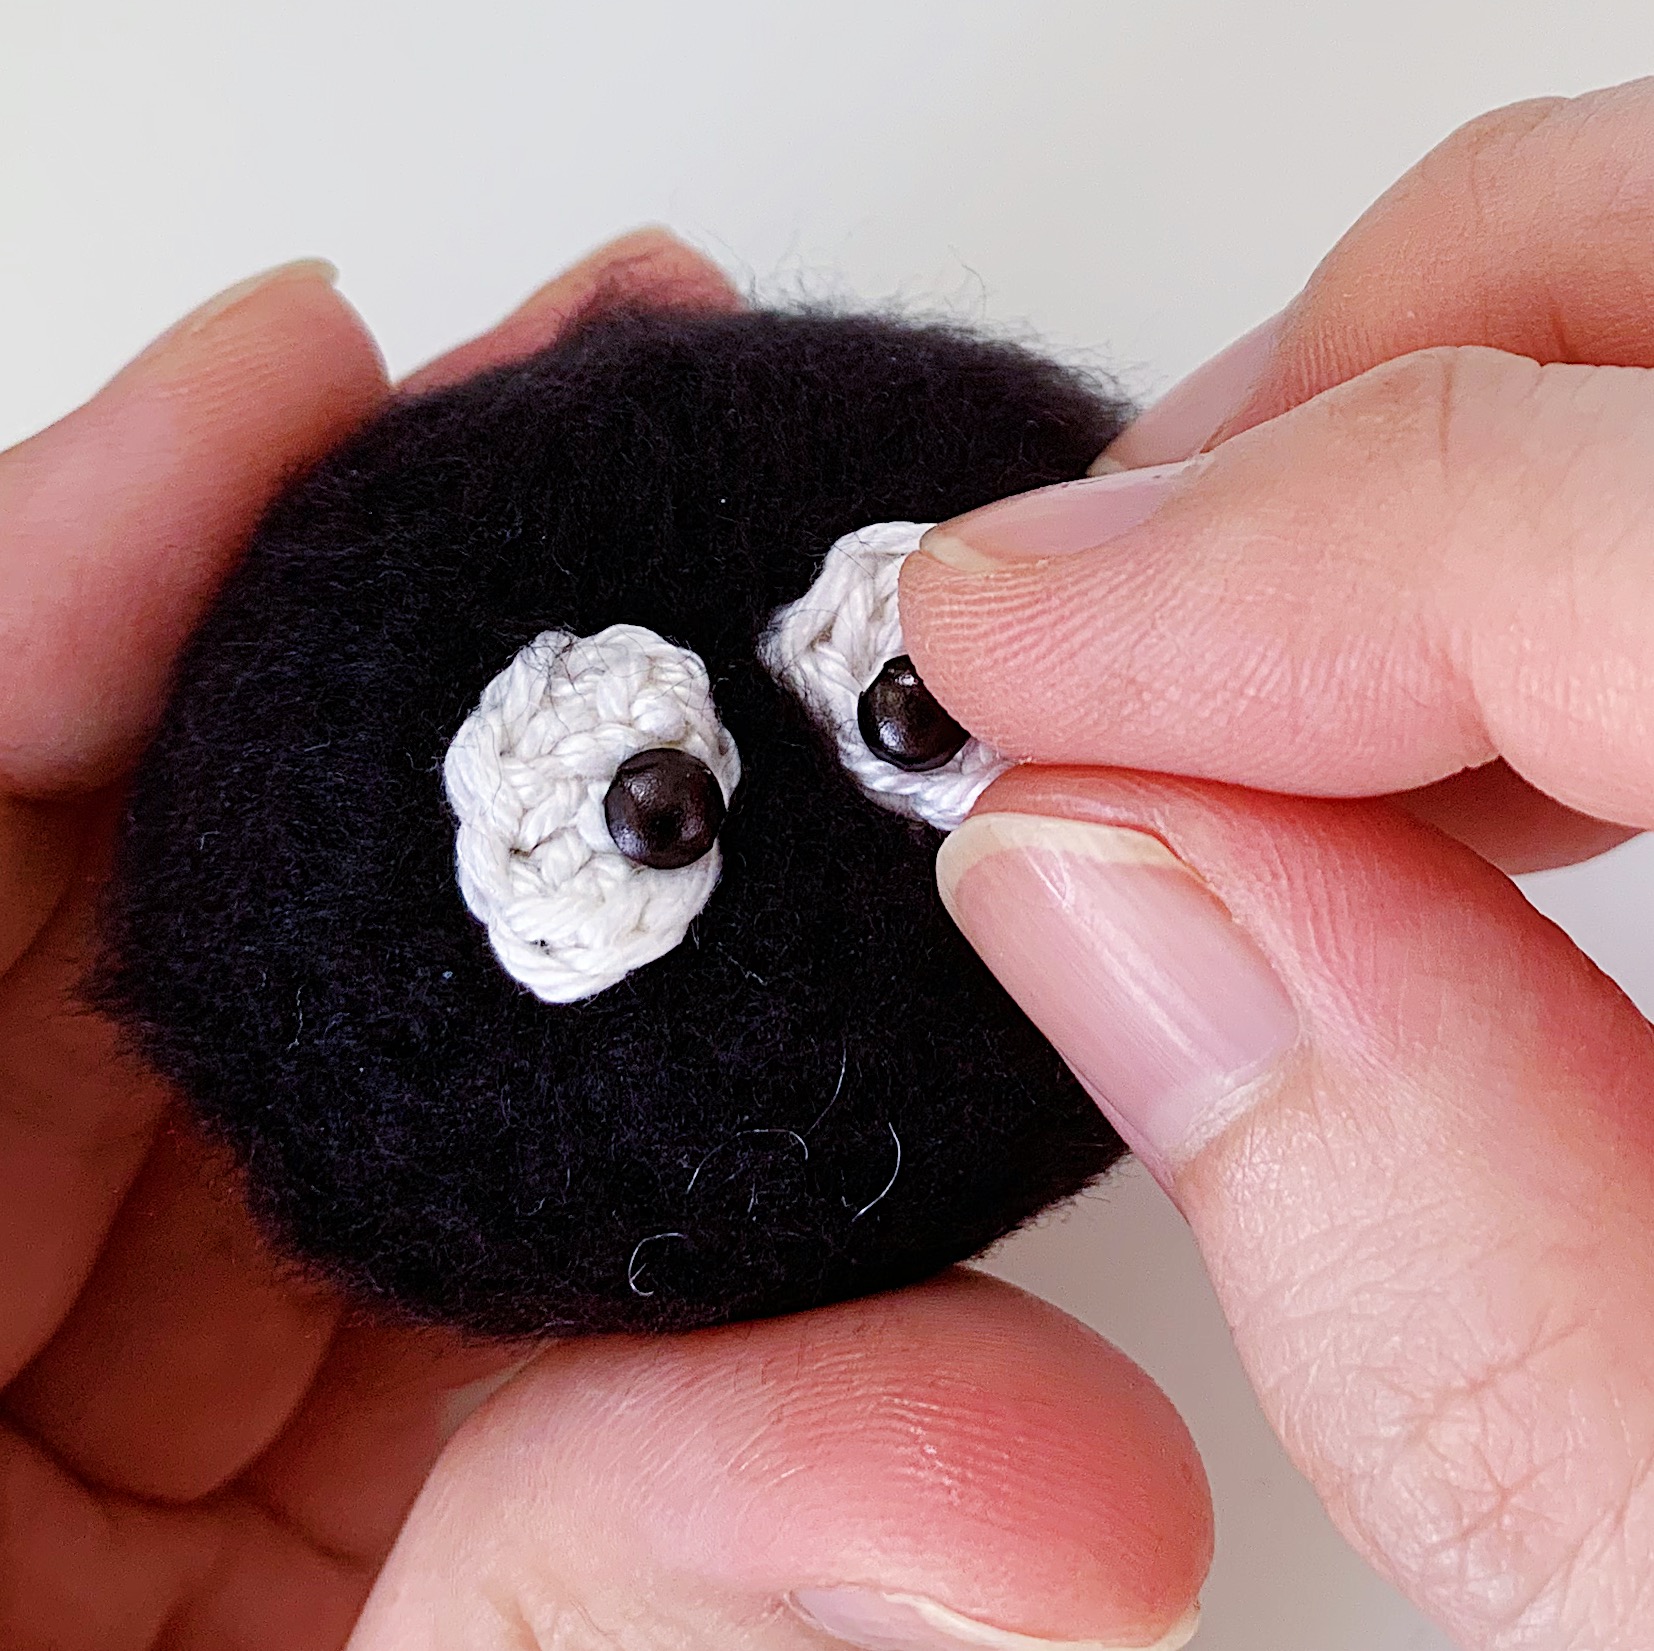
- After you’ve achieved the “desired” fuzziness, sew on the eyes, with a small gap in between the two.
- Add glue to your black brads and pop them in the eyes. They should have a cross-eyed look.
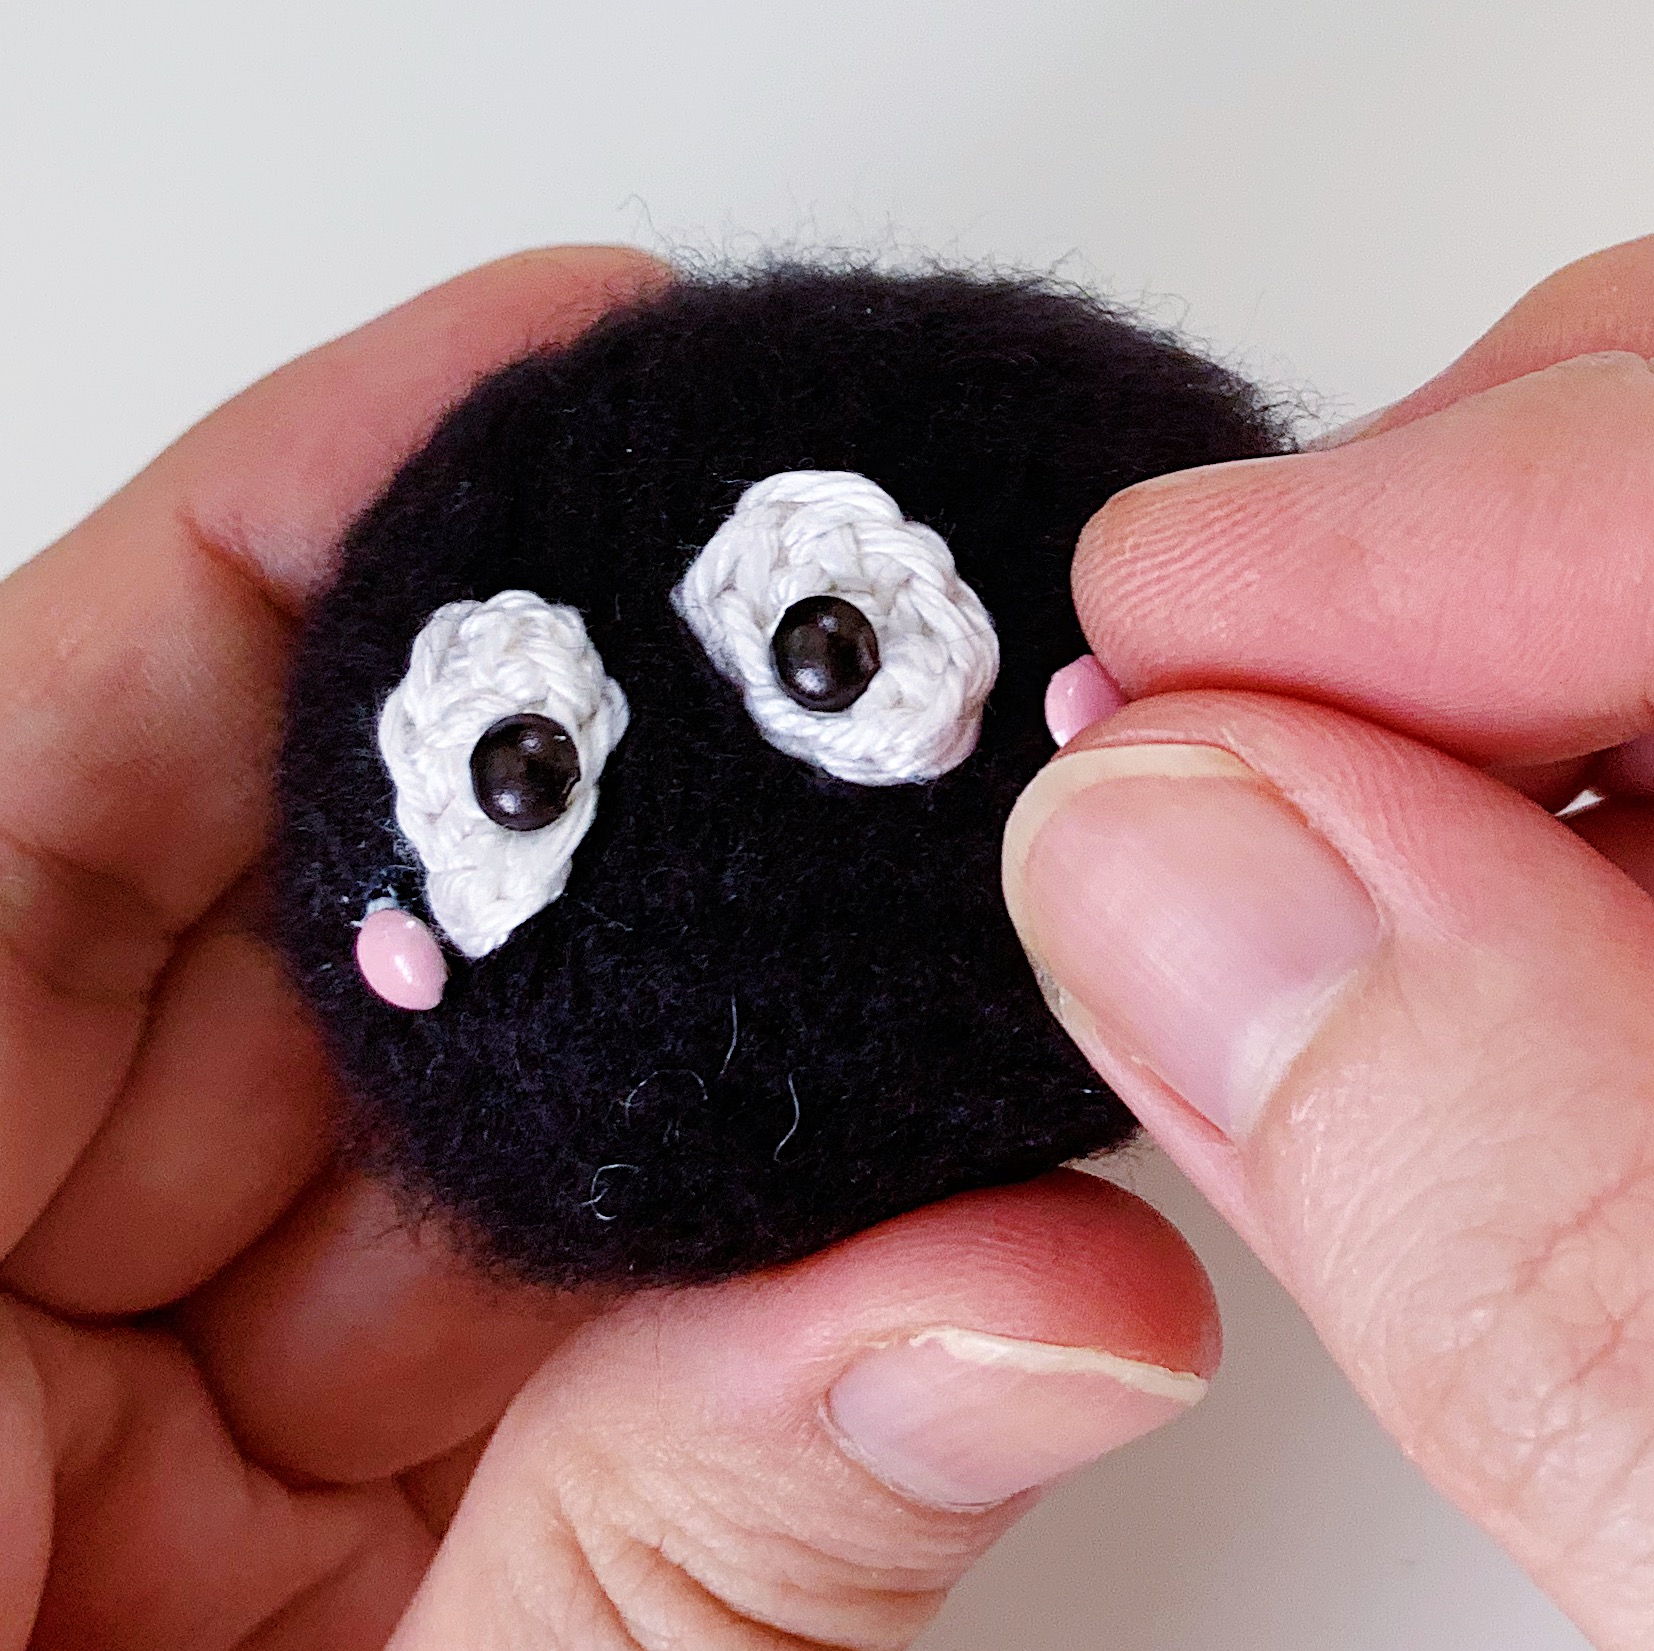
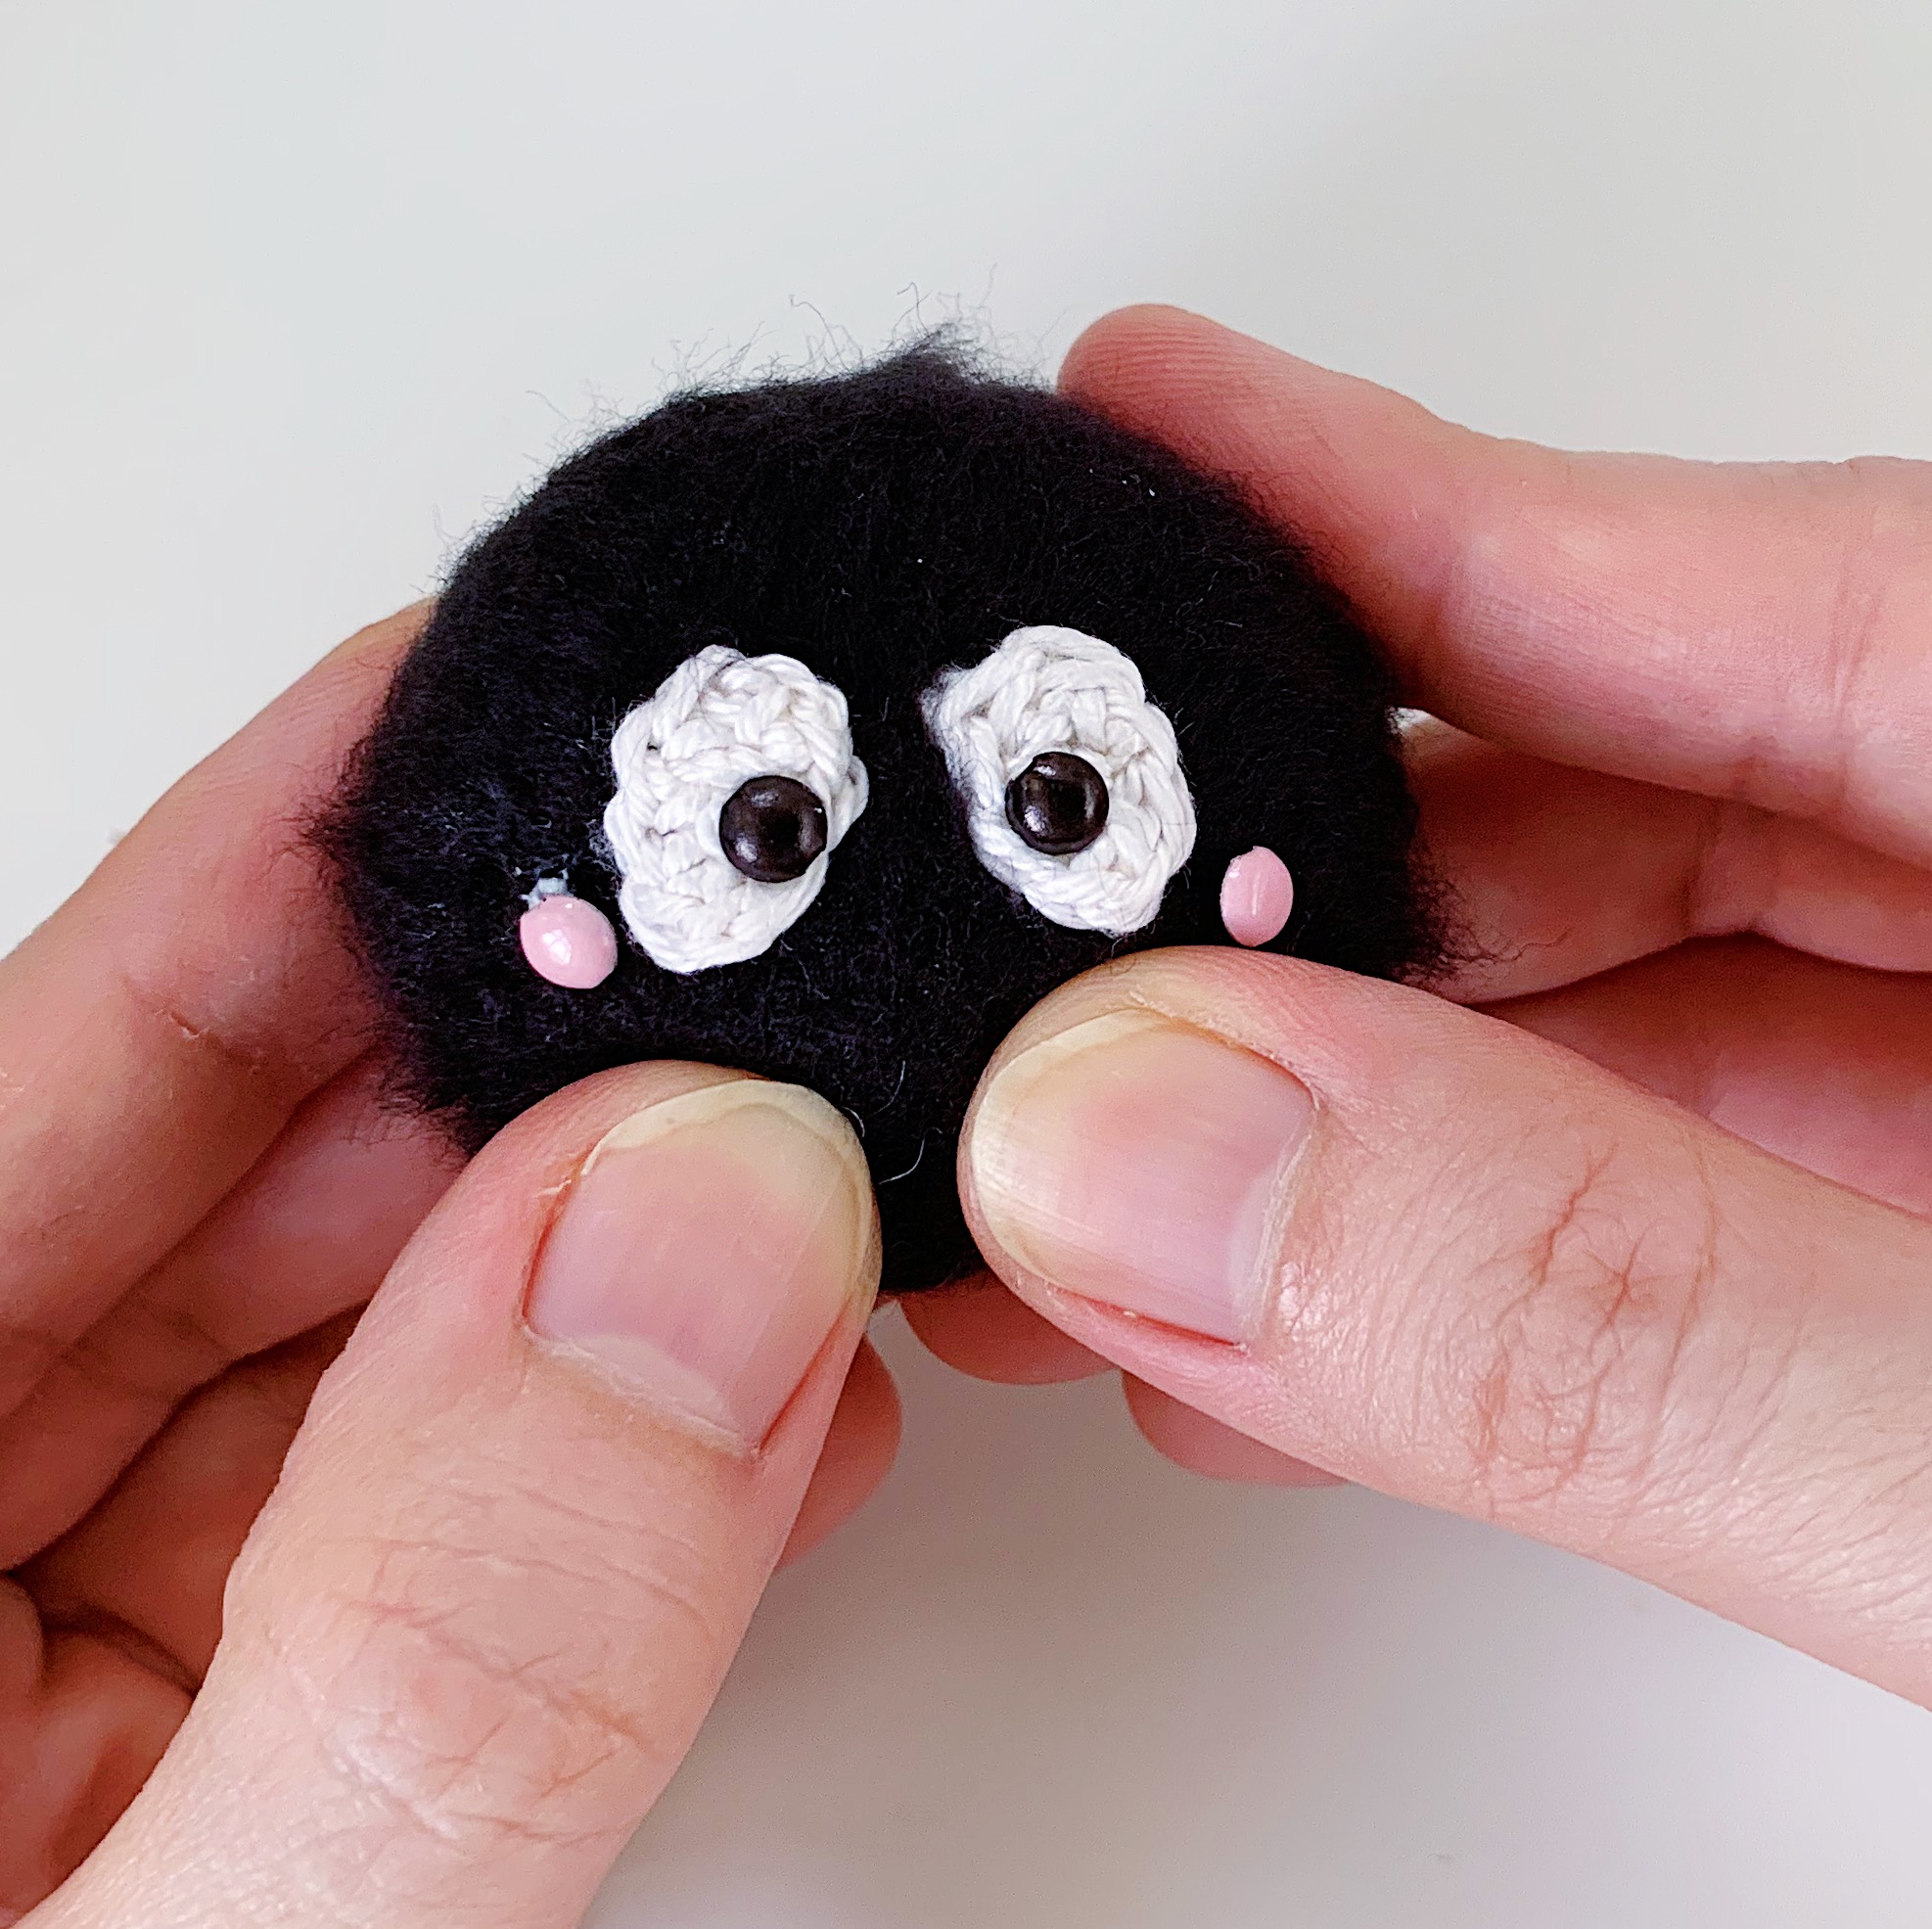
- Add glue to your pink brads and pop them in to where you want the cheeks to be.
- Gently squeeze the soot sprite to flatten the face (this makes for better photo-taking).
- You can continue to add more fuzz by brushing with your pet slicker, but do so carefully so you don’t end up picking out the eyes!
- Make a bunch — the more the merrier! Tag me on Instagram @amigurumei when you do!